This document provides a step-by-step process to enhance your Trupeer videos by adding and customising backgrounds. You can select from a range of pre-licensed backgrounds or upload your own, and adjust features like shadow and corner rounding for a polished look.
Step 1
To begin enhancing your video background, first, record your video and navigate to the Visuals tab. Click on the Visuals tab to proceed.
Step 2
In the Background tab, you will find an option to toggle the background on or off. Enable this option by turning it on.
Step 3
After enabling the background, you can choose from a variety of pre-licensed backgrounds. If these are not sufficient, upload custom images to the platform to use as your background. Additionally, you can add a shadow effect to the background, giving the video more depth and a realistic appearance.
Step 4
While the shadow feature is subtle, it adds a significant intricate detail to your video.
Step 5
Adjust the rounded corners of your background as desired. The degree of rounding can be customised to suit your preference.
Step 6
Observe the effect of the rounded corner setting. At a setting of 16, the corners begin to round, and at 100, they are completely rounded.
Step 7
This is the functionality of the rounded corner feature.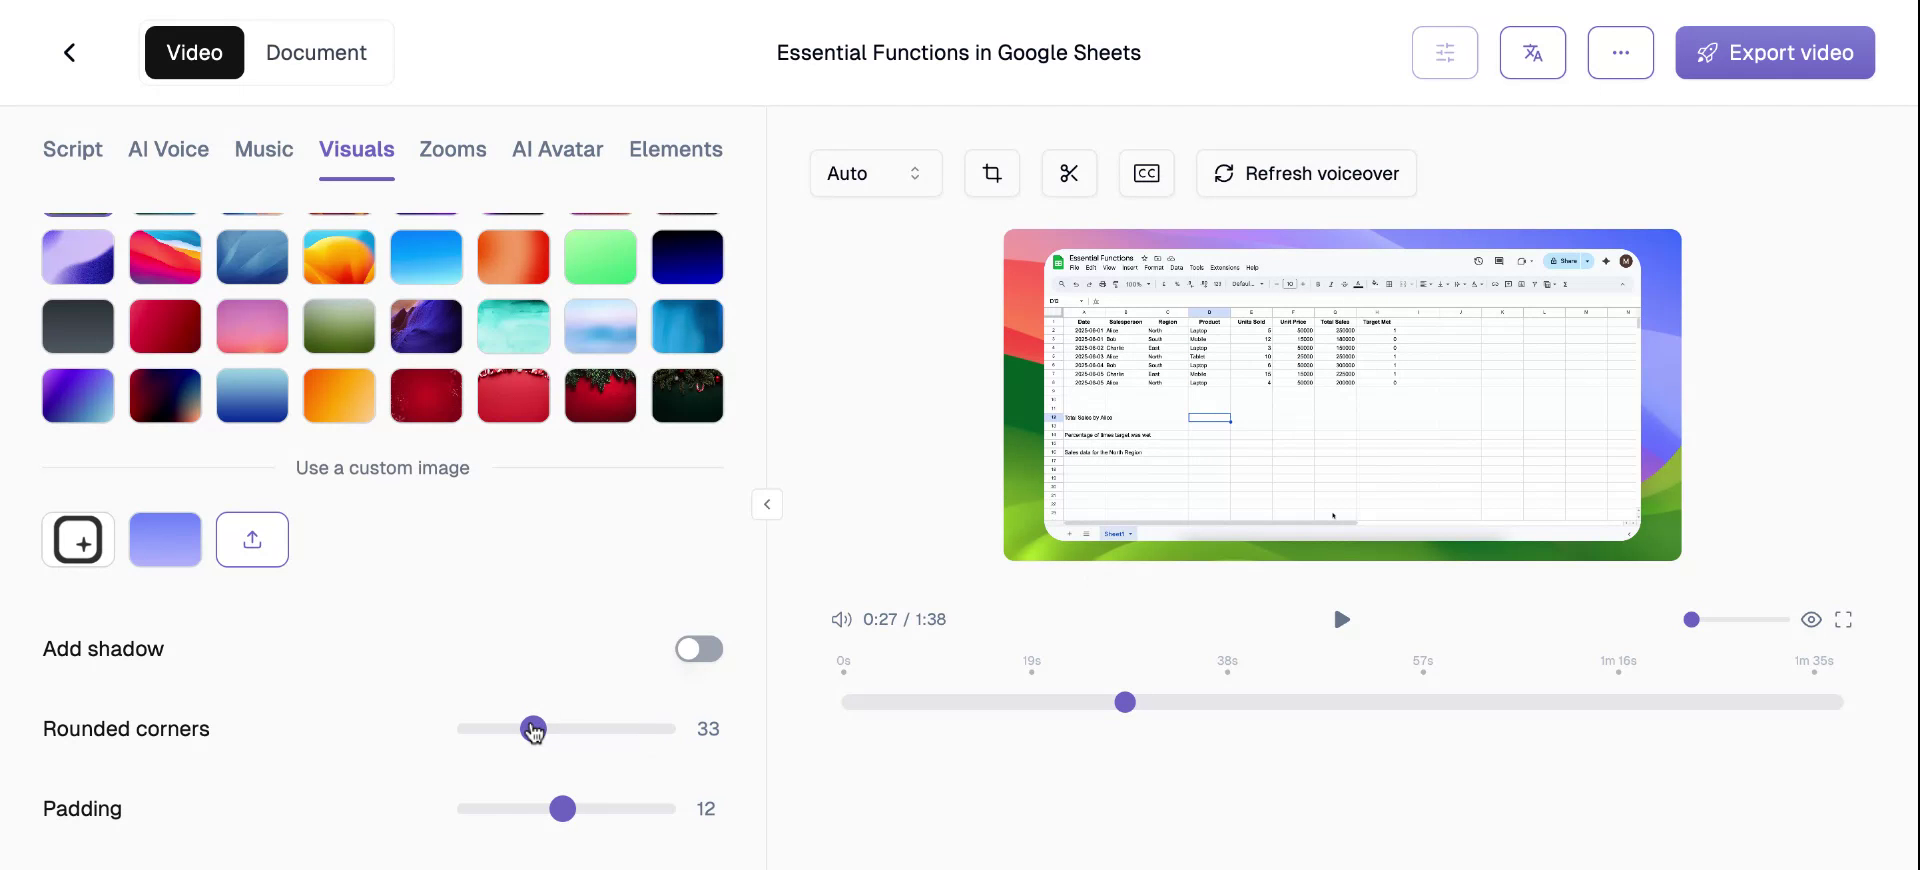
Step 8
The padding toggle allows you to adjust the video size relative to the background. Modify this setting as needed.
Step 9
Typically, a padding of 12 is used, but you can adjust this to meet your specific requirements.