This document outlines the steps to efficiently use the zoom feature on the platform. The zoom feature enhances video presentations by focusing on crucial aspects during playback. Below are the detailed instructions to help you customise and apply zooms effectively.
Step 1
Begin by checking out the zoom feature (our editor’s personal favourite feature). After recording the video, locate the “Zooms” in the menu.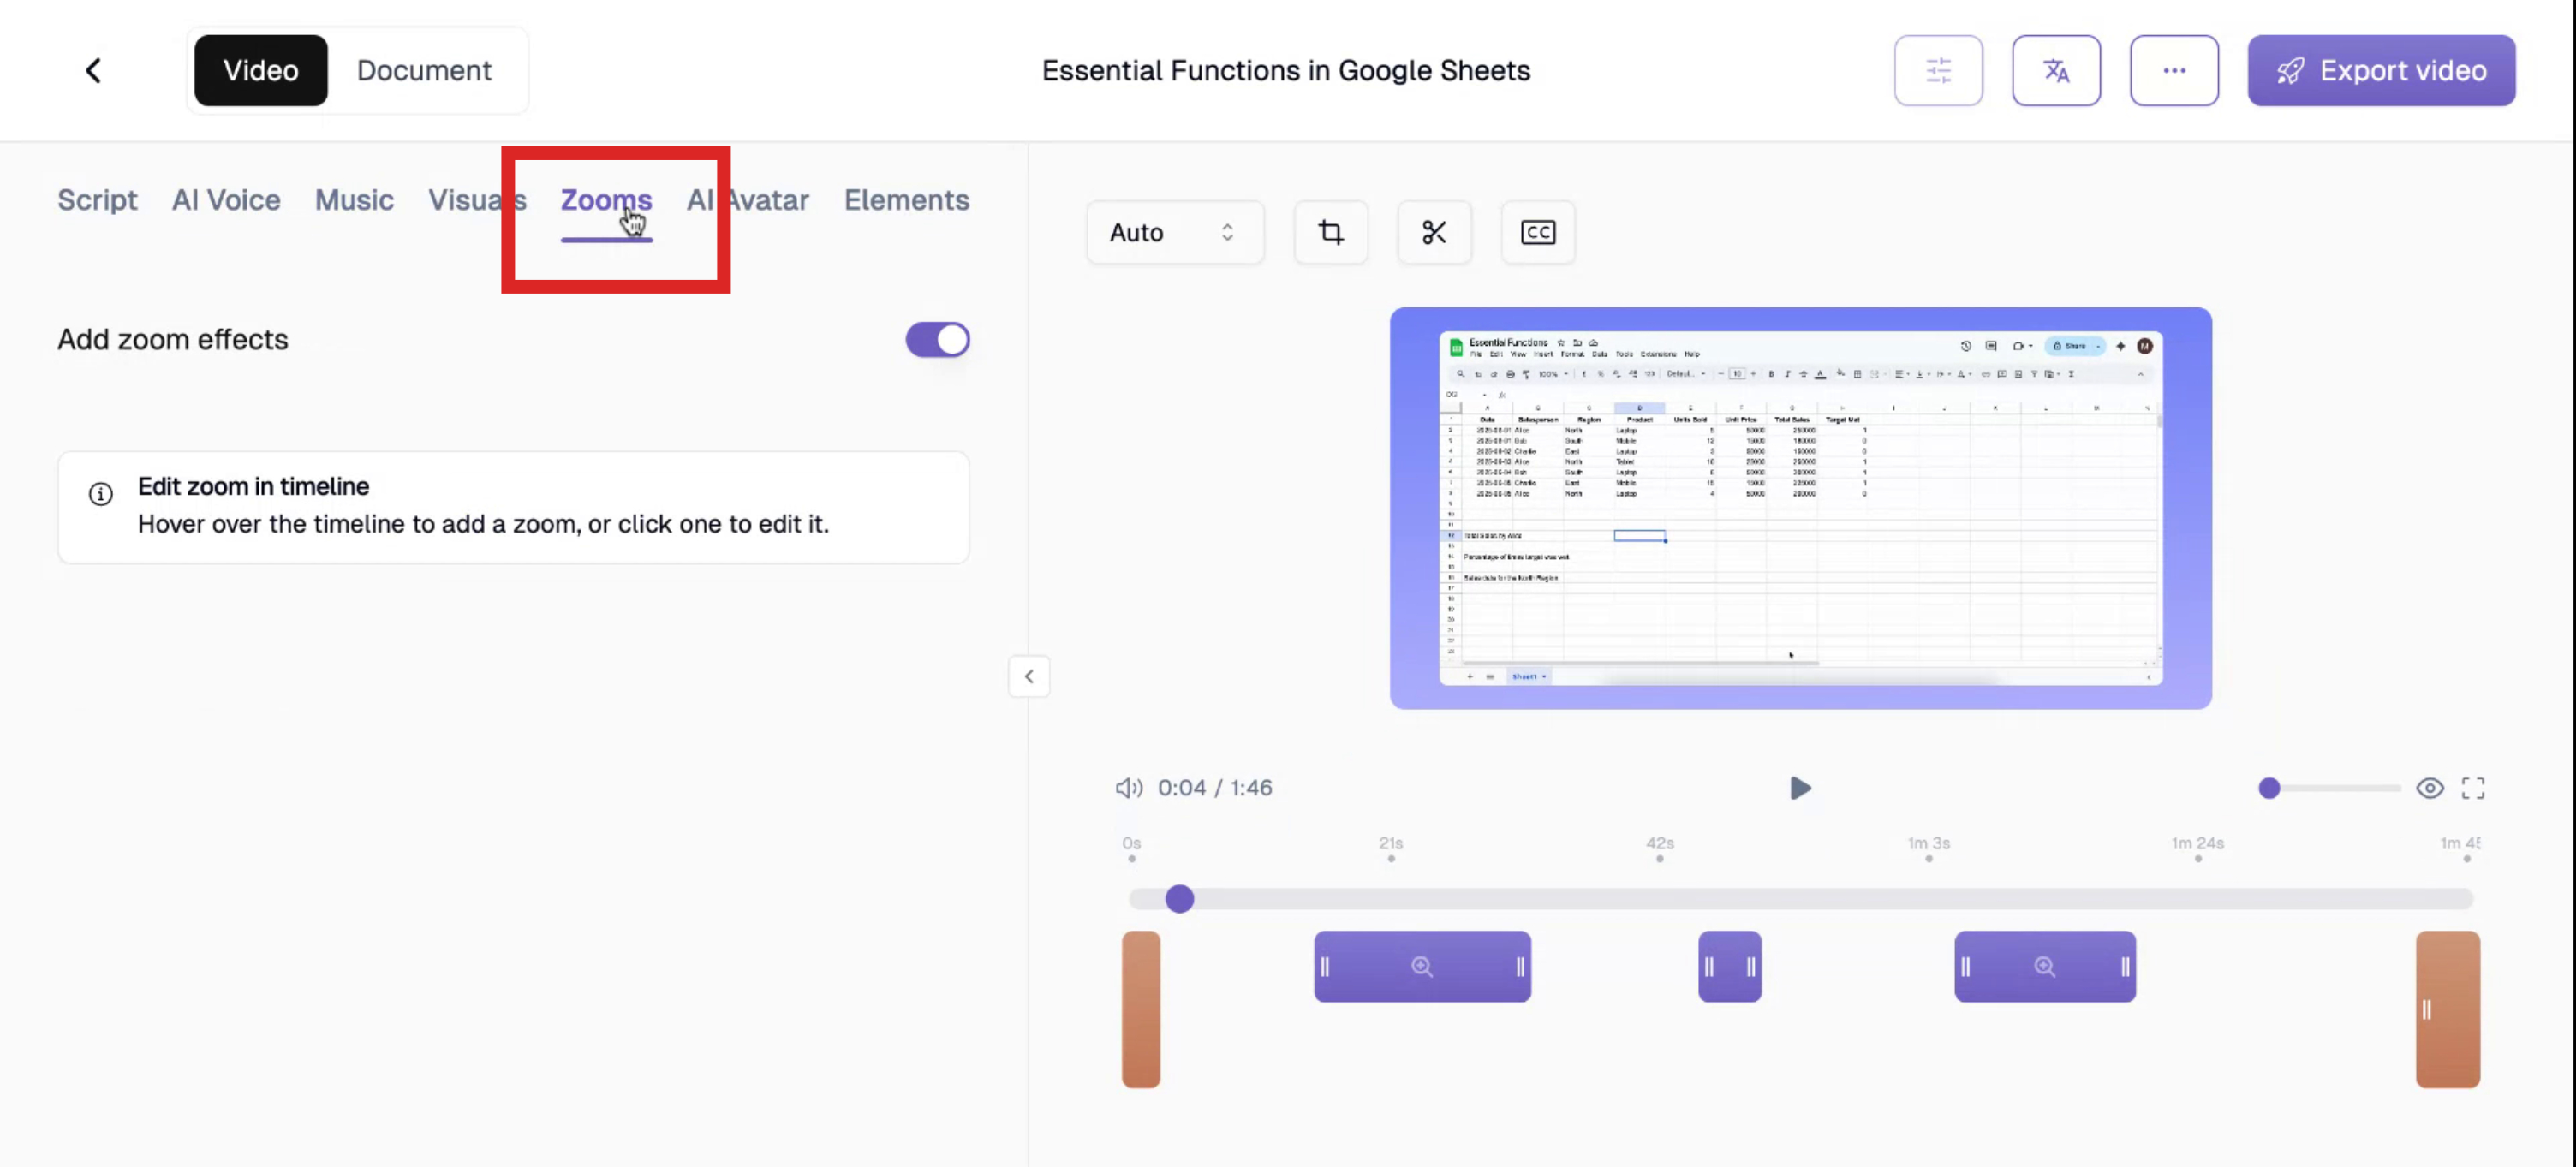
Step 2
Click on the “Add zoom effects” toggle to choose whether to include zoom effects or not.
Step 3
If you’ve created the video using the Trupeer extension, the platform will automatically apply certain zooms based on the video’s context. For instance, in a segment of the video where I was discussing about the dataset, the platform zoomed in on the dataset.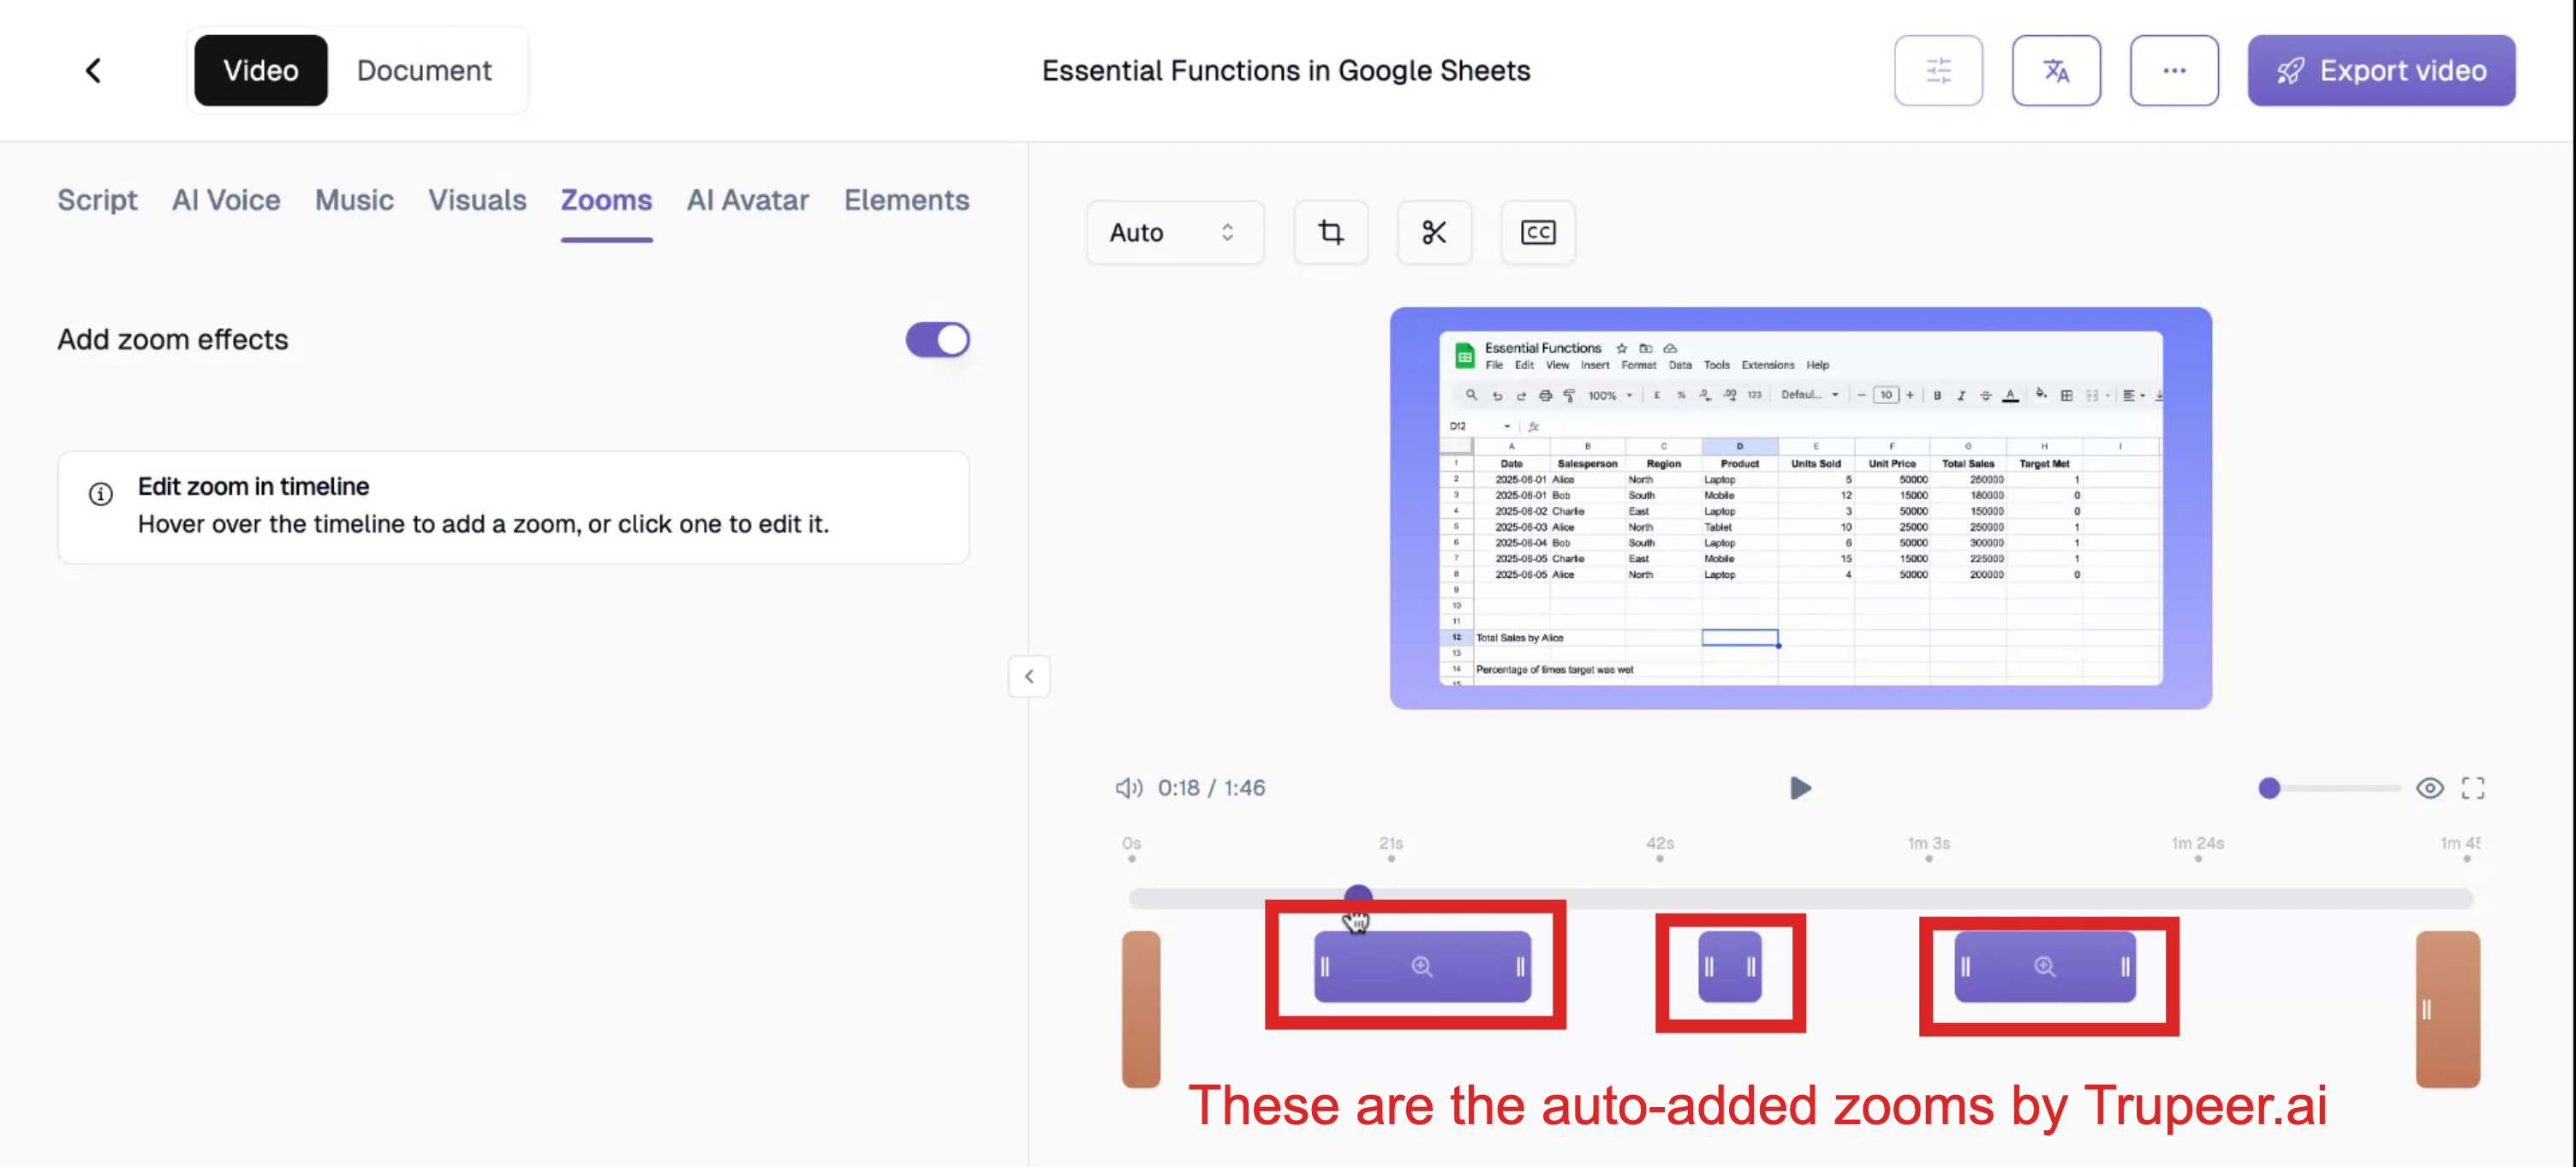
Step 4
To add or customise zooms, navigate to the timeline toggle and choose the precise timestamp where you wish to insert a zoom.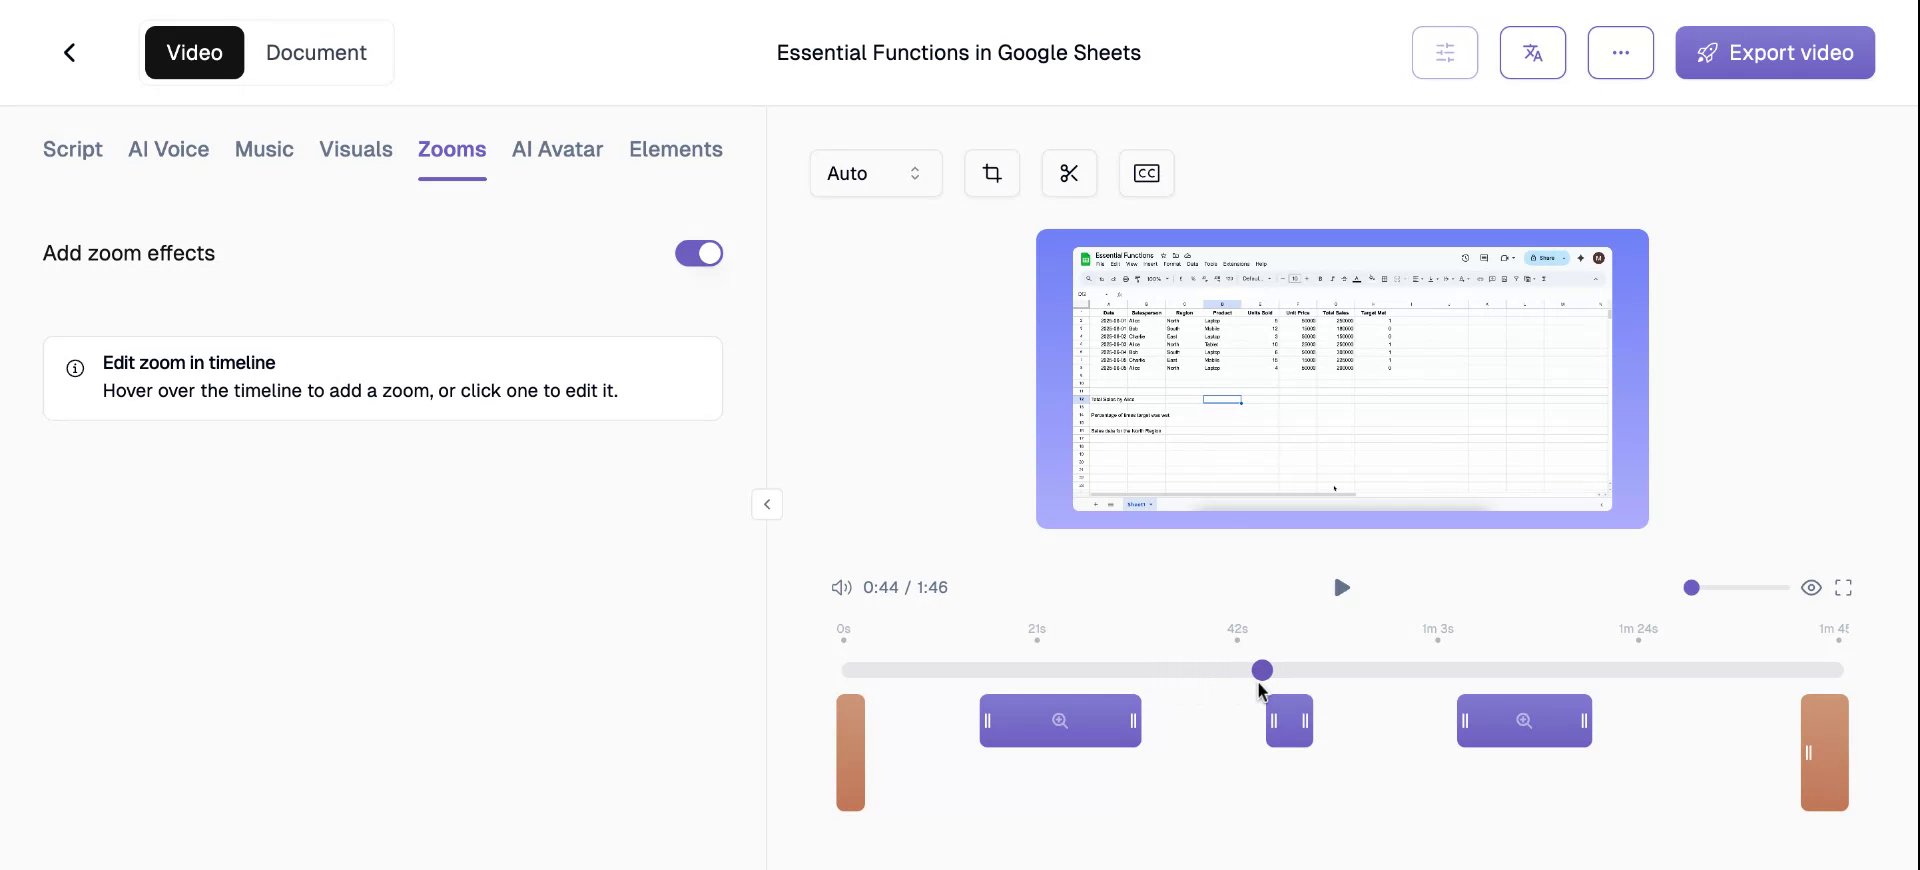
Step 5
For example, in this instance, I want to zoom into the total sales data.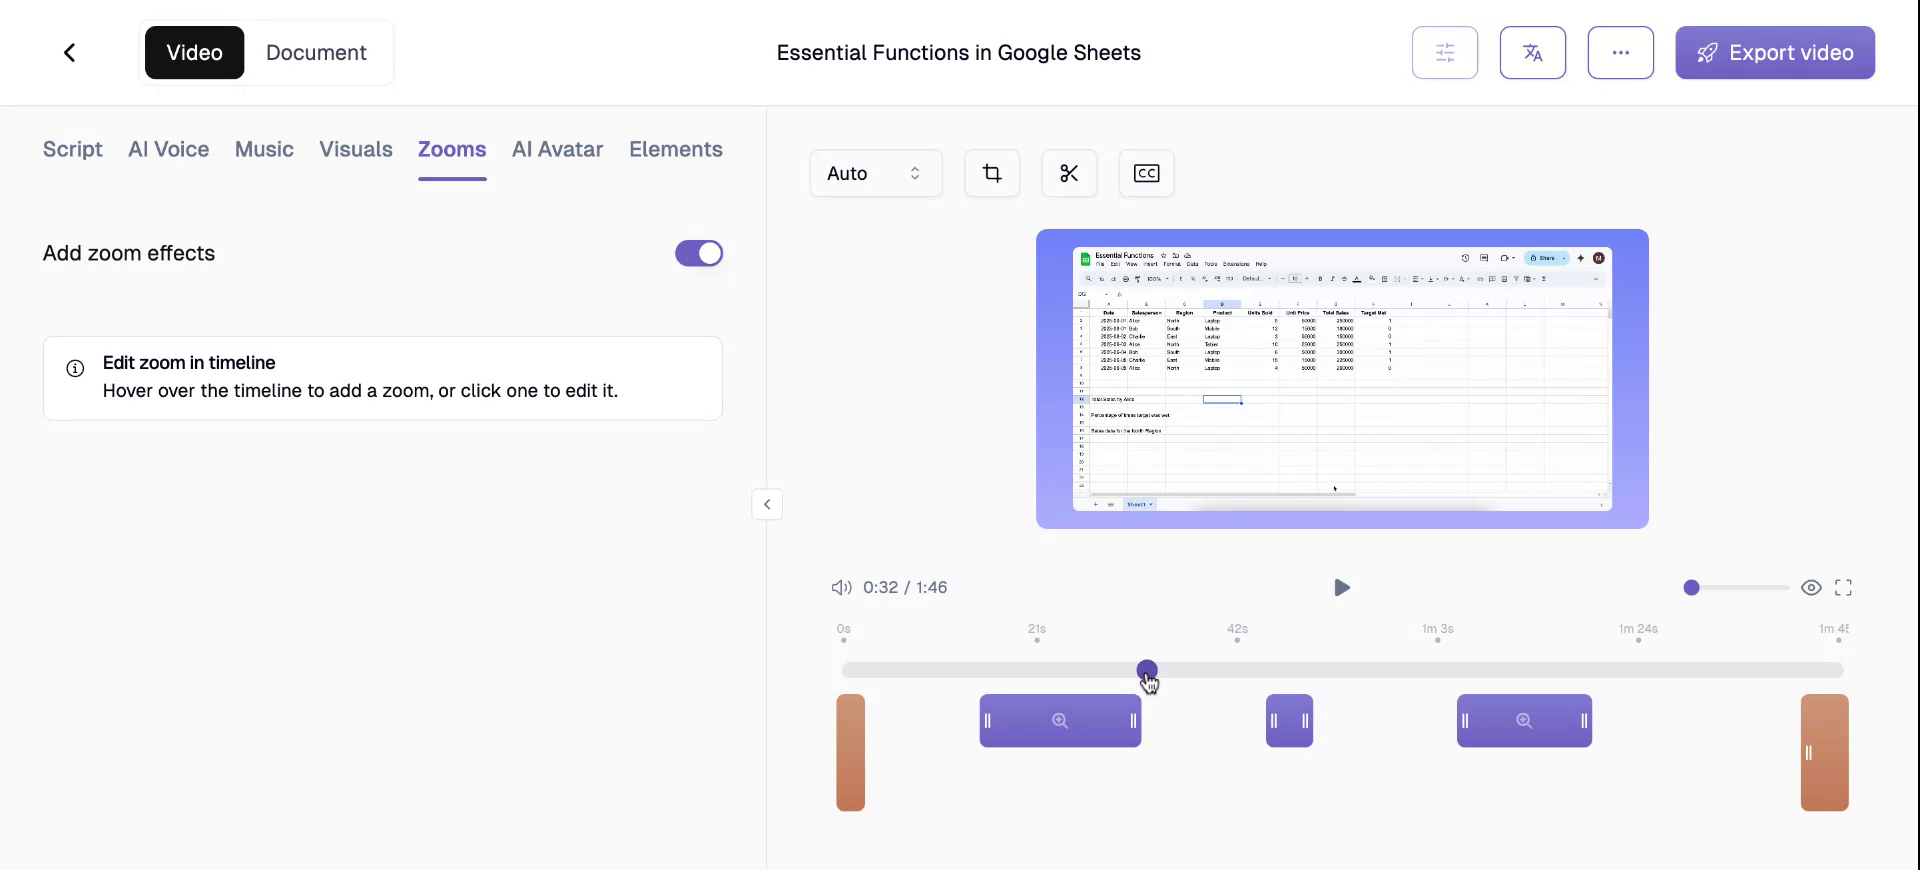
Step 6
Click to select the exact location on the timeline when you want the zoom to focus.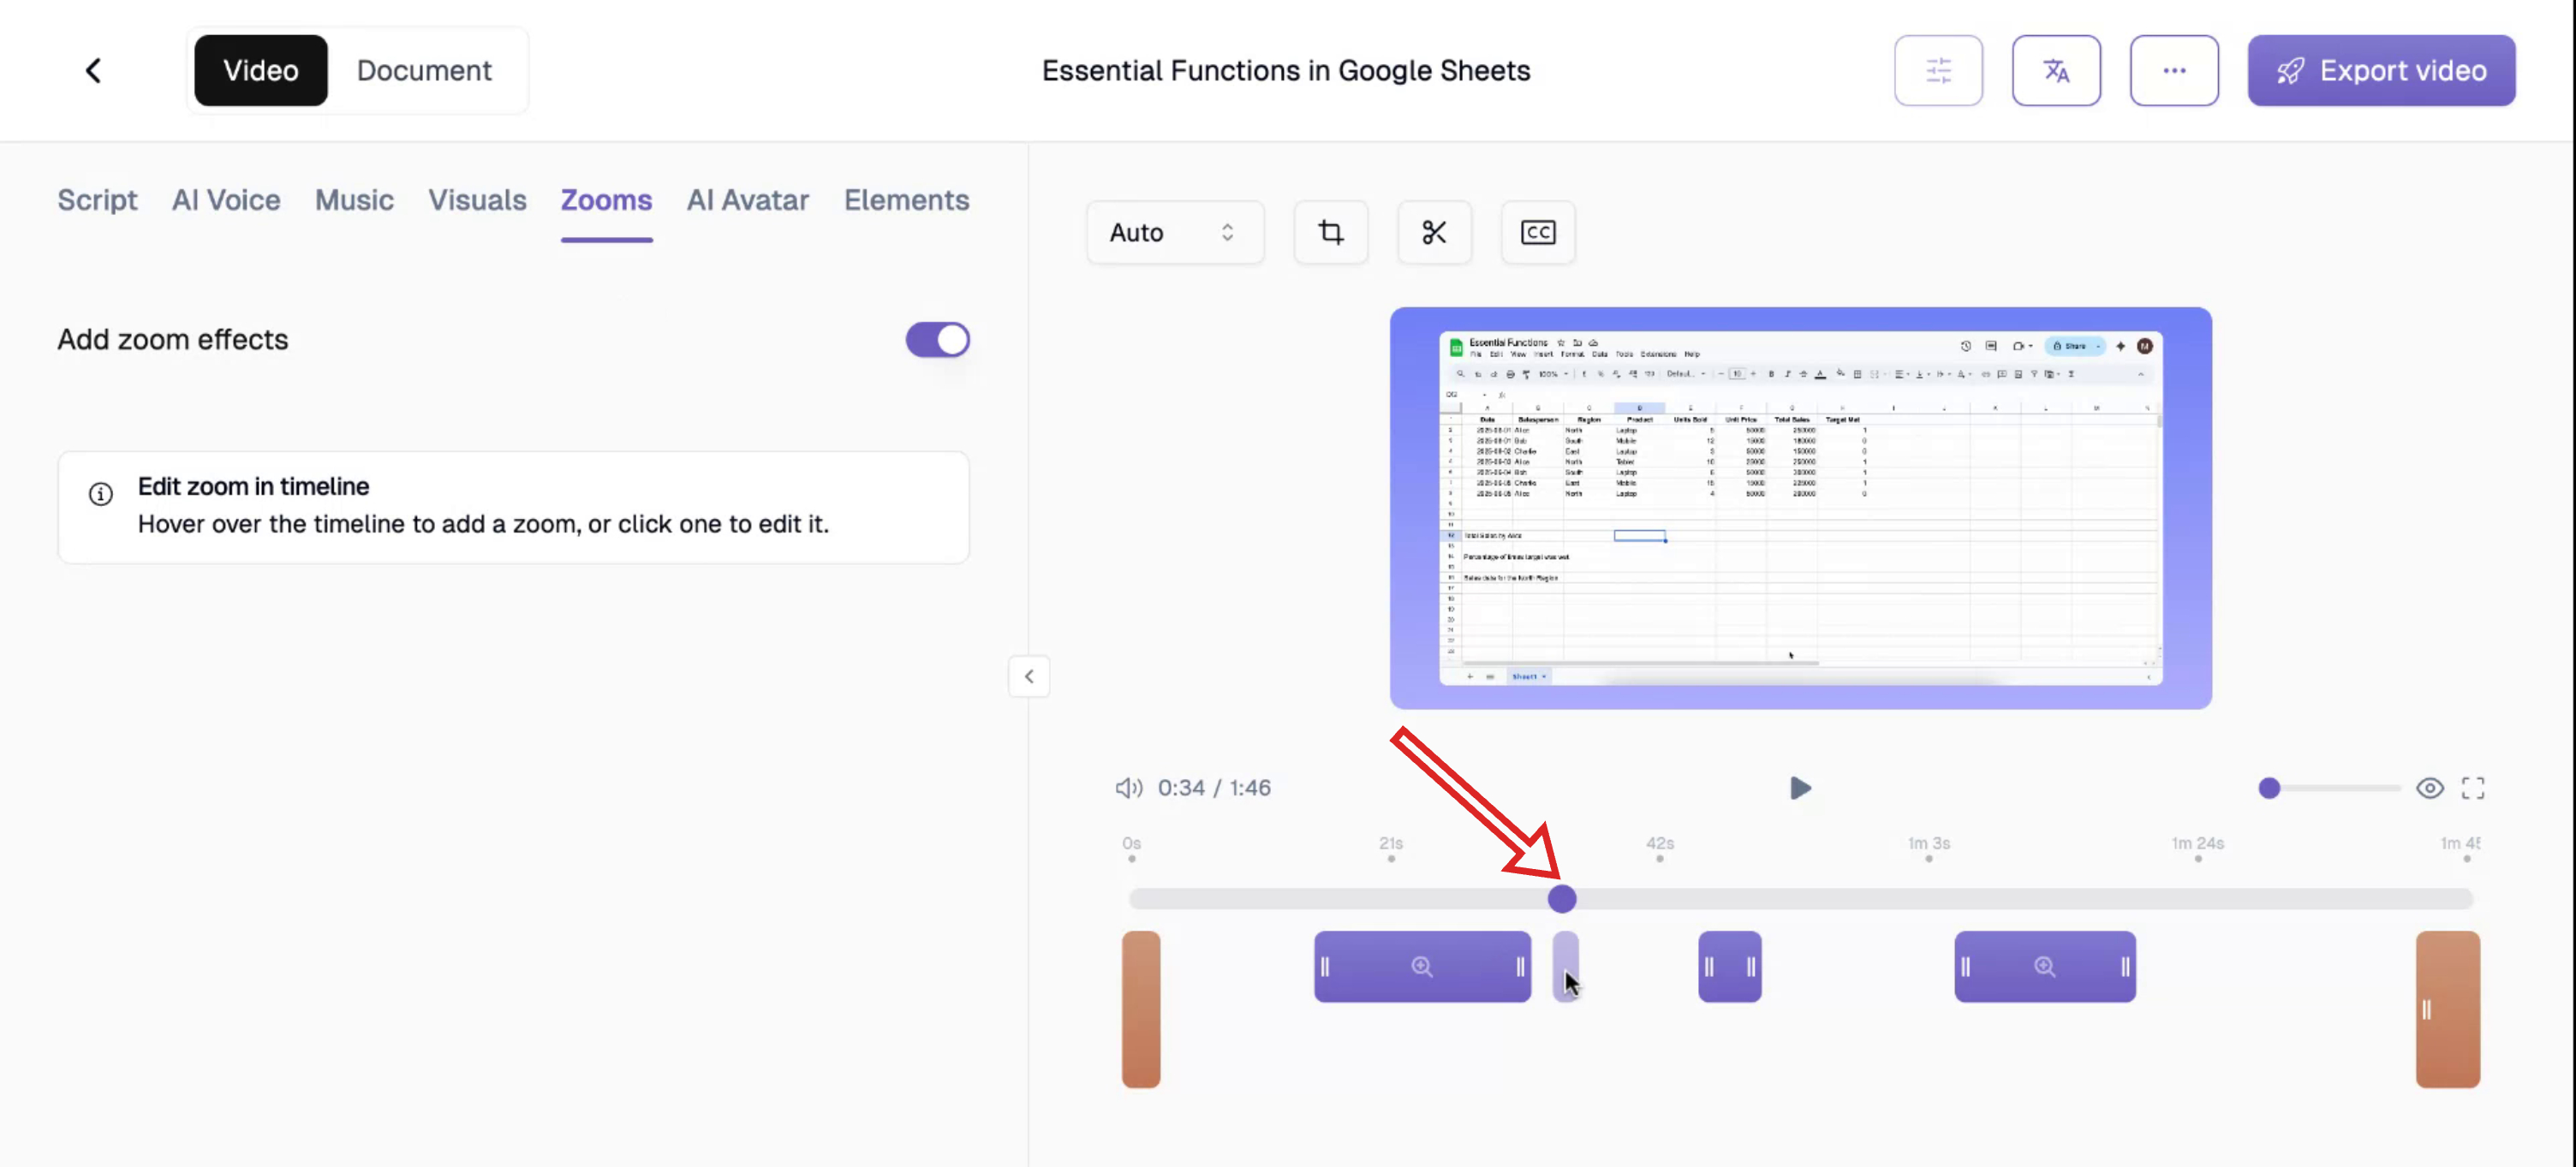
Step 7
On your screen, identify the zoom position toggle.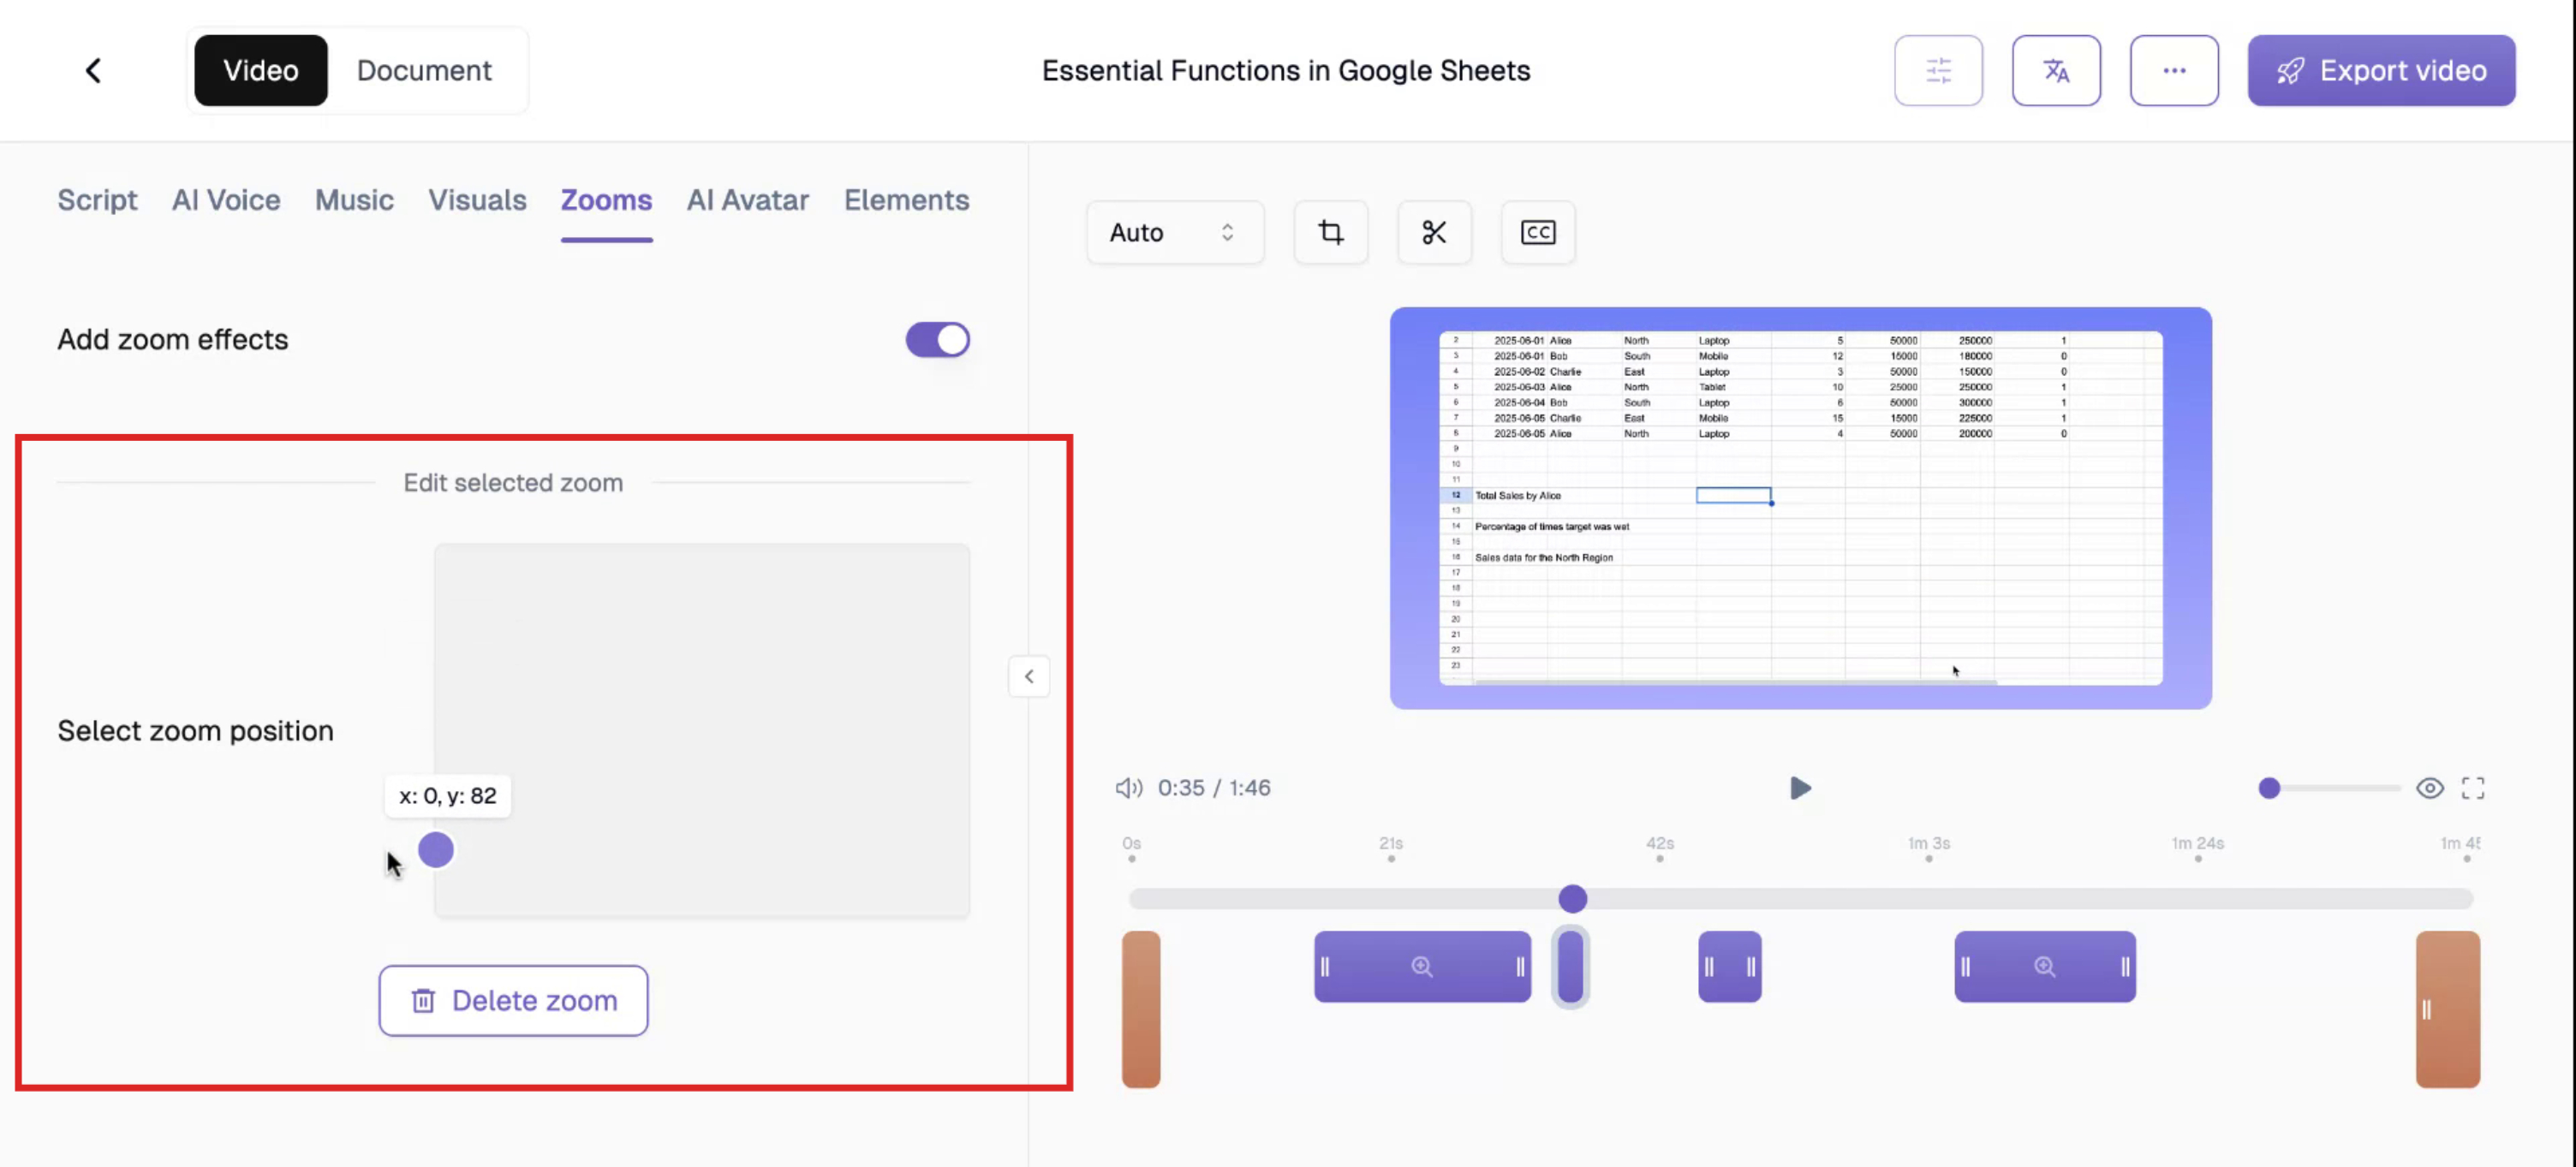
Step 8
Observe the current zoom settings.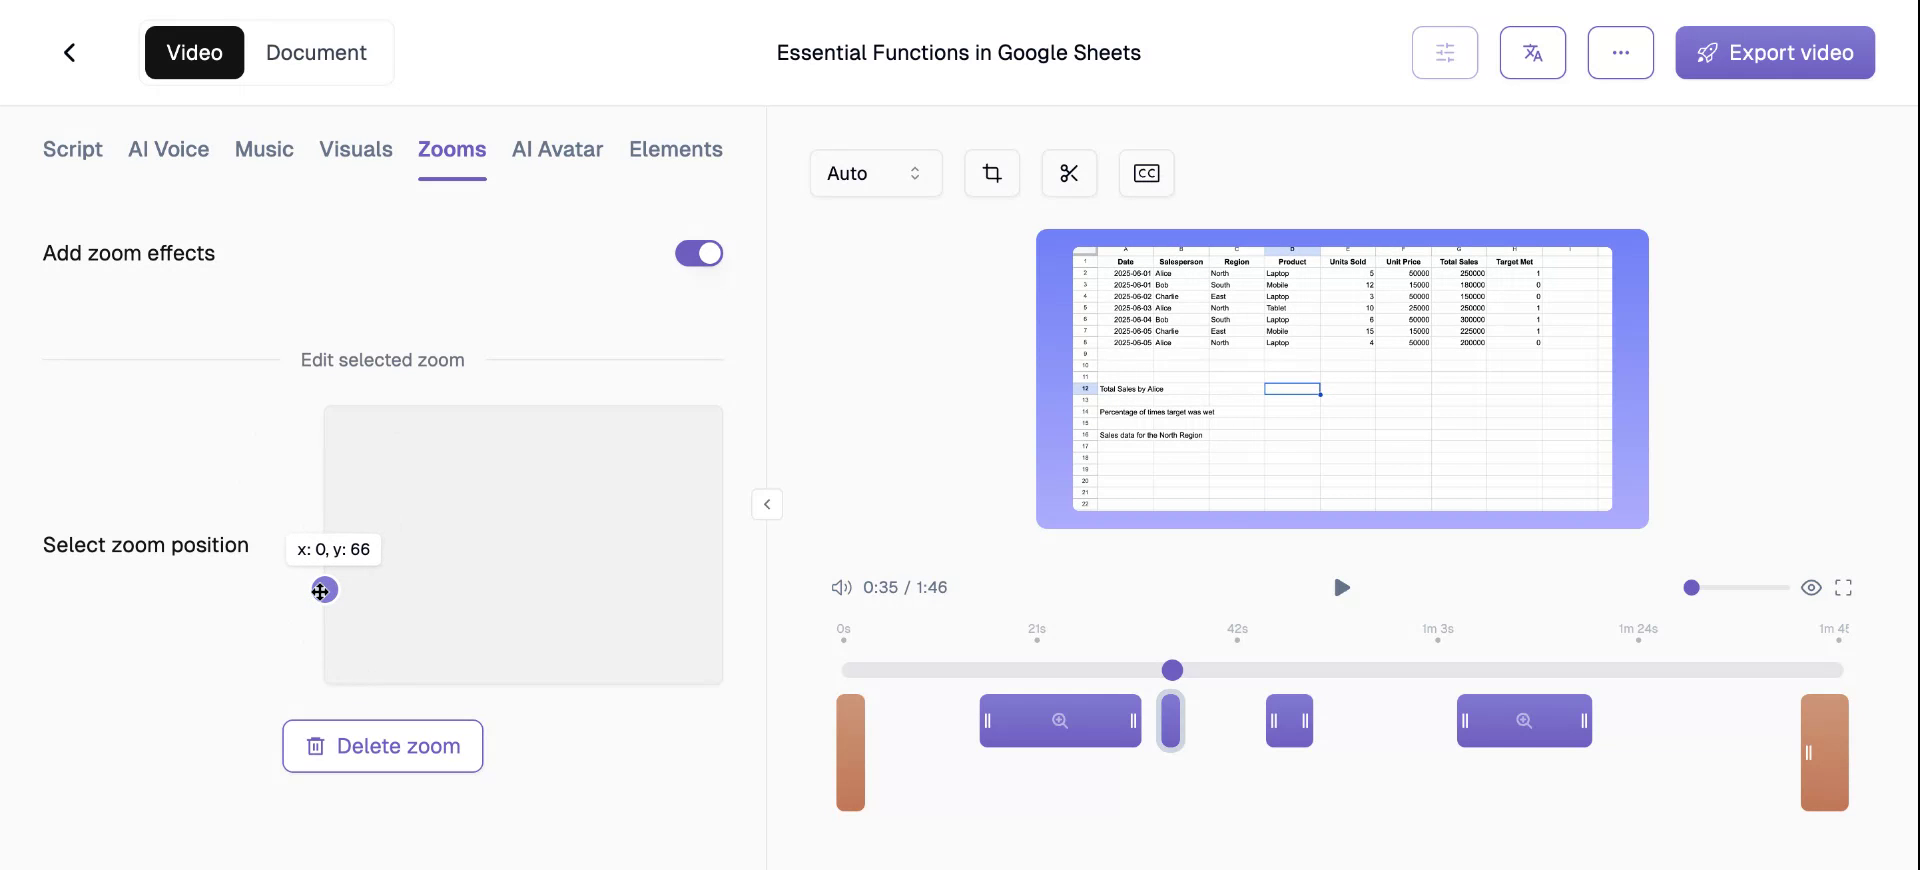
Step 9
You can adjust the duration for which the zoom effect remains active.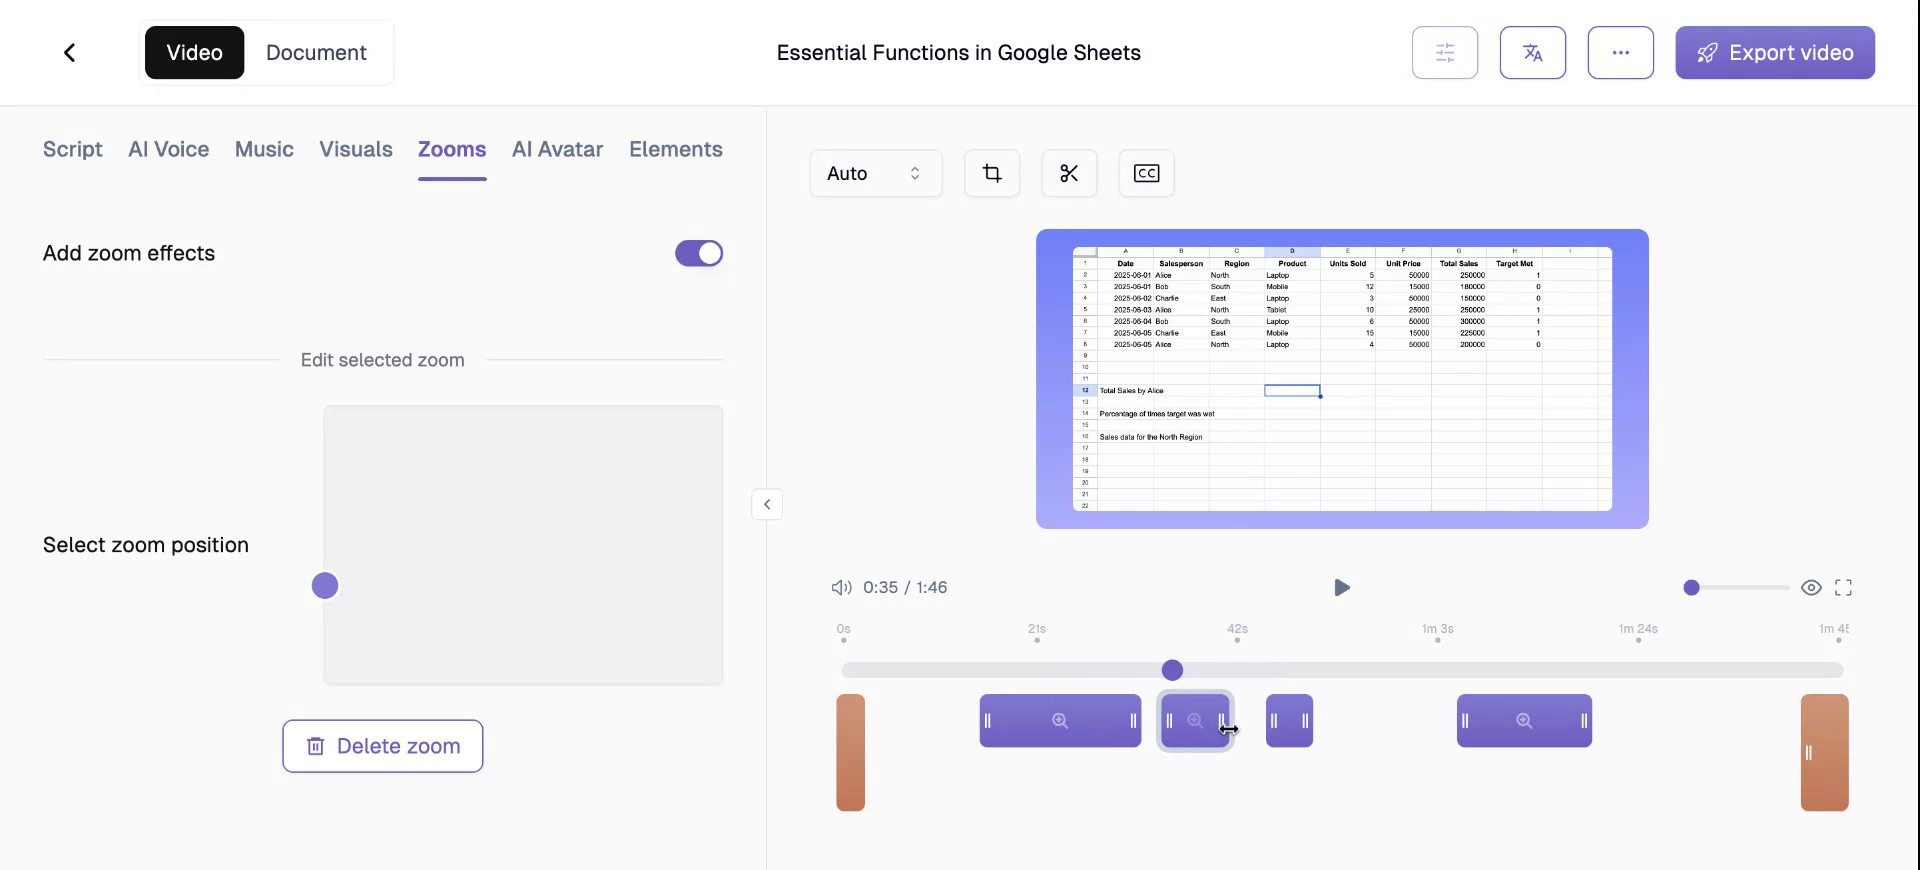
Step 10
Play the video to observe the zoom effect for the specified duration.
Step 11
After the designated timeline concludes, the video will automatically zoom out.