This guide provides a comprehensive overview of editing documents on Trupeer.ai, including modifying descriptions, managing screenshots, and utilizing various formatting tools. The process is streamlined to ensure an intuitive user experience while offering advanced features like annotation and translation.
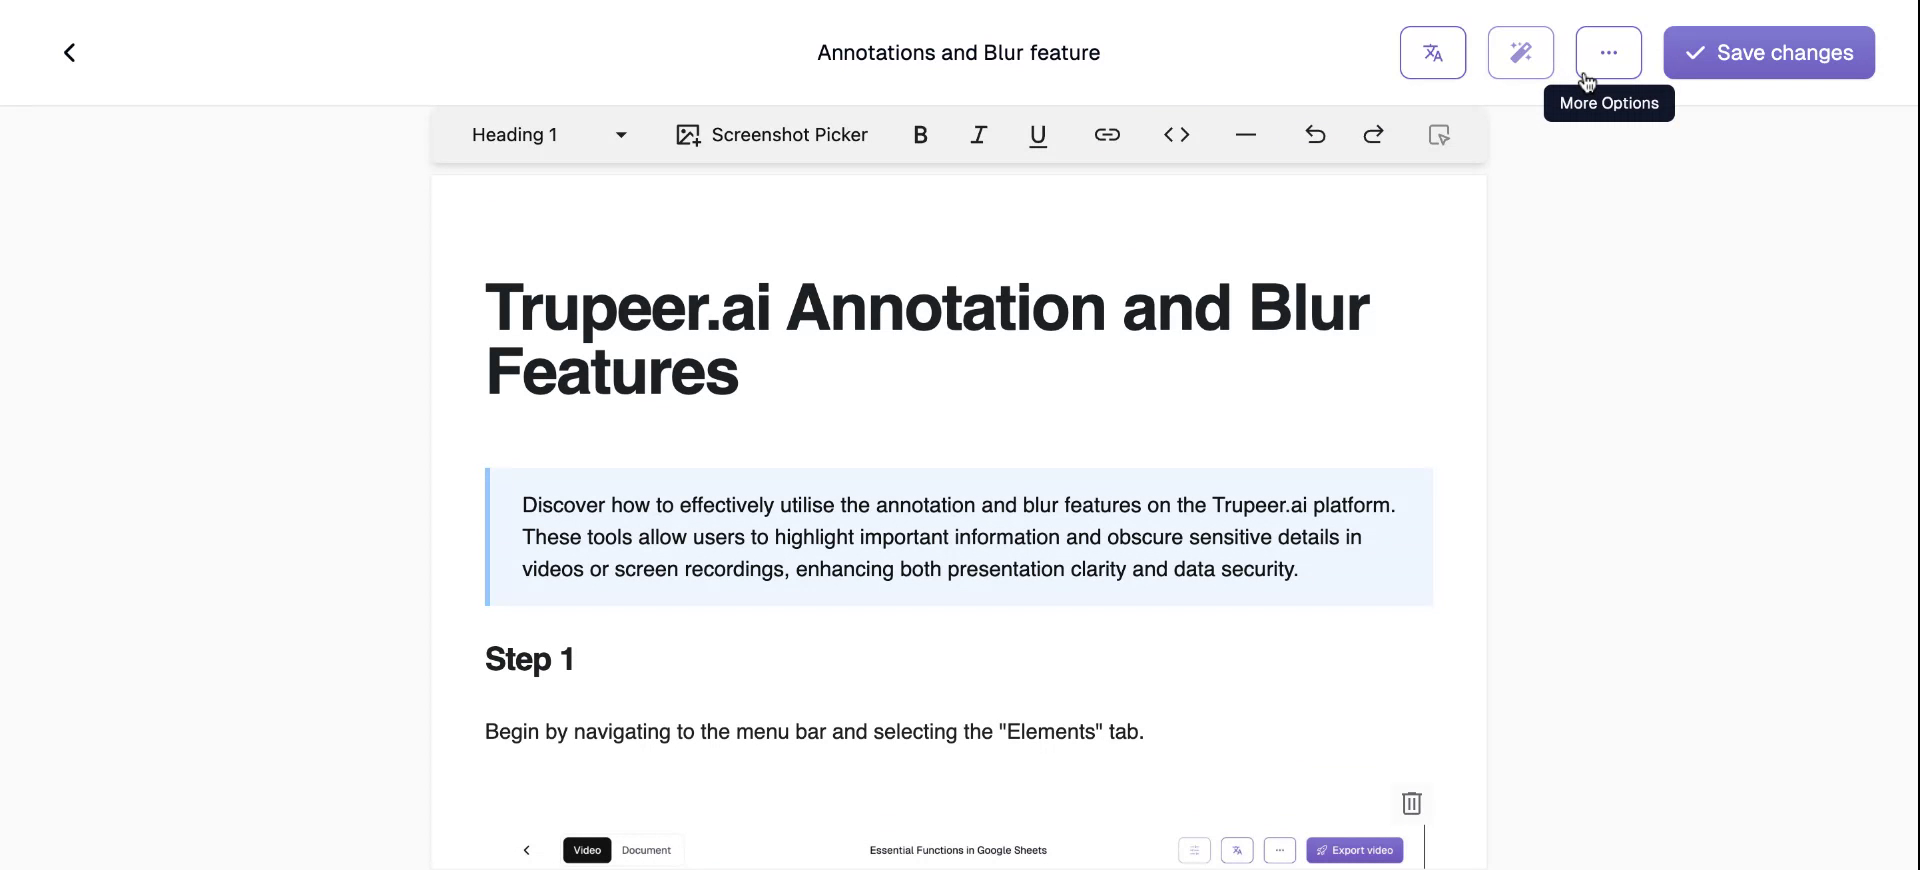
Step 1
To begin editing documents on Trupeer.ai, note that the platform automatically generates a suitable title and description. Both of these are editable, along with the step-by-step guide that is created.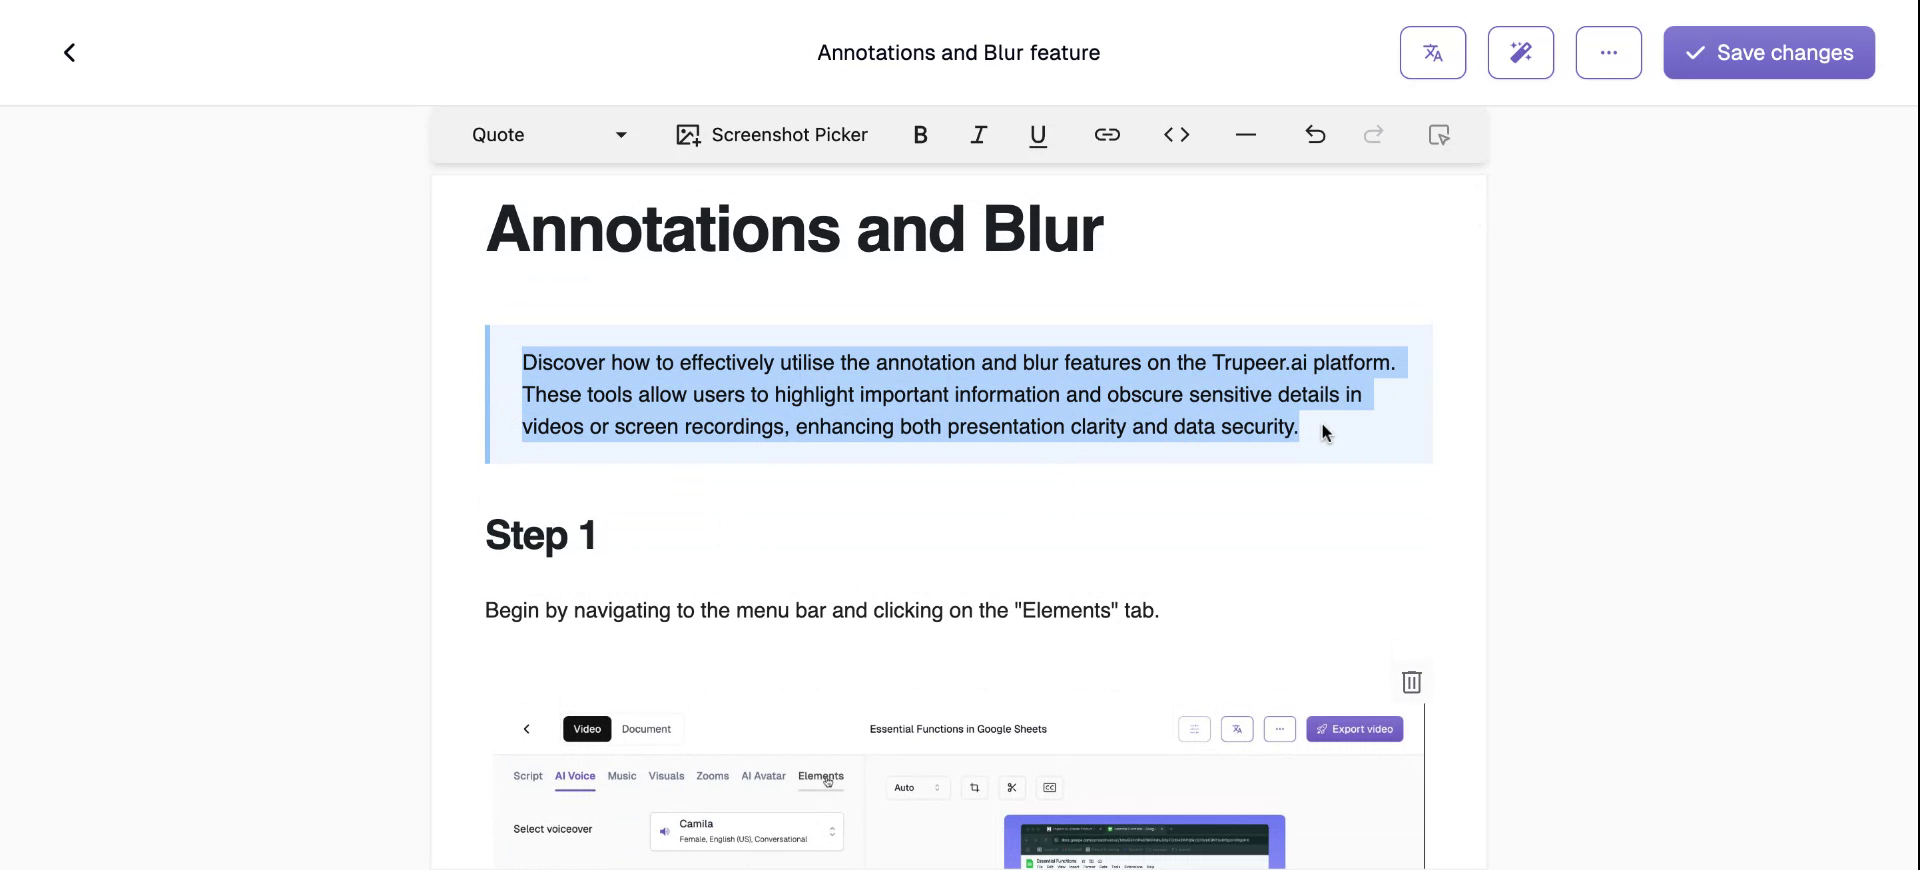
Step 2
You have the option to change a screenshot linked to a specific description. Just click on the image, and then select Screenshot Picker.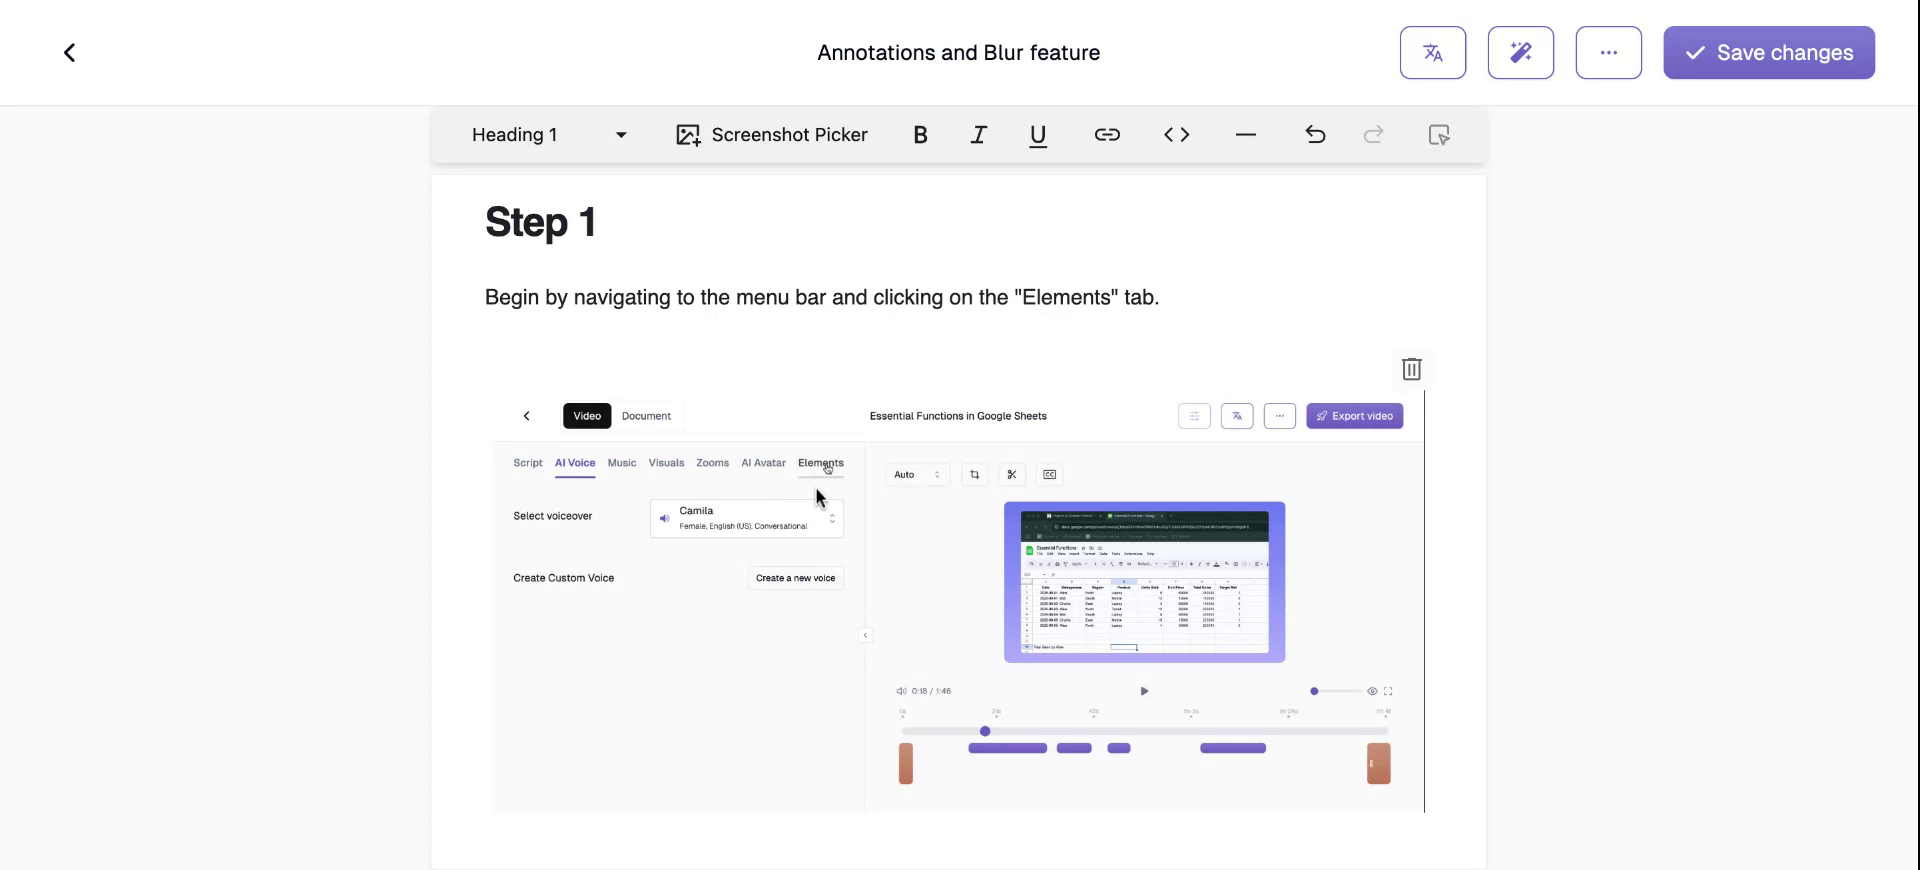
Step 3
Navigate to the desired screenshot and add it to your document.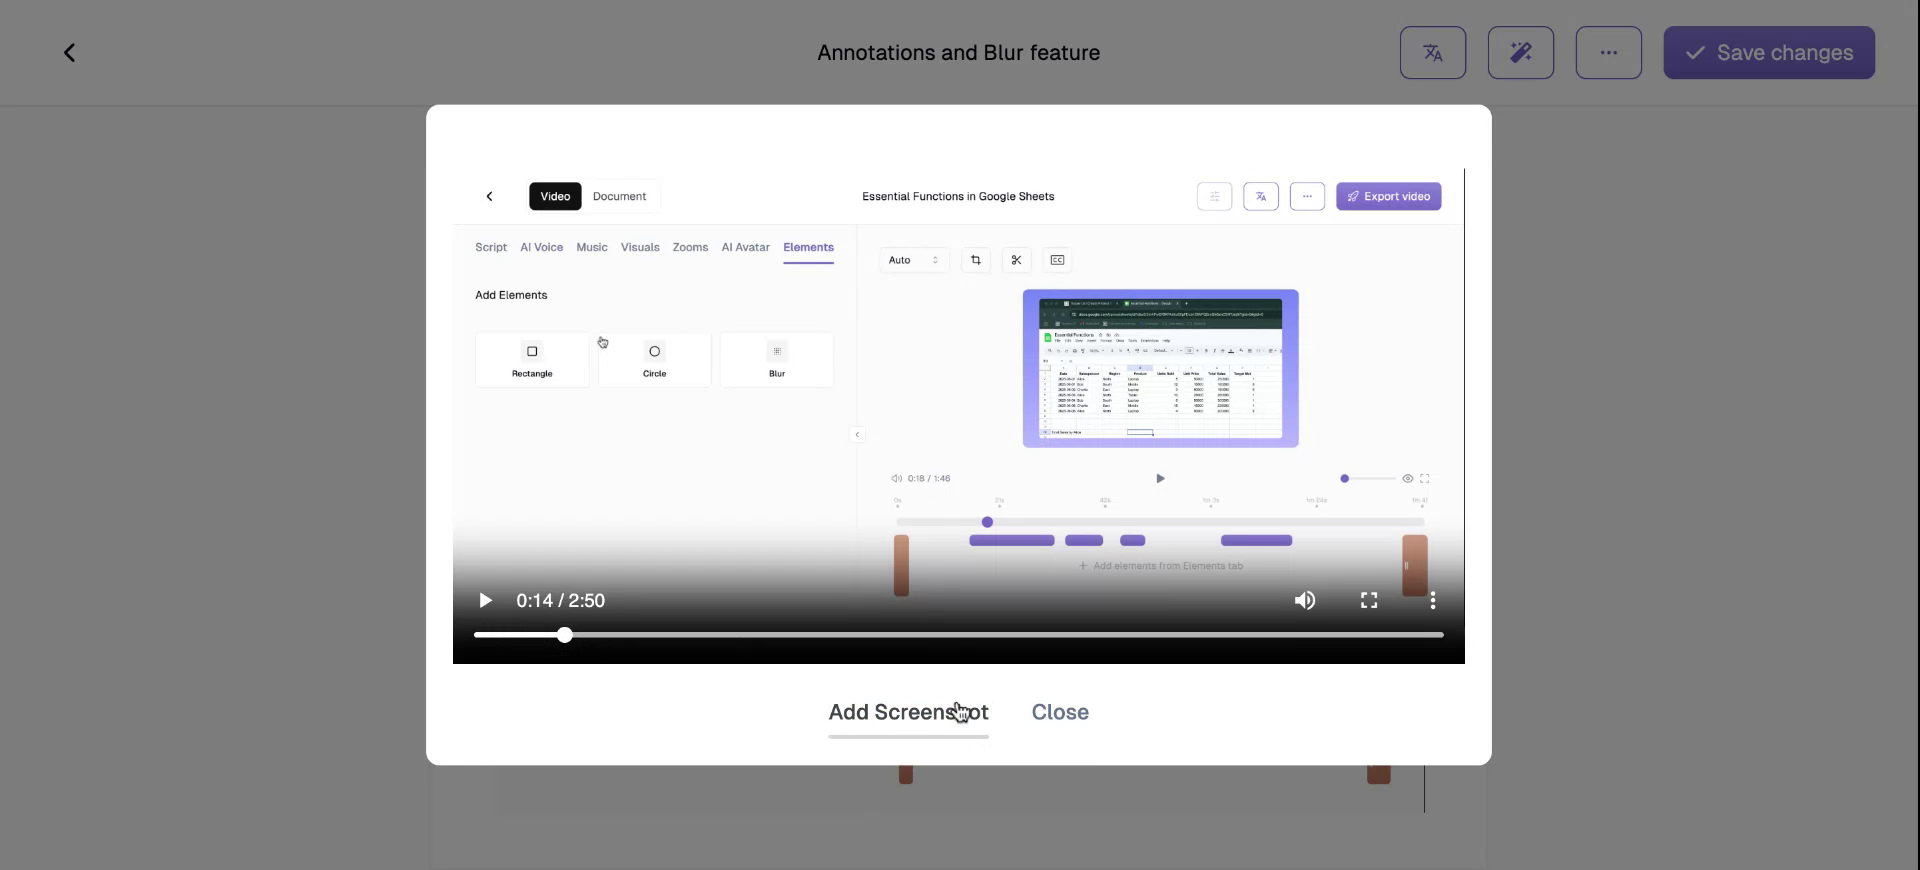
Step 4
As you will see, the screenshot has now been updated. You also have the capability to add a new screenshot.
Step 5
To incorporate another screenshot, return to the Screenshot Picker and select the screenshot you wish to add.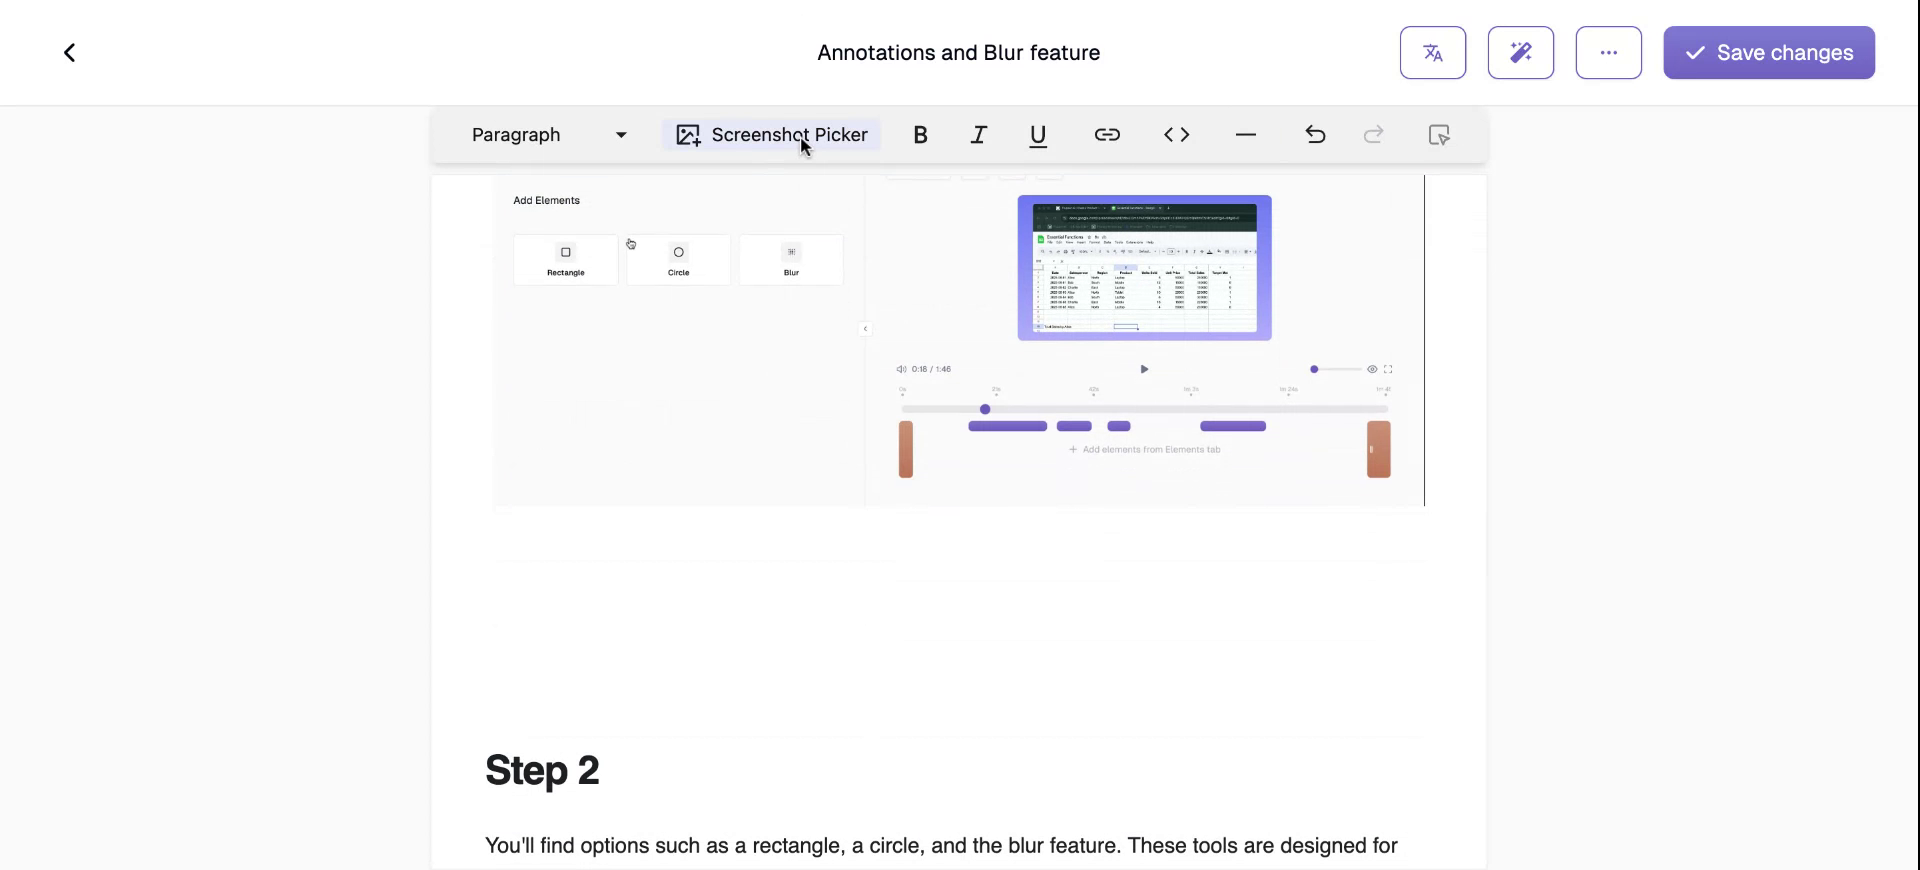
Step 6
Click on “Add Screenshot” to include it in your document.
Step 7
Now, you have an additional screenshot added. You can also edit any screenshot by selecting it, clicking “Edit Image,” and utilizing annotation tools like circles and rectangles.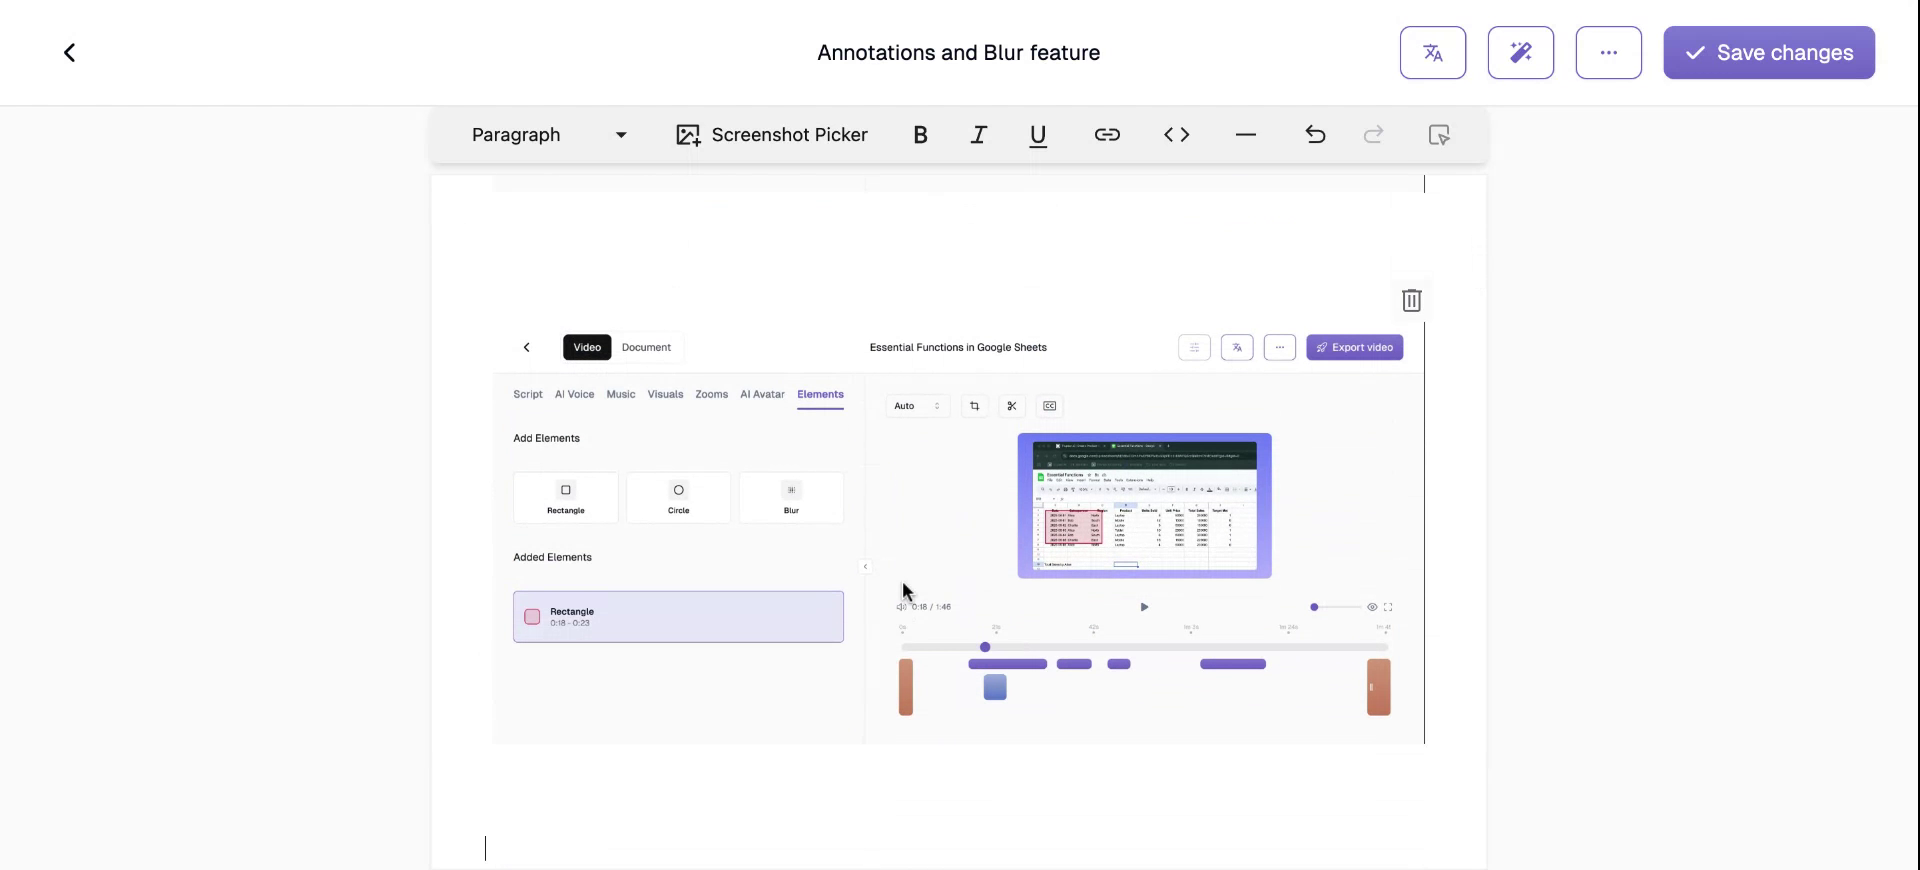
Step 8
Additionally, you may choose to blur parts of your screenshot to obscure any sensitive details.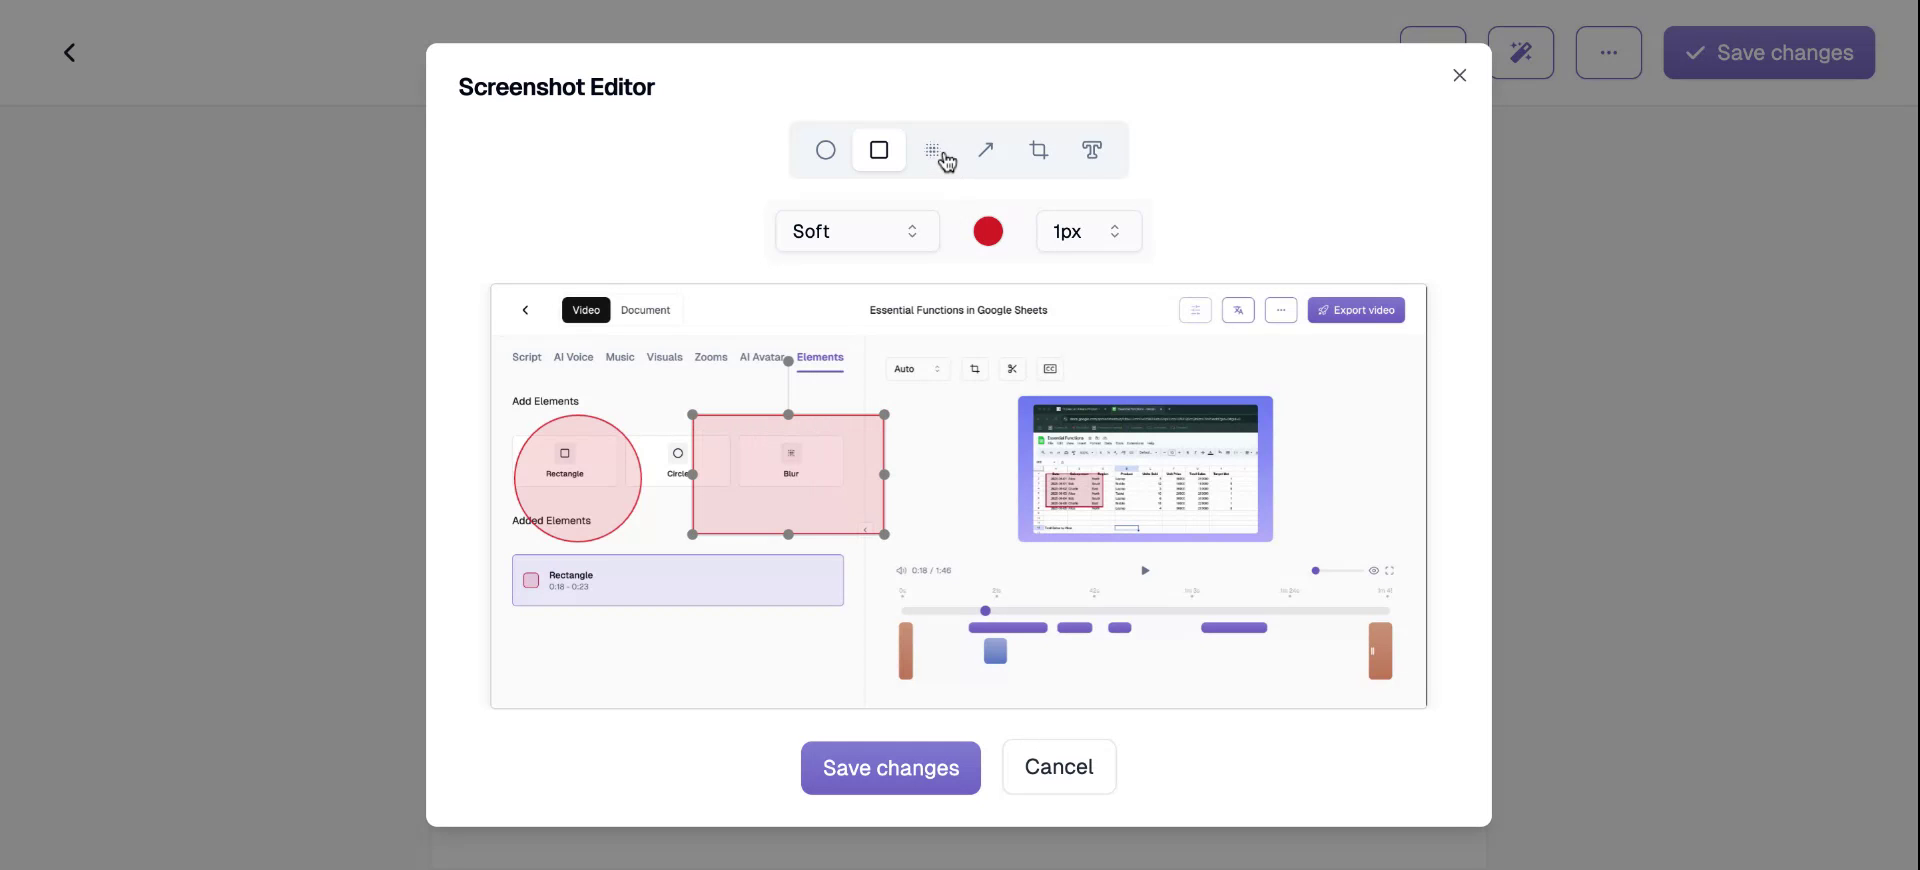
Step 9
Arrows can be placed anywhere on the screenshot if you wish to highlight specific areas.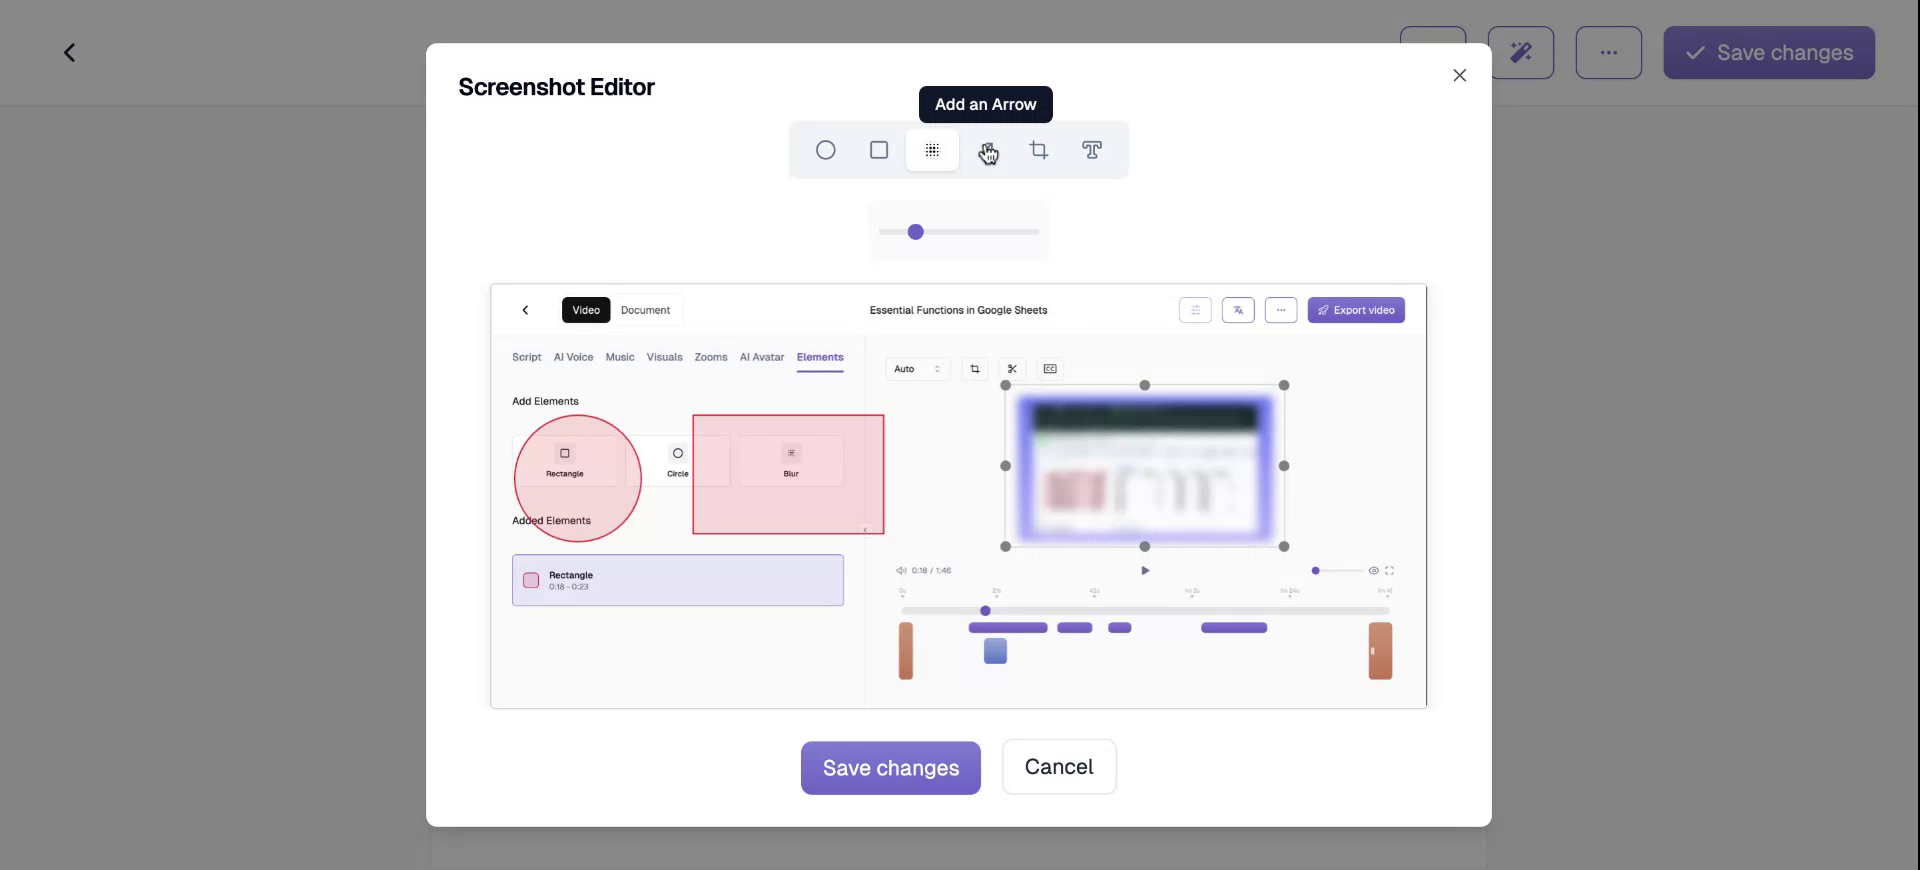
Step 10
You have the option to crop your screenshot to remove any unwanted sections.
Step 11
Simply click on “Apply” to confirm your changes.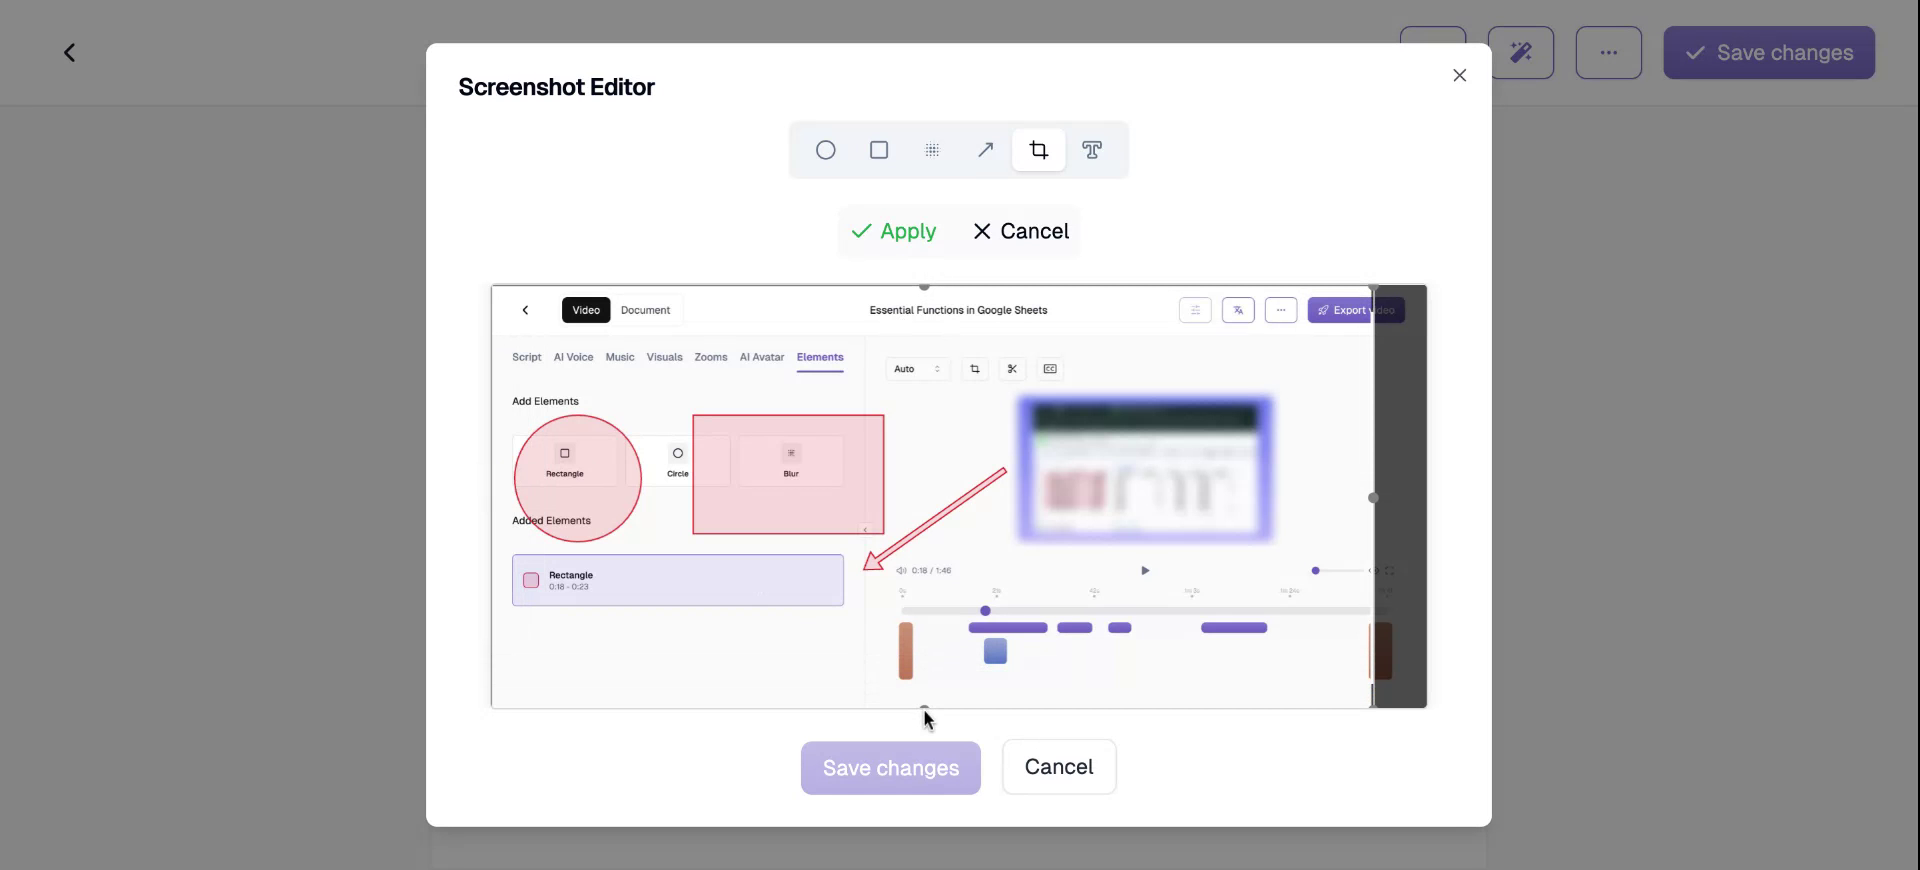
Step 12
You can insert a text box at any location within your screenshot.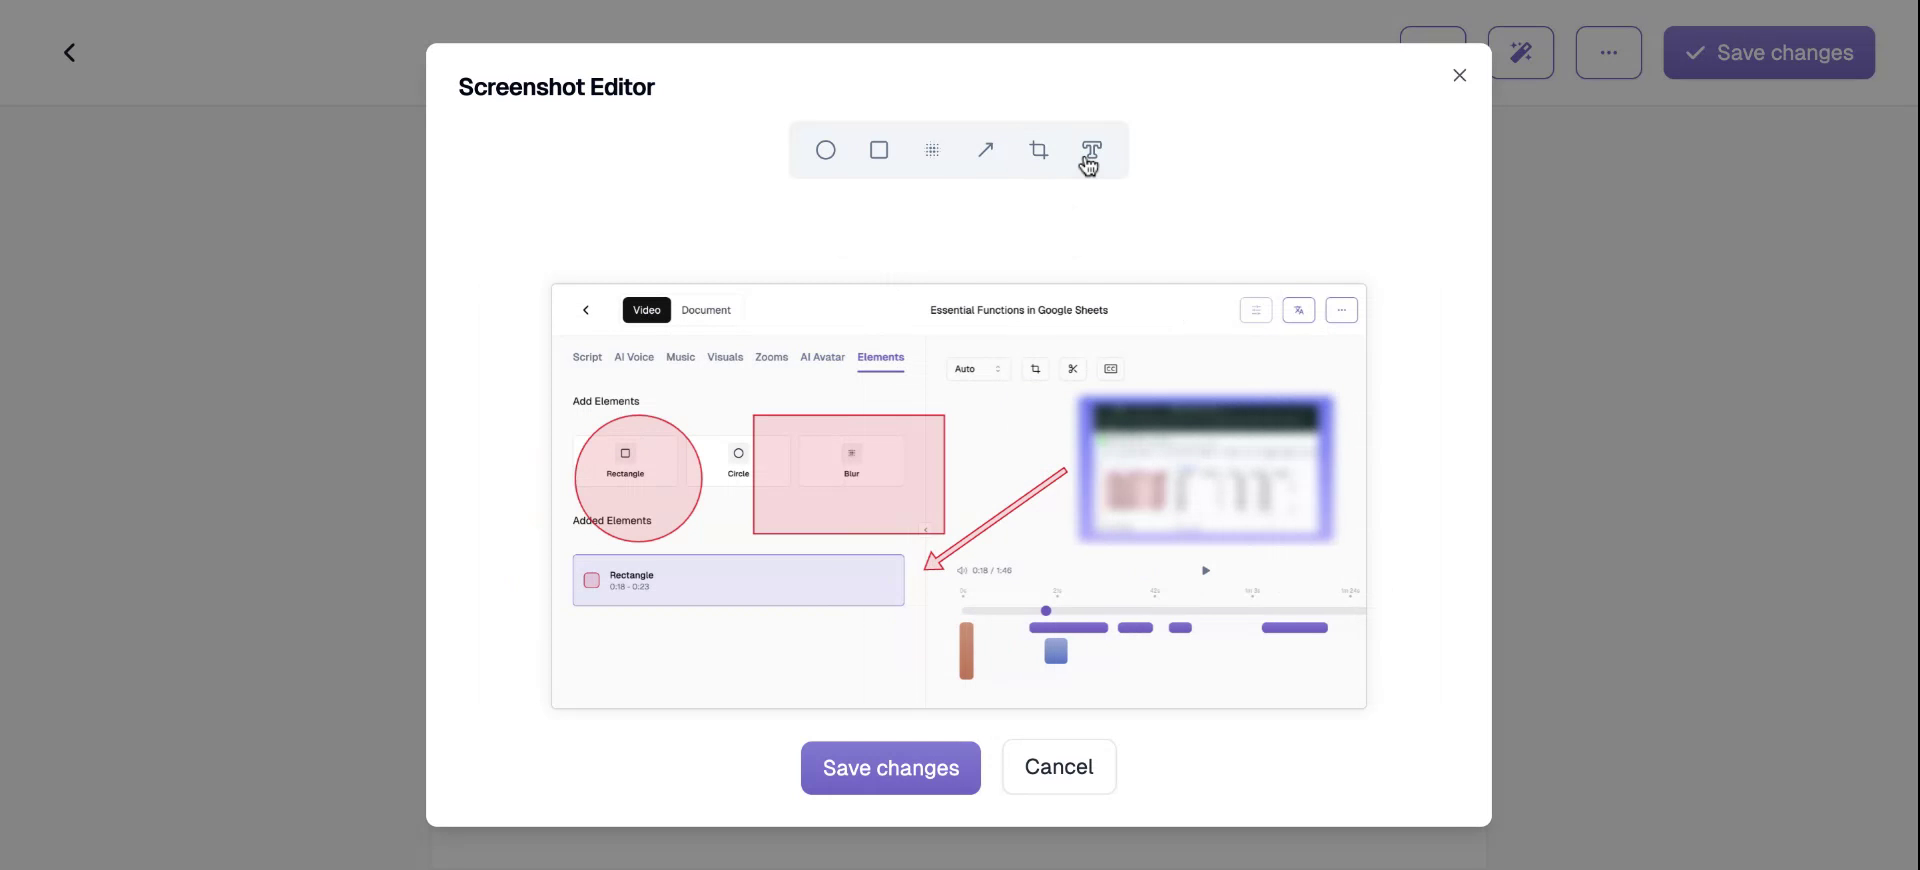
Step 13
For instance, you can add a phrase like “Here is the annotation” and position the text box as needed.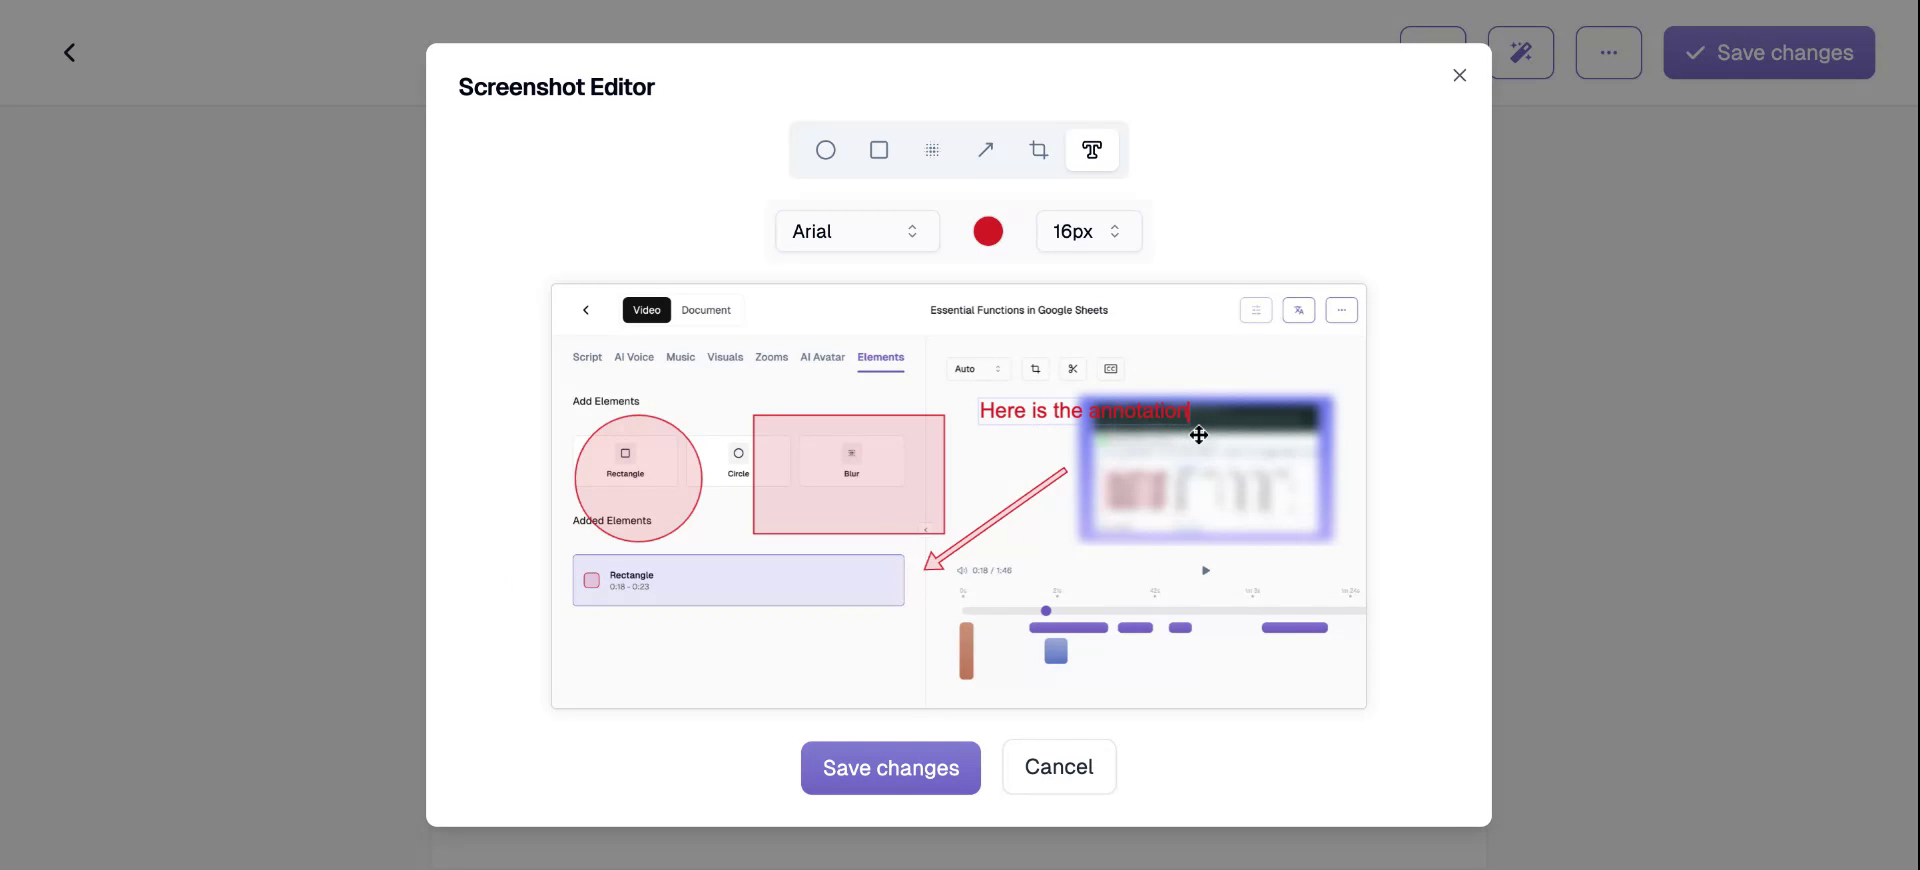
Step 14
Moreover, you can modify the size, color, and font of the text box. After making the changes, click “Save Changes.”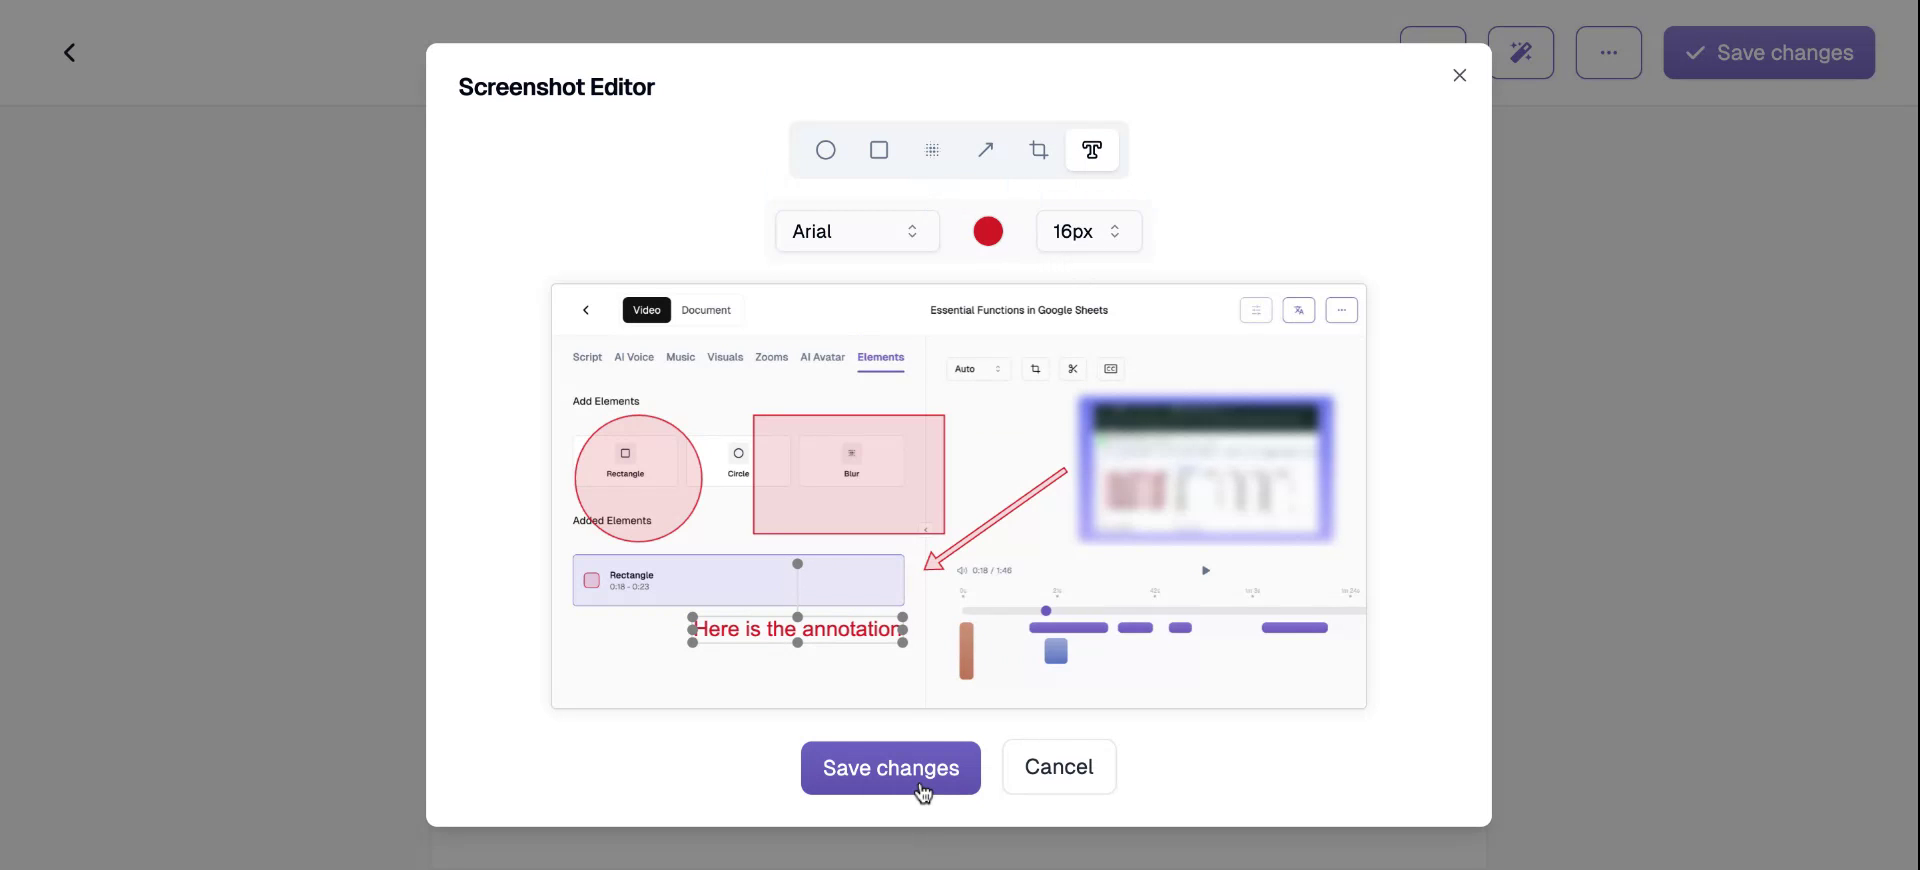
Step 15
Your screenshot will then be updated with these edits. You can also adjust the heading size.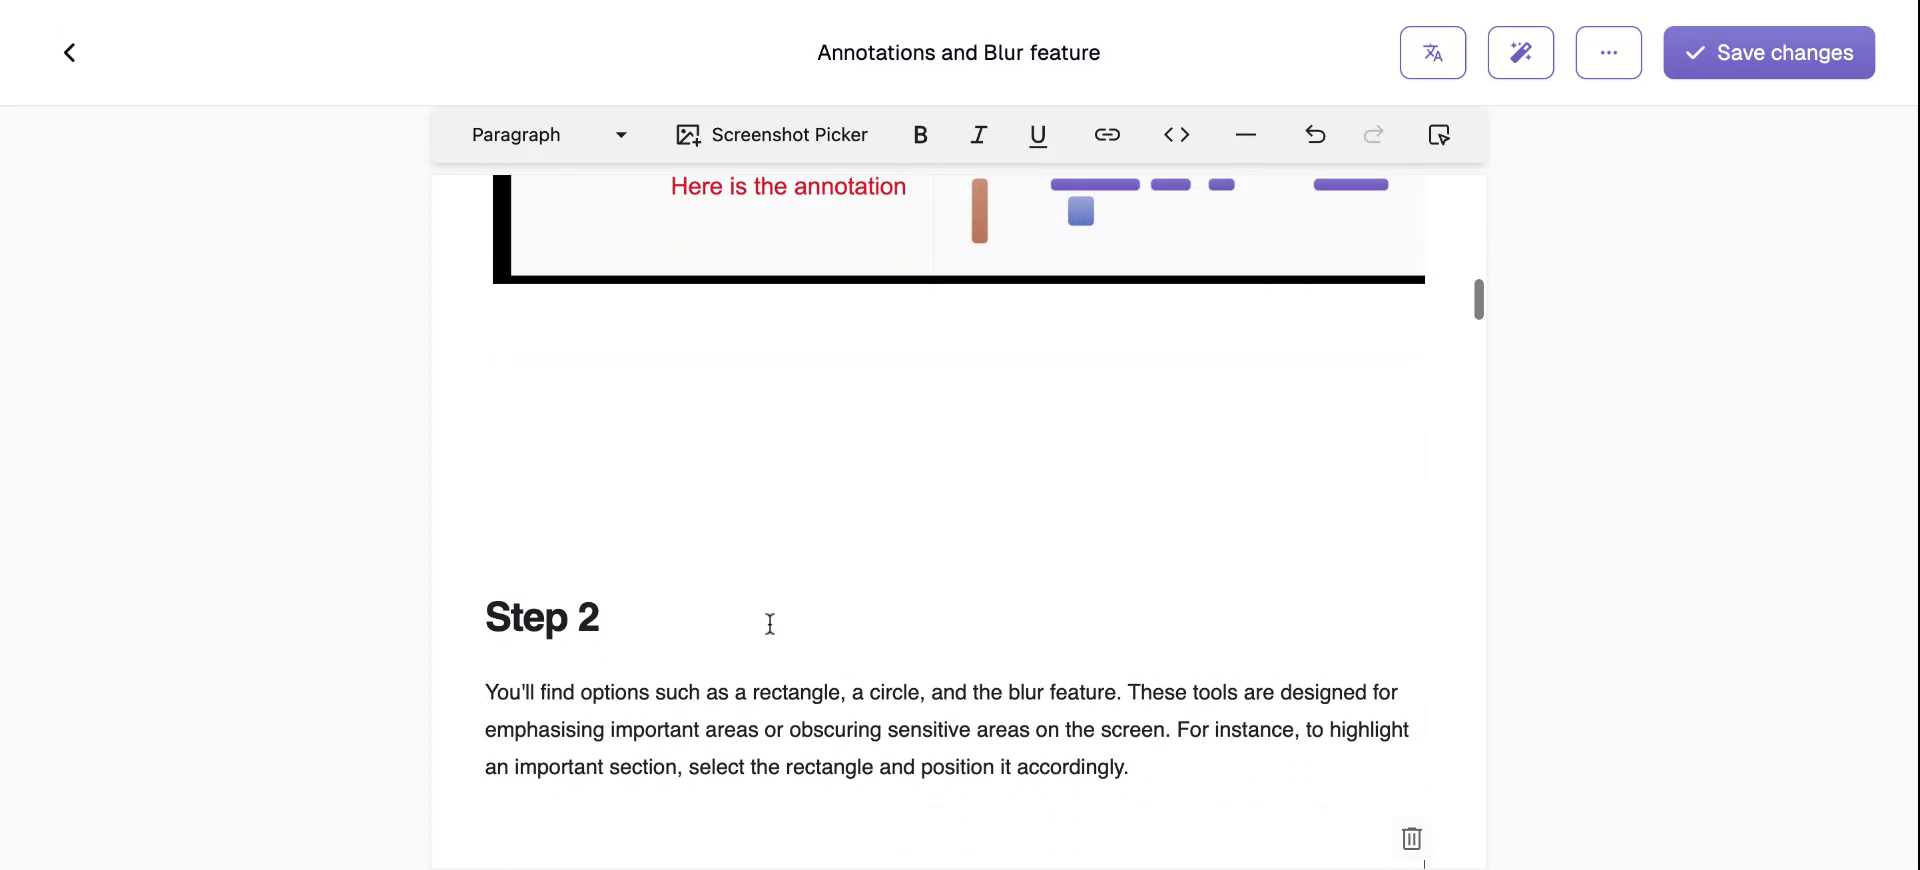
Step 16
This includes making the heading larger or smaller according to your preference.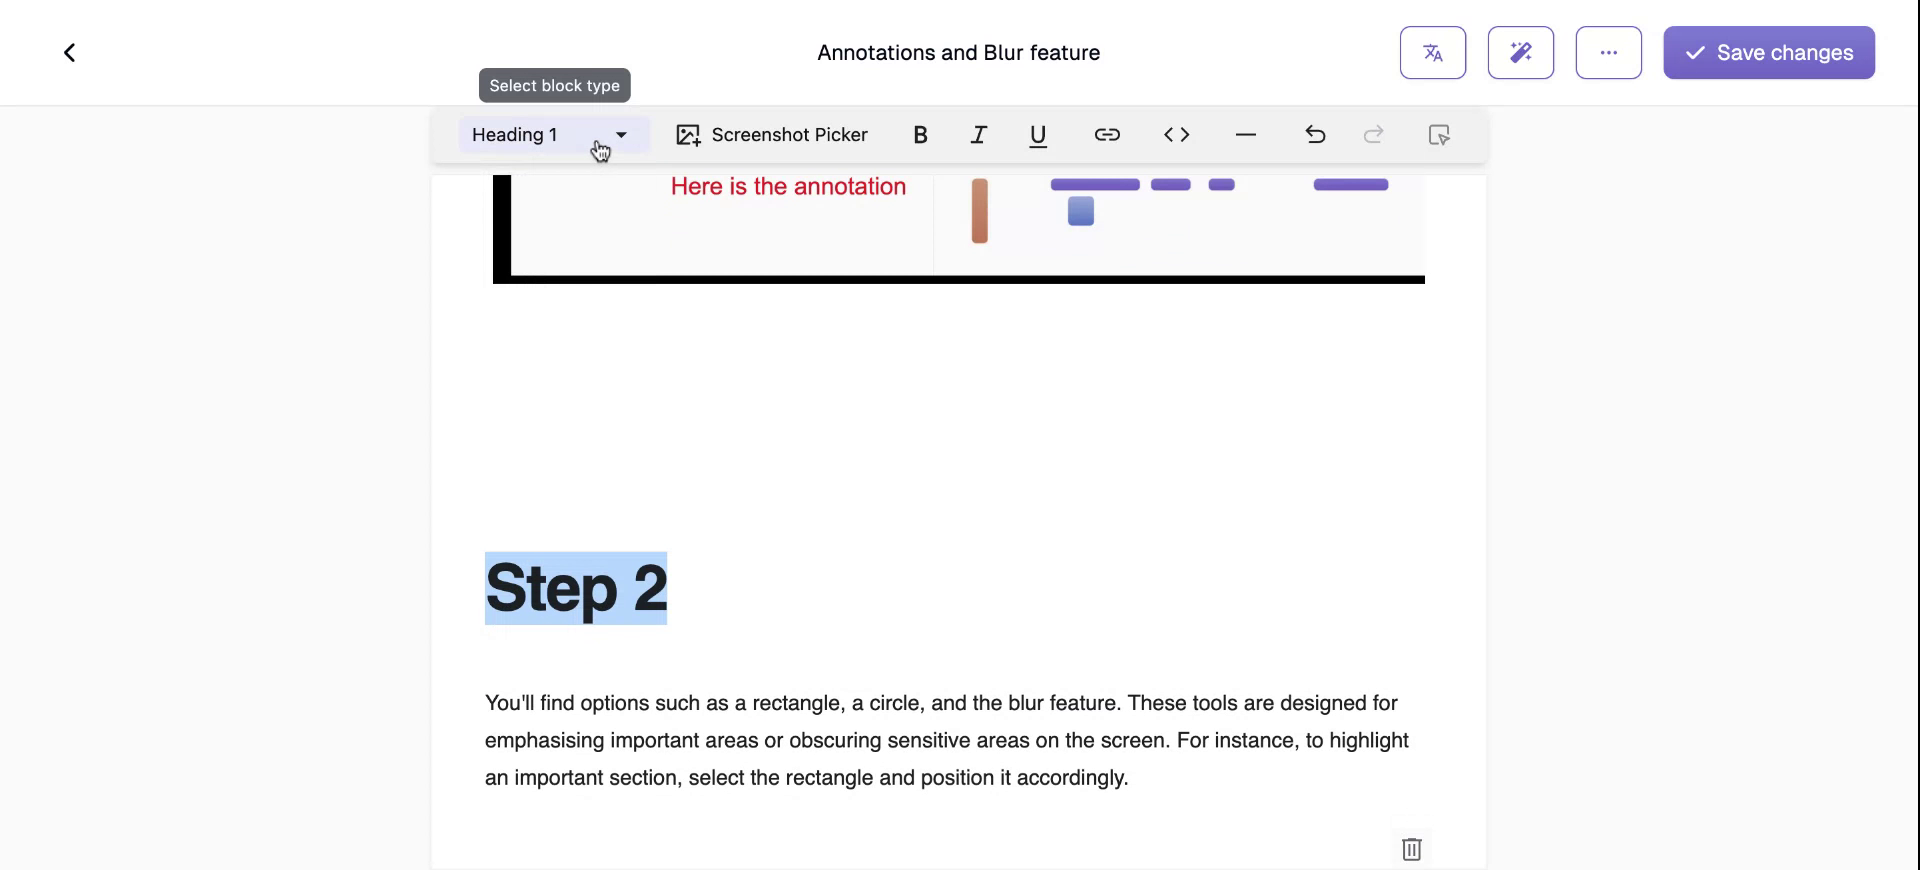
Step 17
Alternatively, you can format it as a paragraph.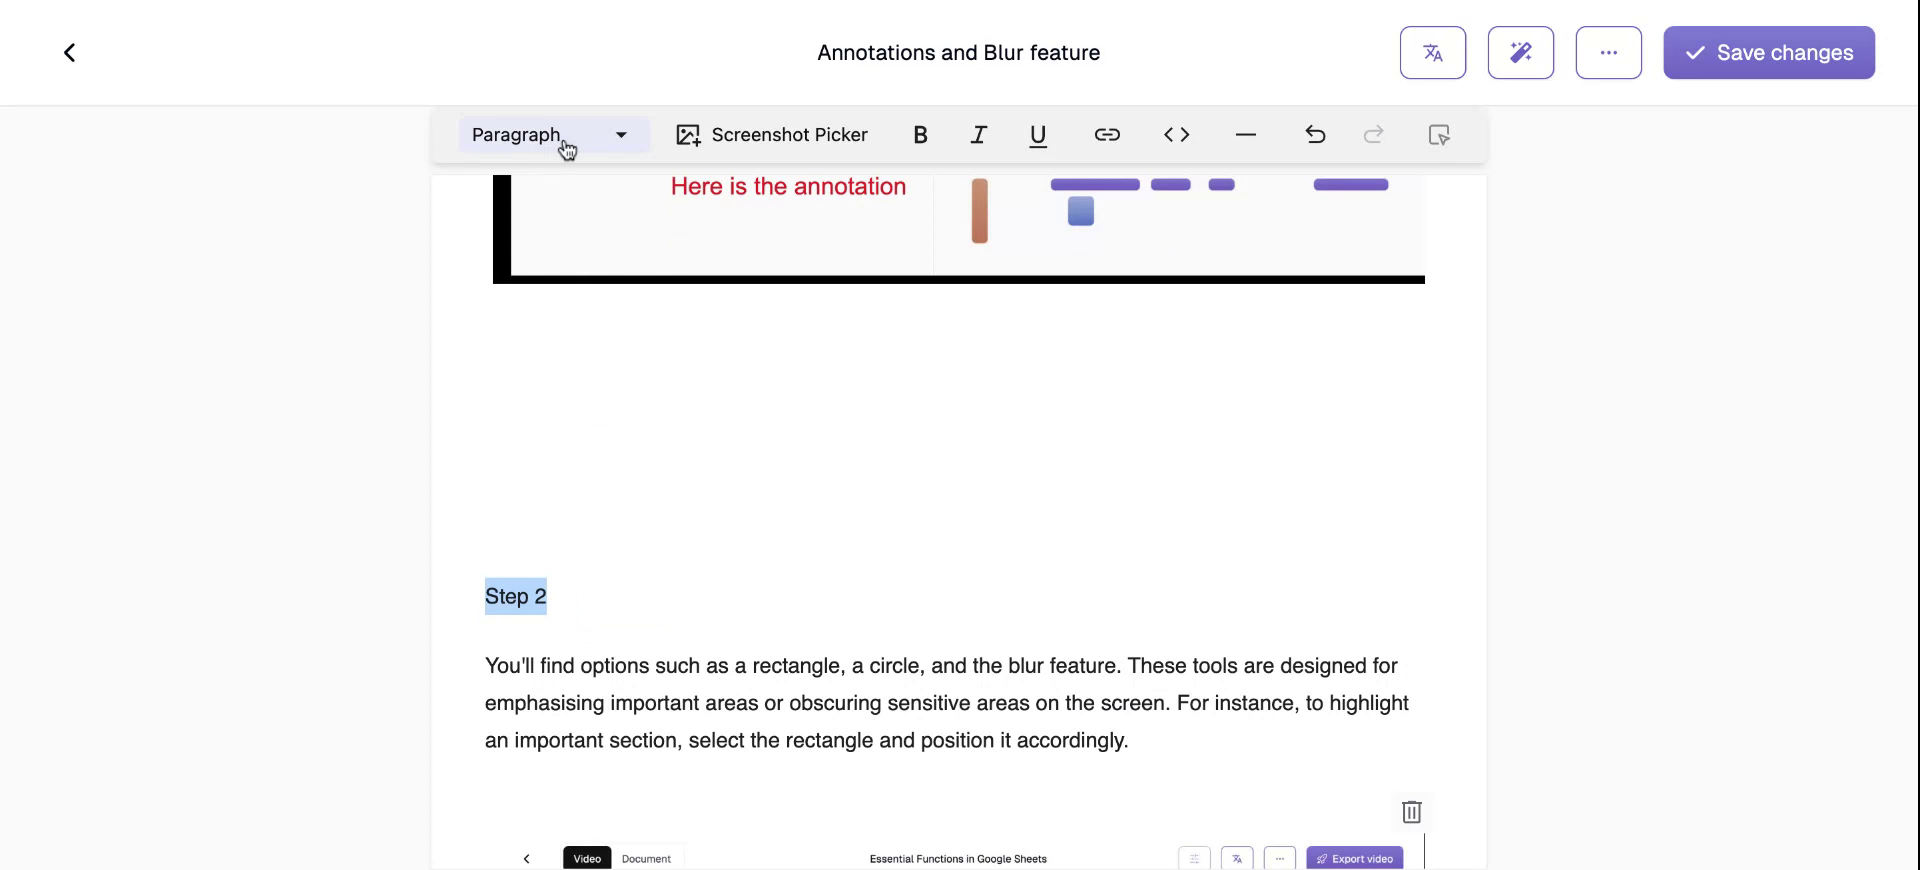
Step 18
It can also be styled as quote if needed.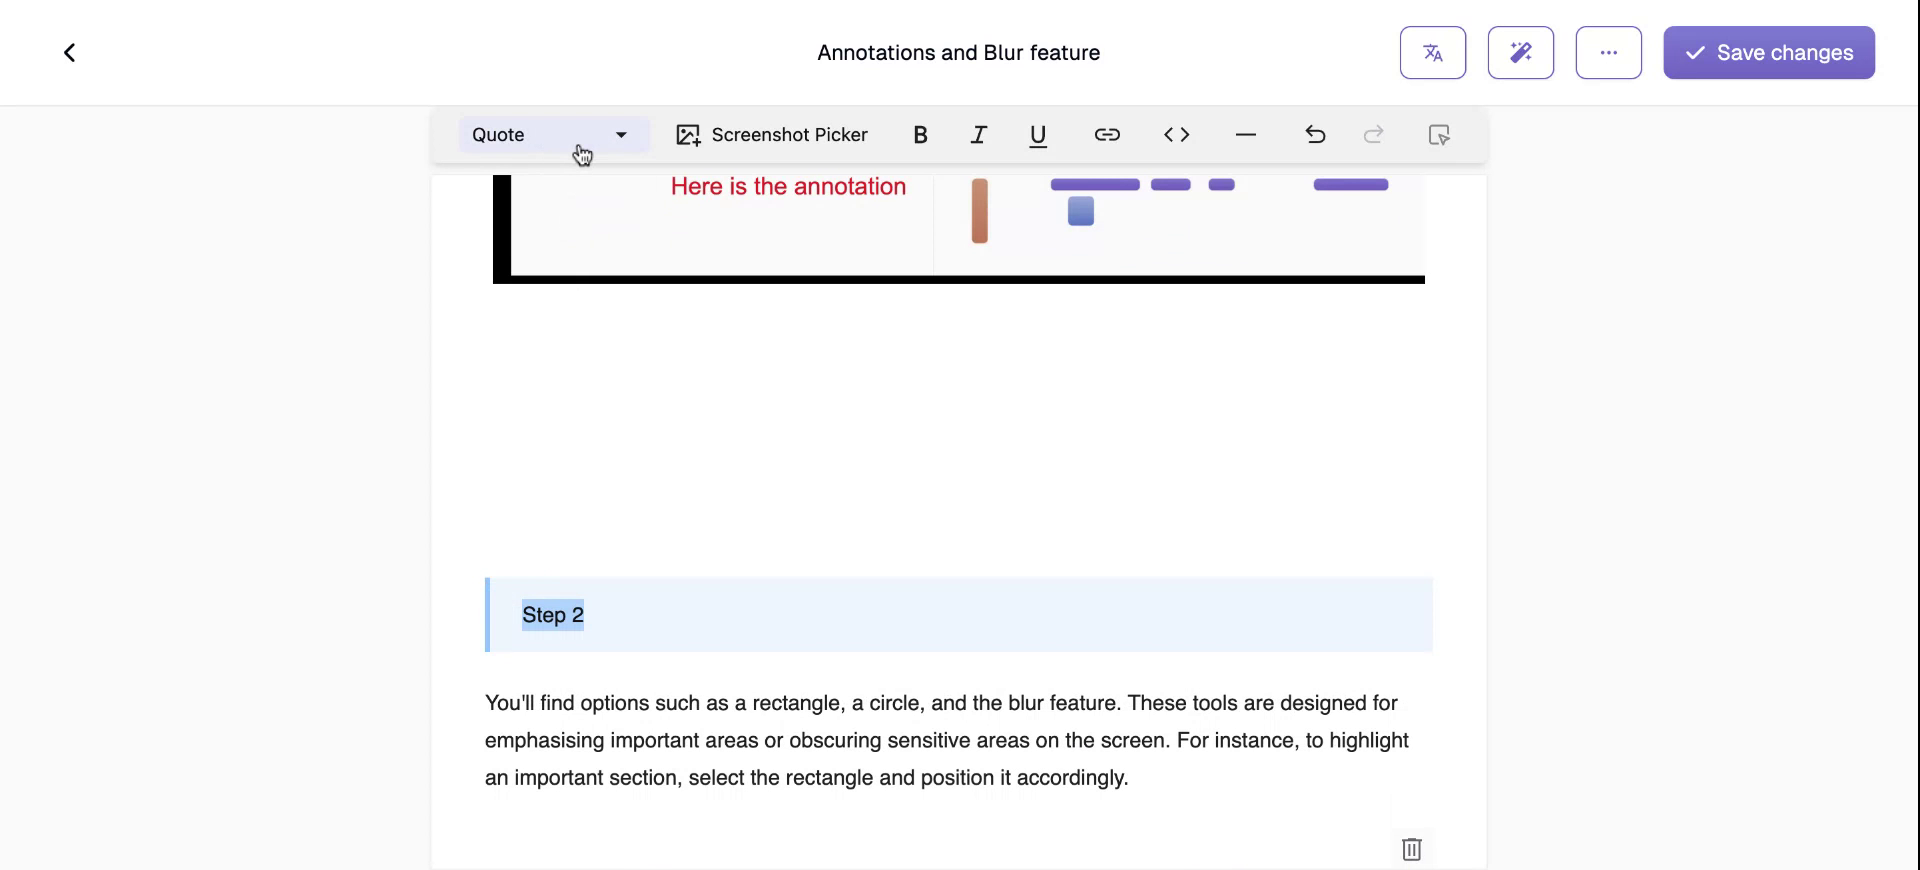
Step 19
You can add additional screenshots at any desired location within your document.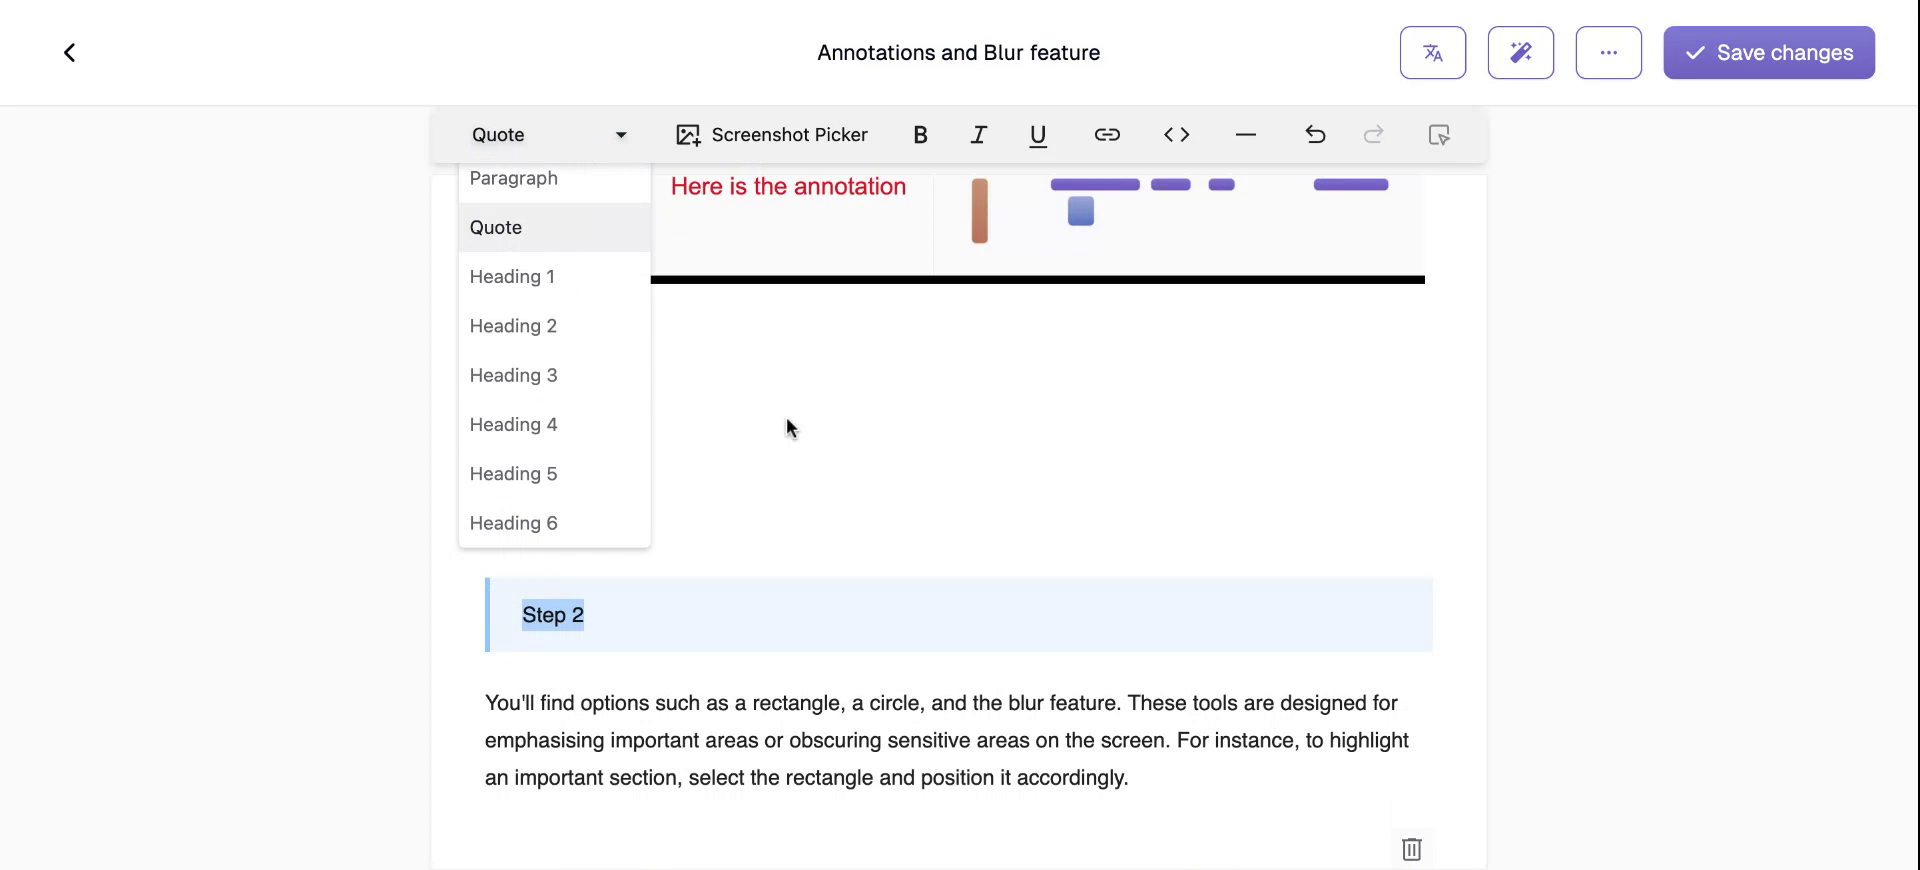
Step 20
Text can be formatted with bold, italics, or underline. You can attach hyperlinks, use inline code format, or incorporate thematic breaks.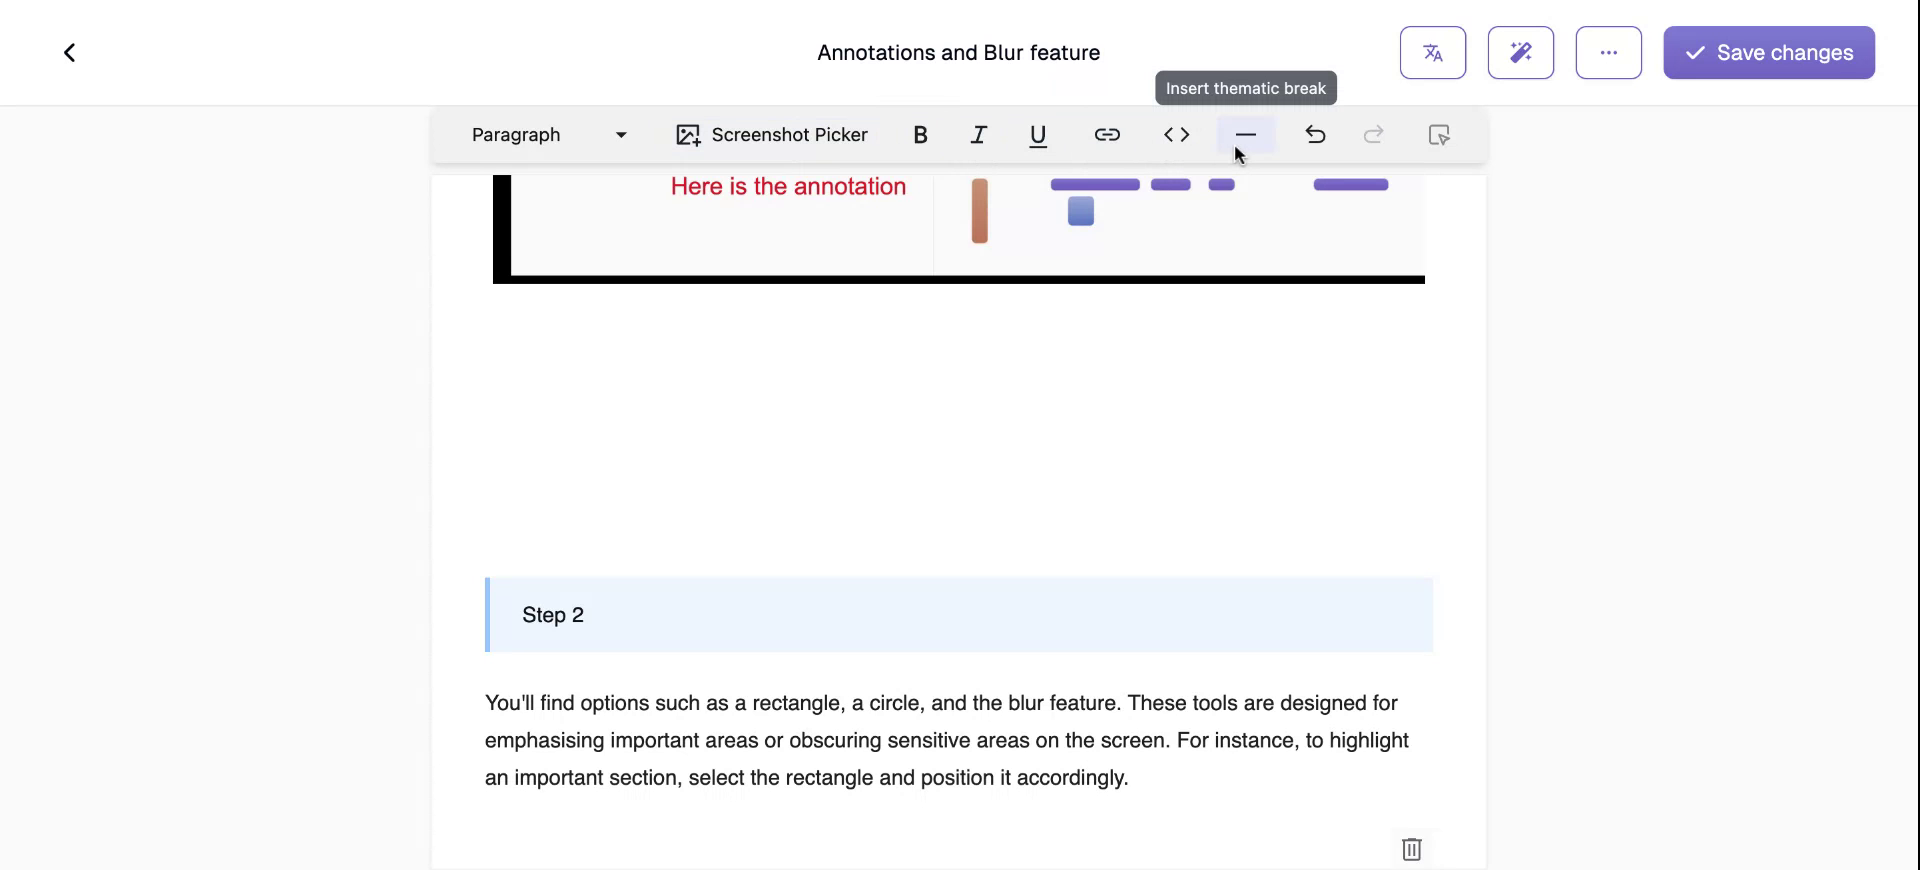
Step 21
To completely revamp your document, use an AI prompt for assistance.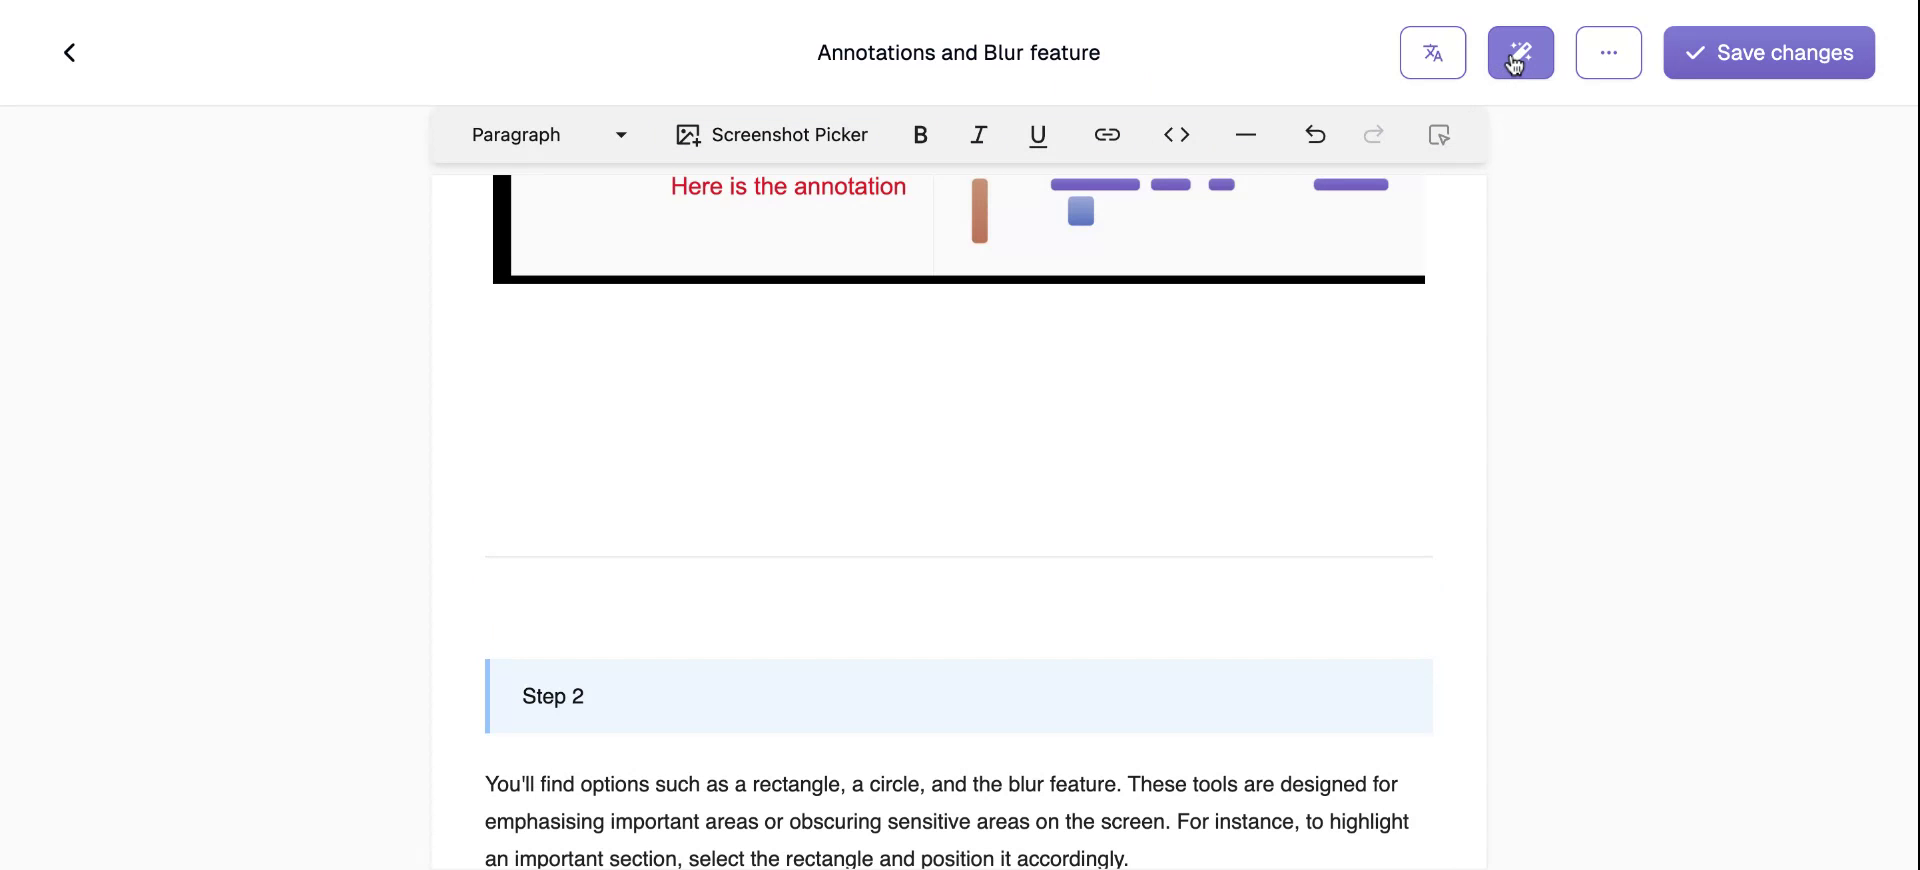
Step 22
For instance, instructing it to “Make this document more formal” will prompt Trupia.ai to transform the document within seconds.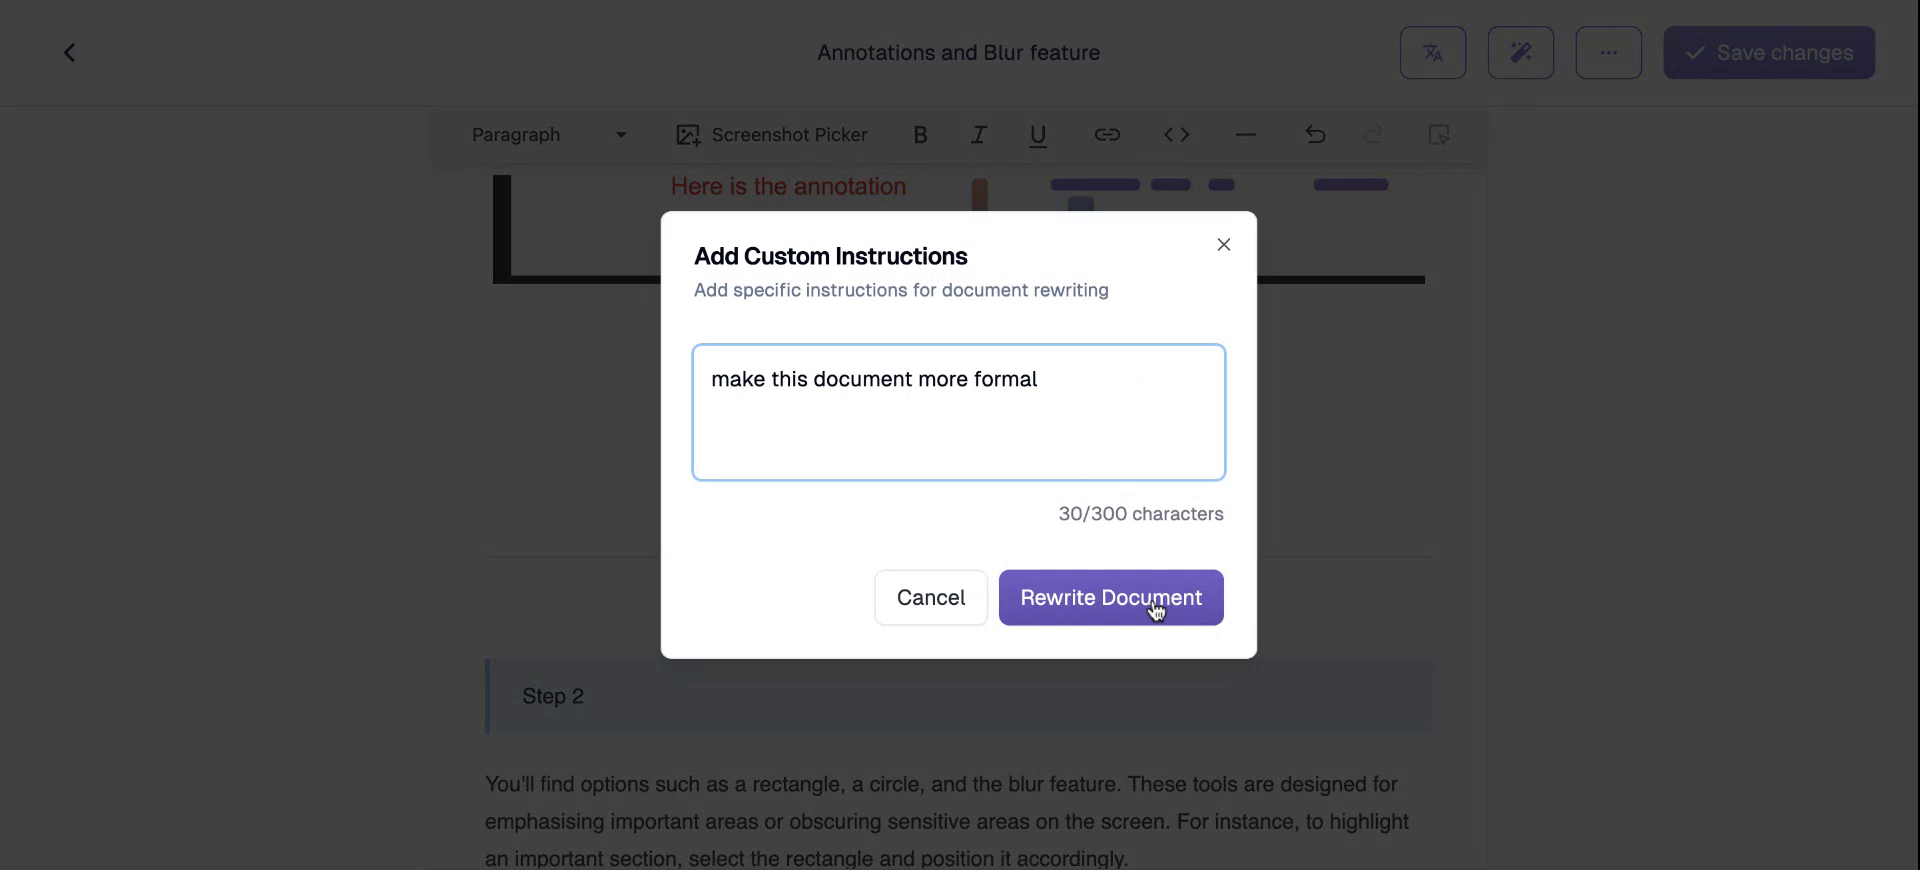
Step 23
You’ll notice script changes and updated screenshots. You can also undo these changes incrementally as needed.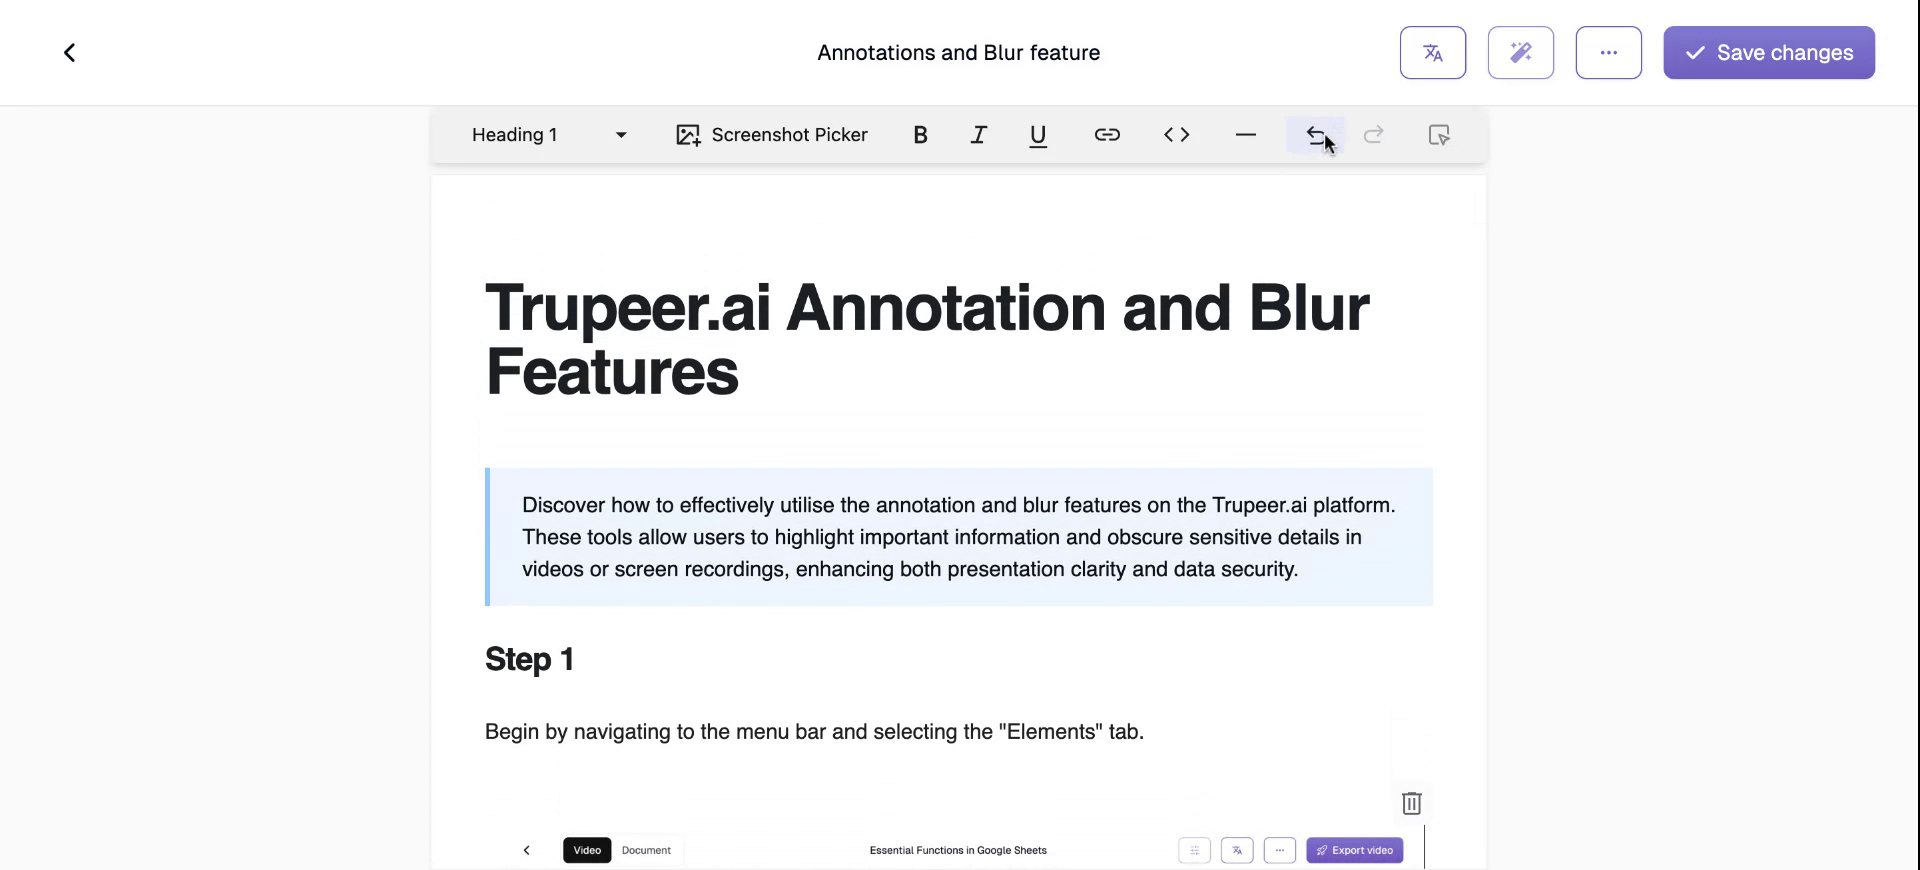
Step 24
Apart from editing, the platform offers a translation feature, allowing you to convert documents into more than 20 languages with just one click.