In this guide, you will learn how to effectively add introduction and conclusion slides to your Trupeer video projects. These steps will walk you through utilising the available tools to enhance your video with licensed backgrounds or custom images, and customise text and display options.
Step 1
To begin adding an intro slide to your Trupeer video, navigate to the Visuals tab in the menu and activate the Intro Slide toggle.
Step 2
After accessing the Intro Slide toggle, enable it to reveal a selection of licensed backgrounds. Choose one that best fits your video’s theme.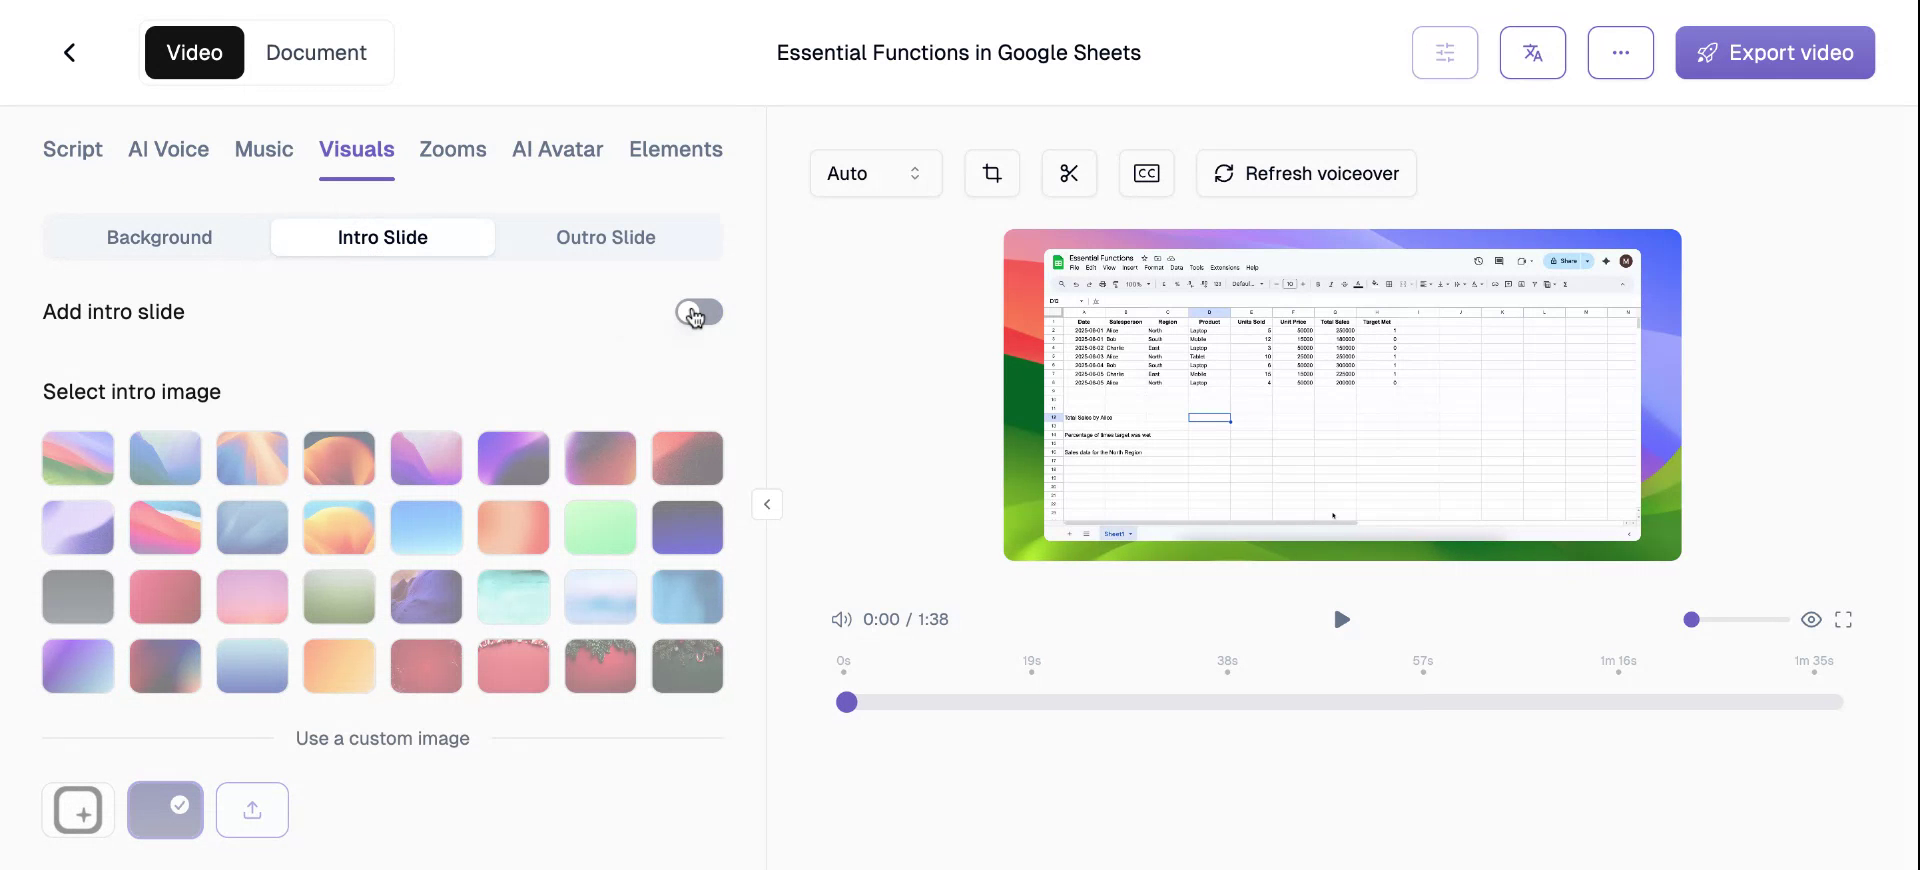
Step 3
If you prefer, you can upload a custom image as your intro slide. For example, Tropier.ai uses specific branded images. You can also personalise your slide with a title relevant to your video’s content.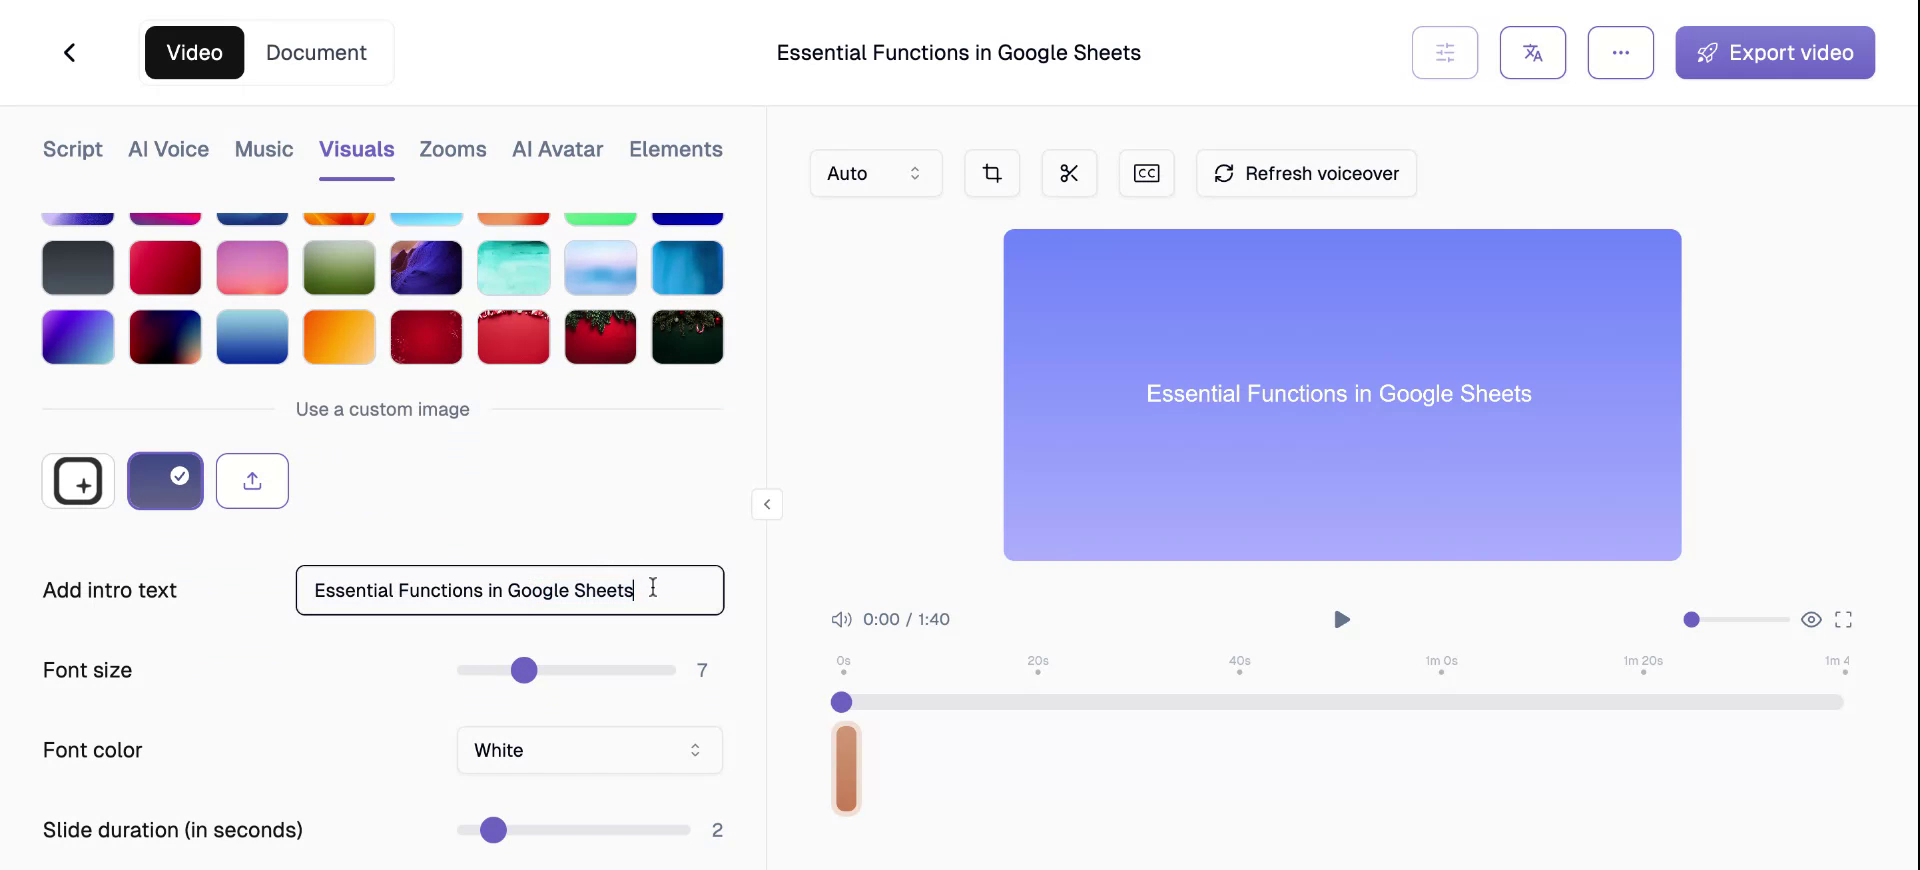
Step 4
Adjust the font size of your intro text. The range is from zero to 25, allowing you to select the size that best suits your presentation needs.
Step 5
Select the font color for your text, with options for either white or black, ensuring optimal readability against your chosen background.
Step 6
More font options and styles will be available soon. Meanwhile, you can set the duration of your intro slide, from one second up to a full ten seconds, to suit your video’s pacing.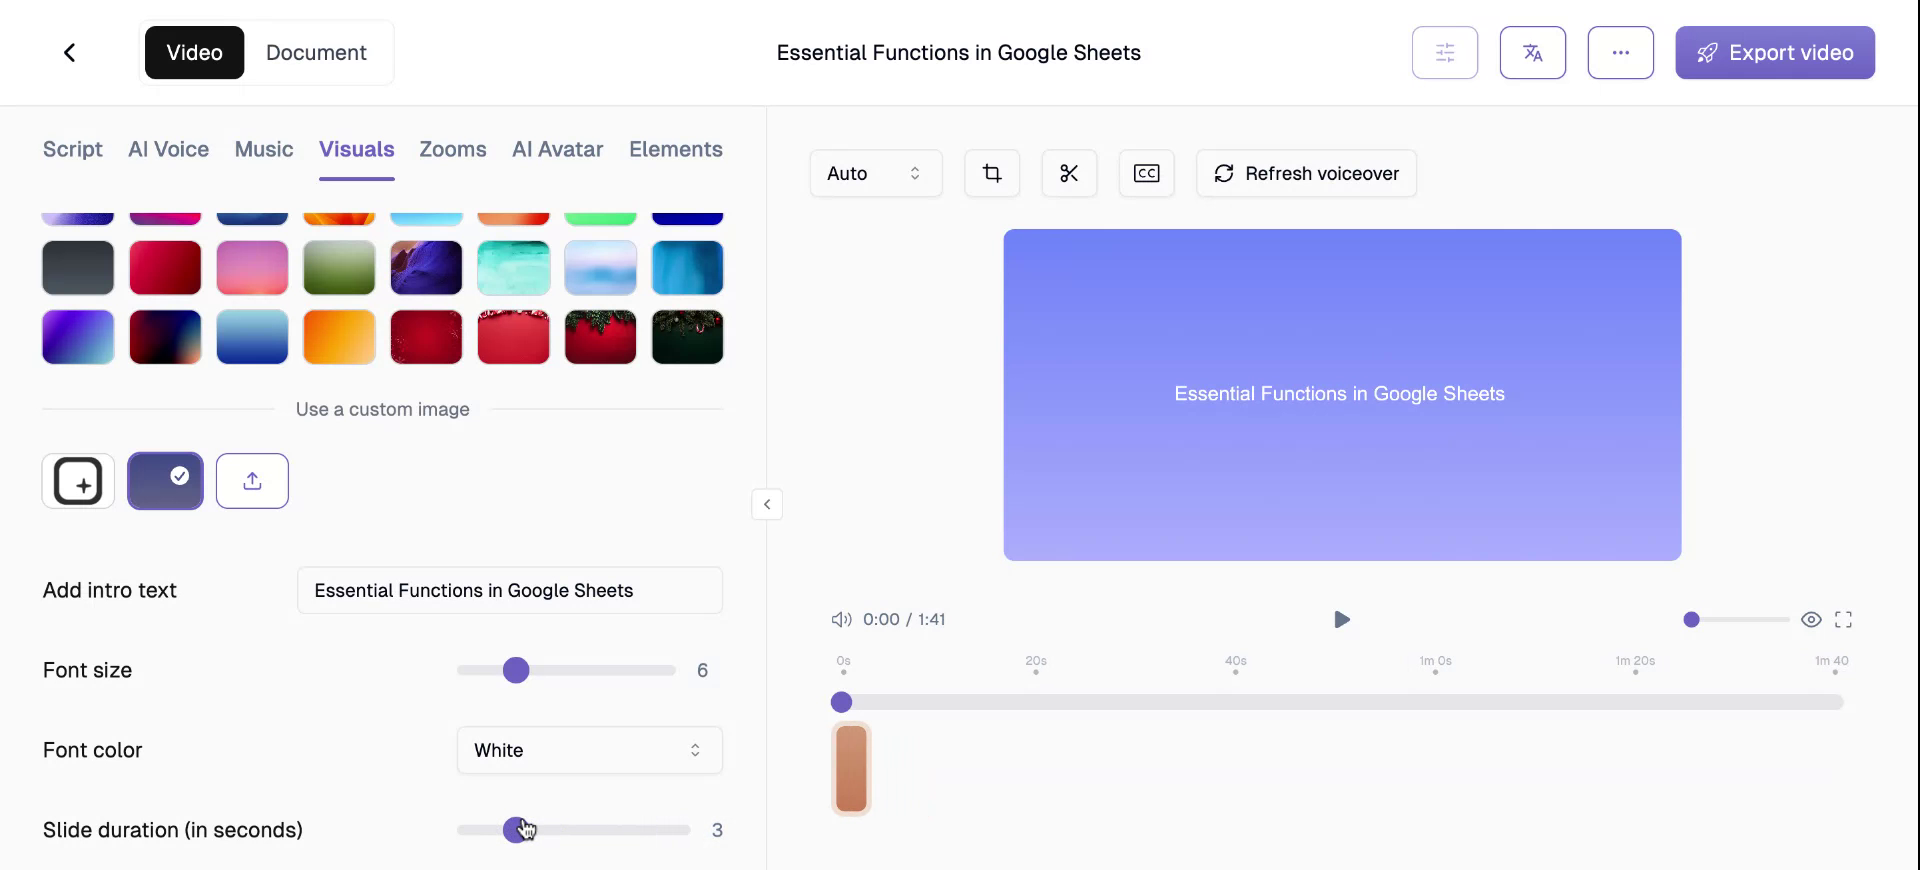
Step 7
For the outro slide, a similar toggle option is available. The same customisation features apply, allowing for cohesive video endings.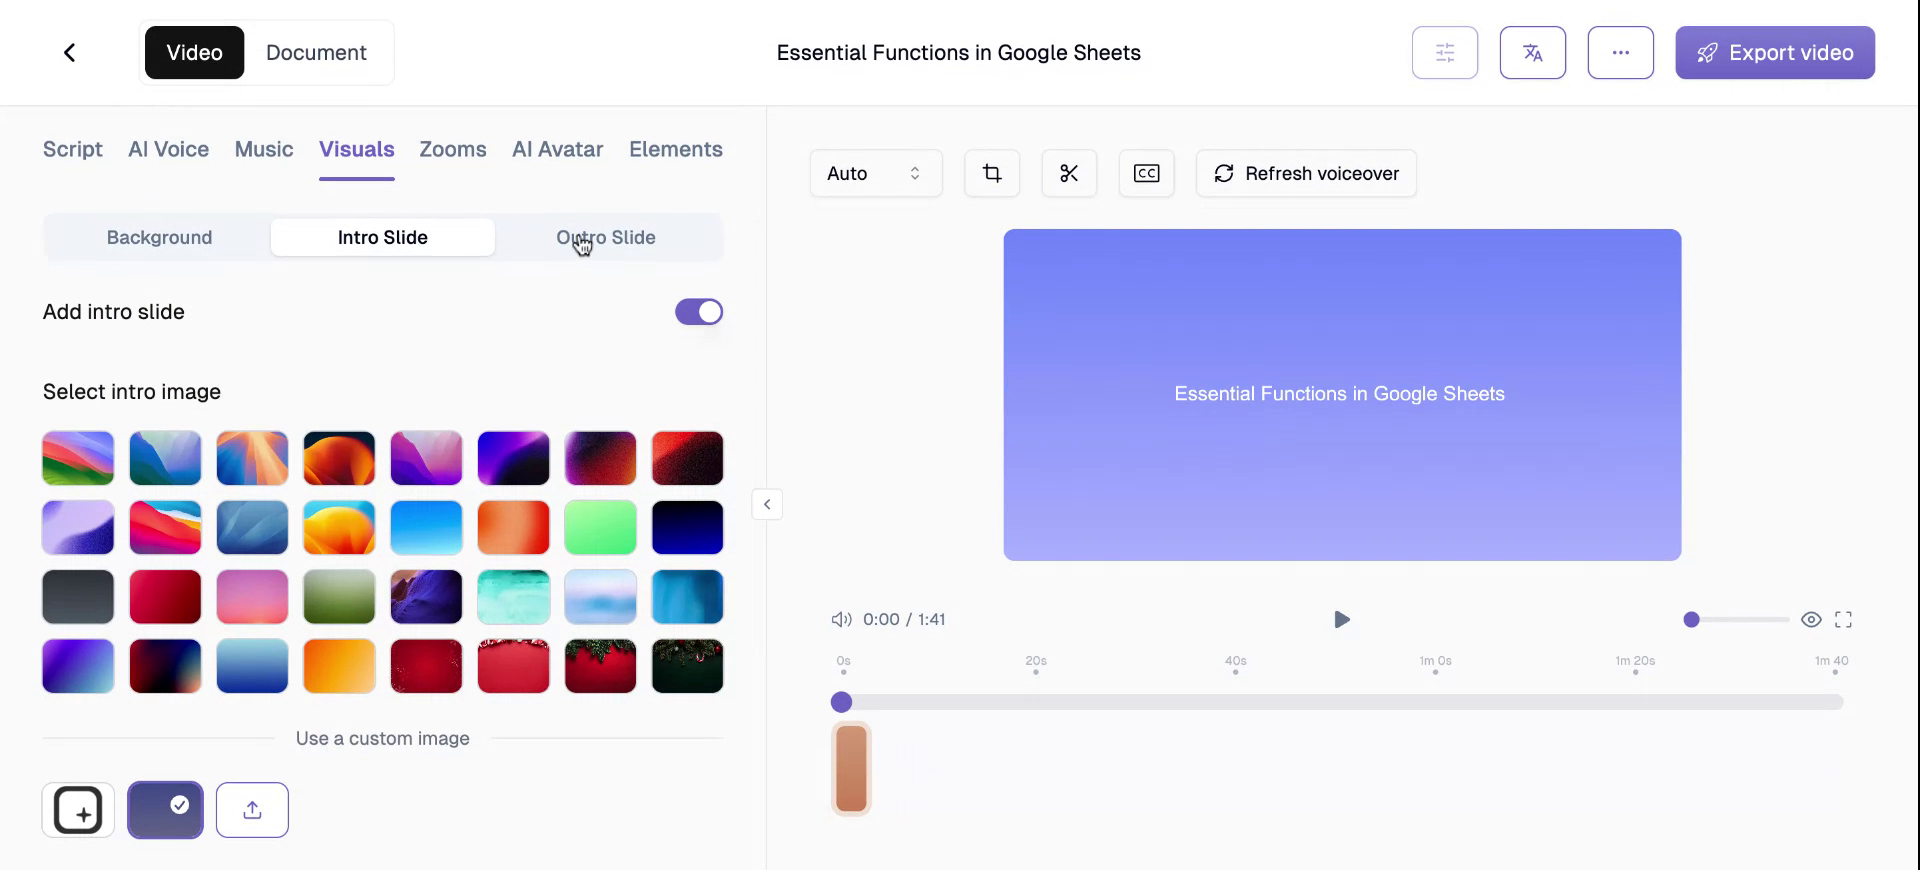
Step 8
Select from a wide variety of licensed backgrounds or add a custom outro slide. You can also edit the outro’s text size, color, and duration.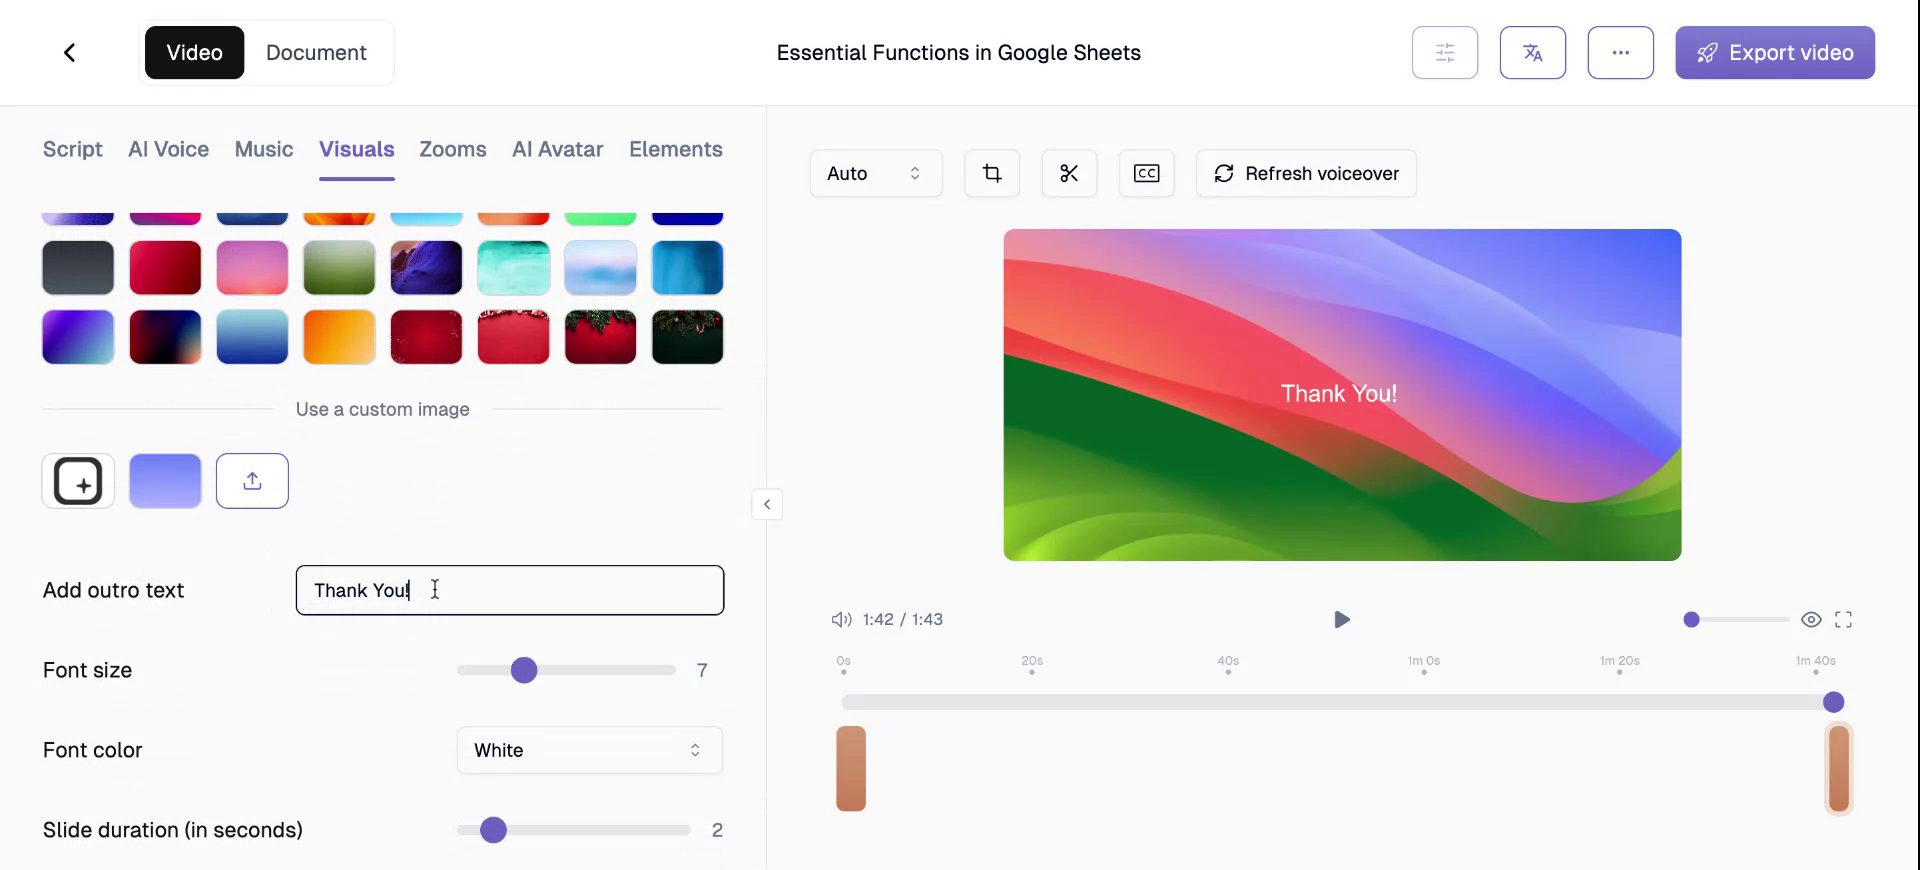
Step 9
You have now successfully added intro and outro slides to your video.