Video Features
Integrating Avatars
This document provides a comprehensive guide to integrating AI avatars into your Trupeer videos. Follow these steps to enable and configure your AI avatars, select the best options for your content, and personalize your avatar experience with custom settings and API integrations.

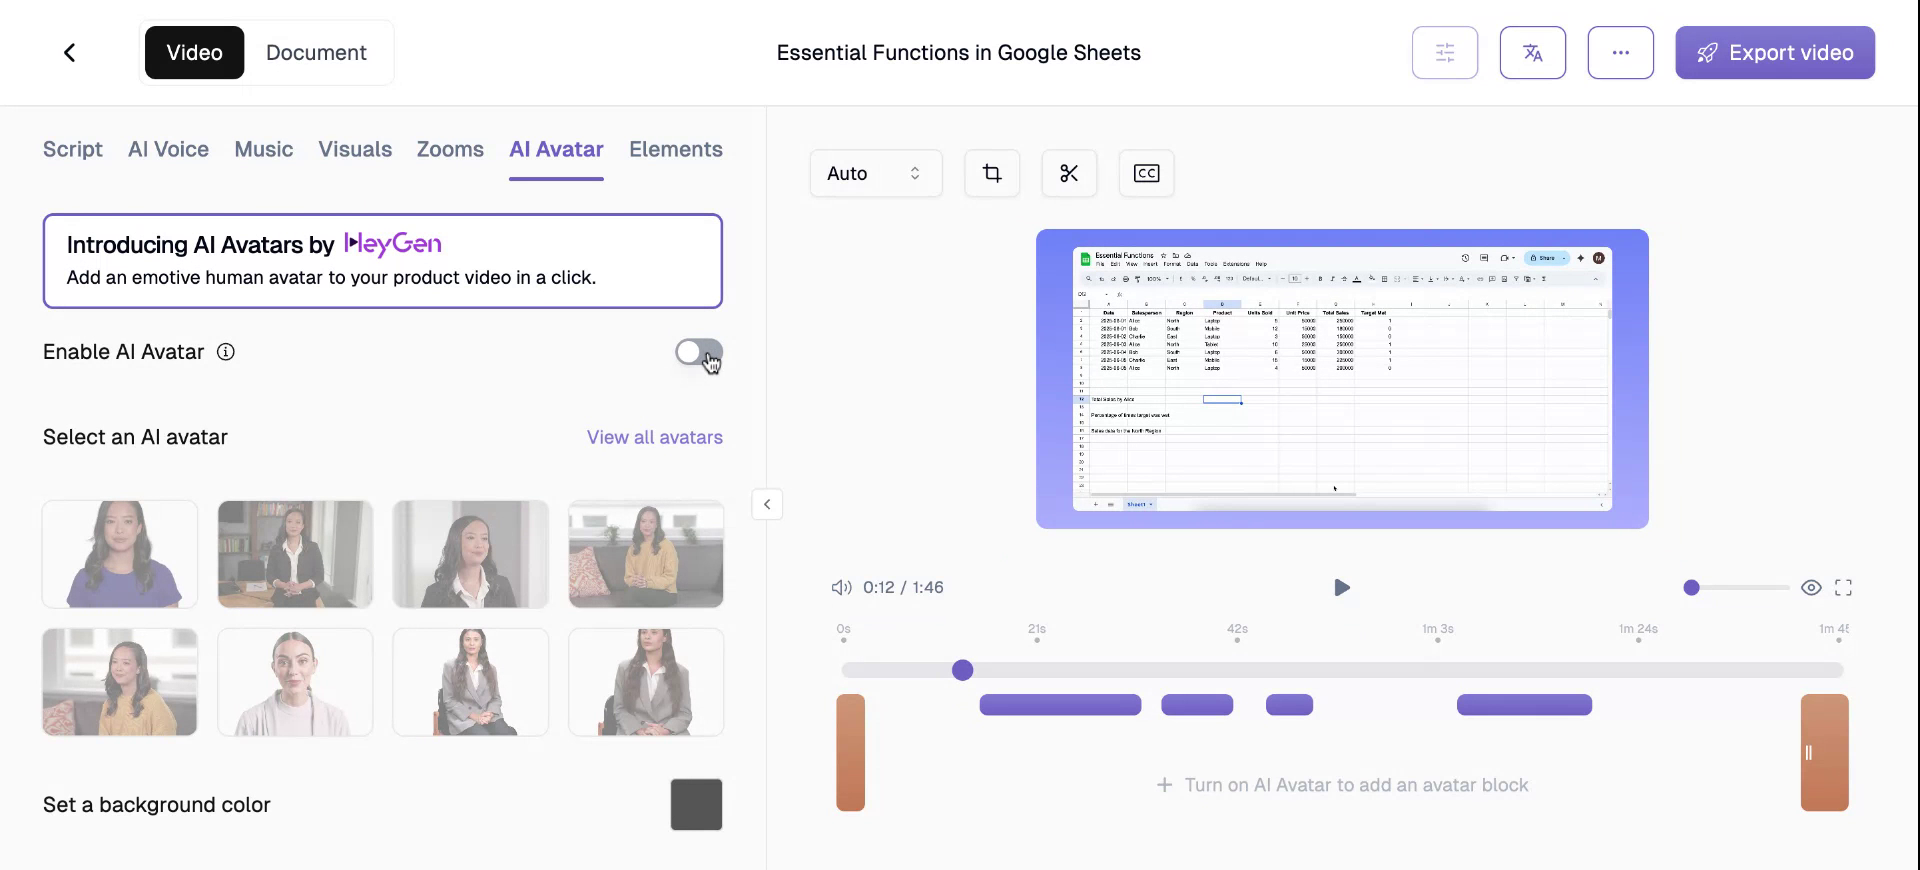
Step 1
After recording and editing your video, locate the AI avatar option in the menu bar. Click on it to access all settings for enabling and configuring your AI avatar.
Step 2
Activate the AI Avatar by toggling the “Enable AI Avatar” switch. This will display your avatar in the video.
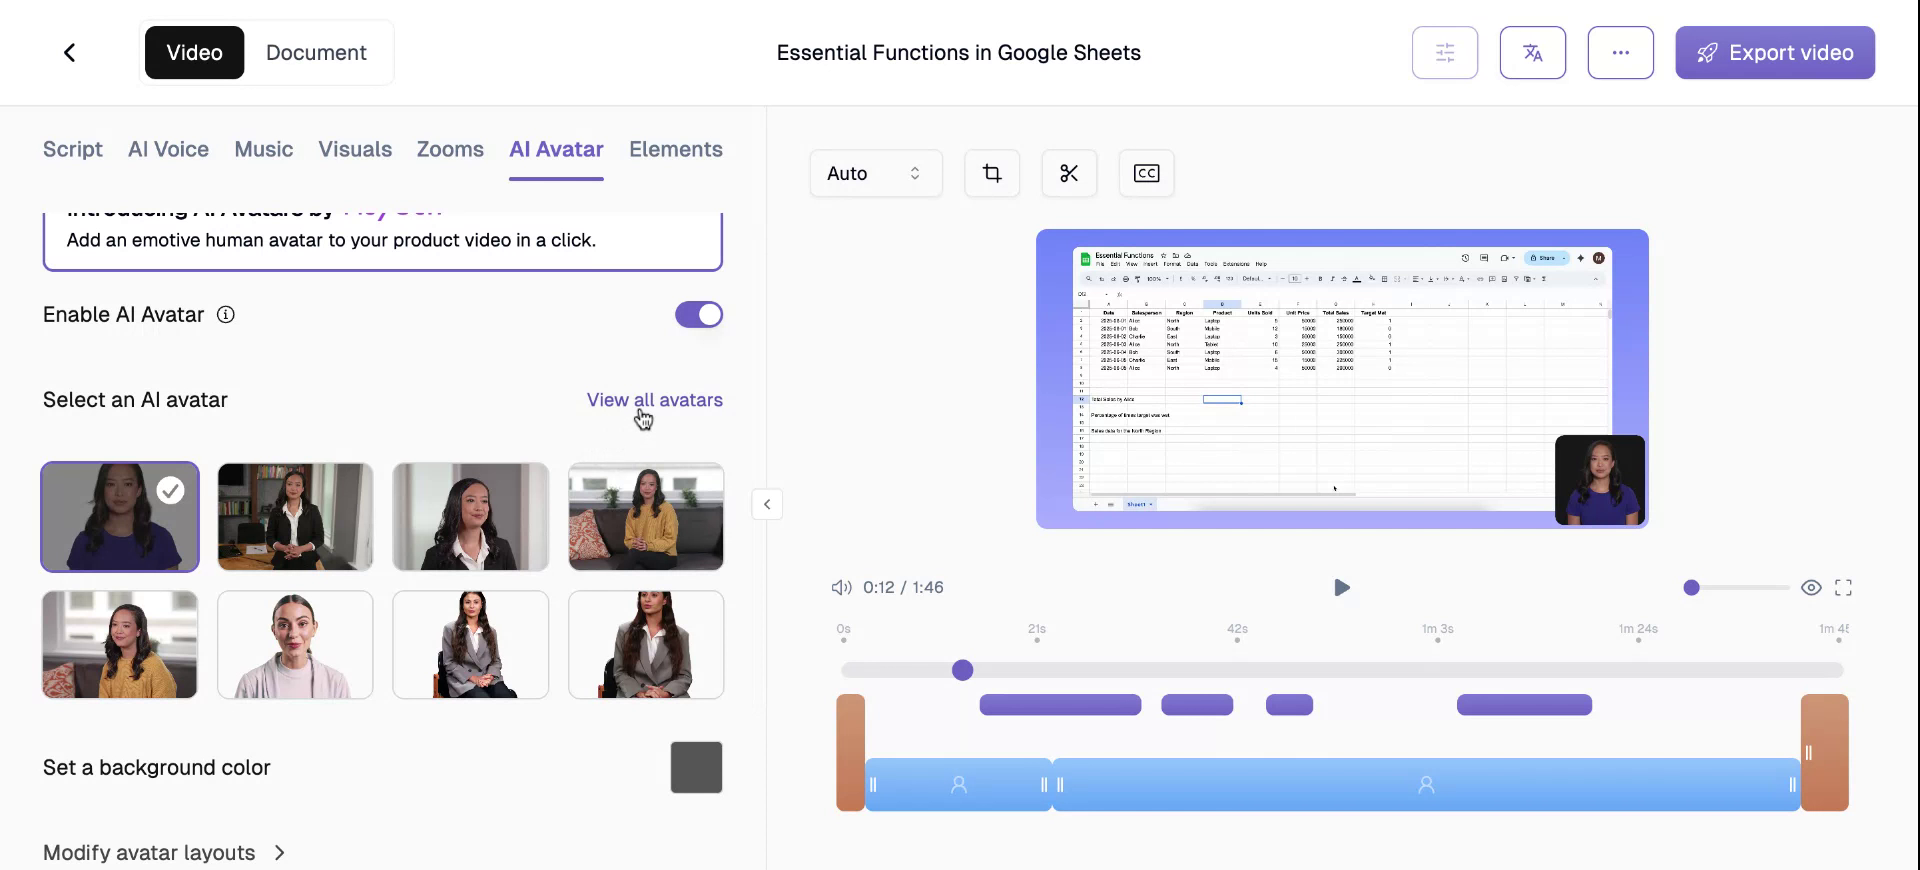
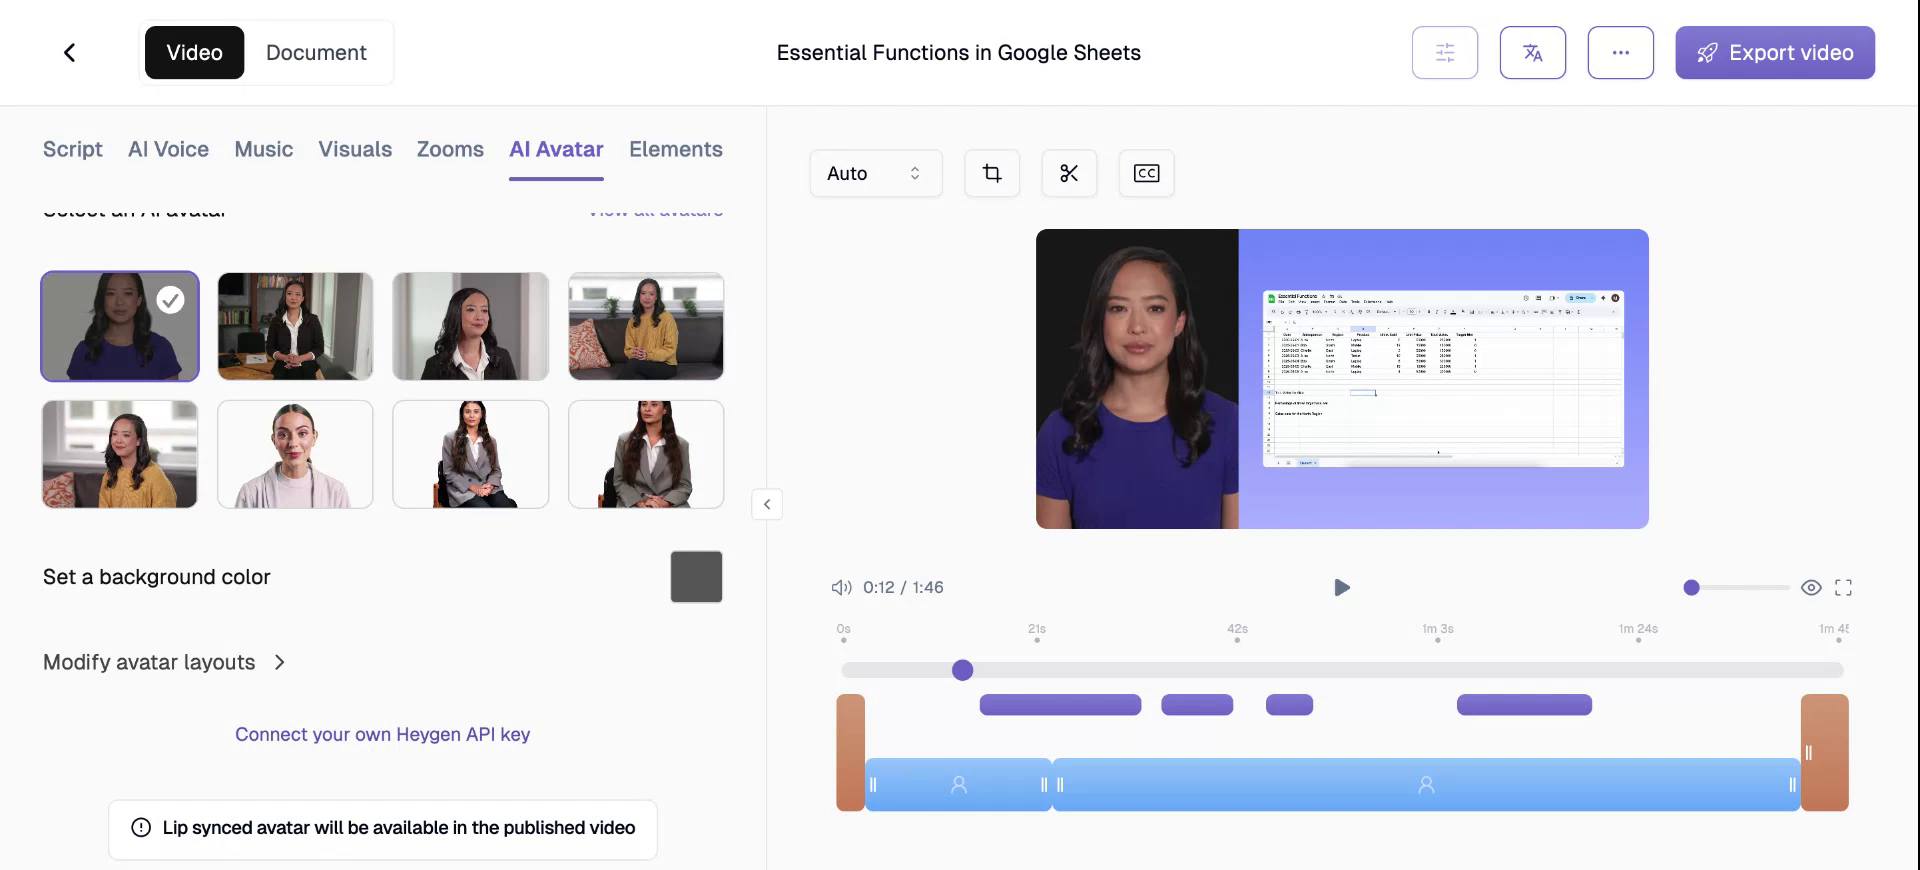
Step 3
Select from a wide catalog of AI avatars available for integration.
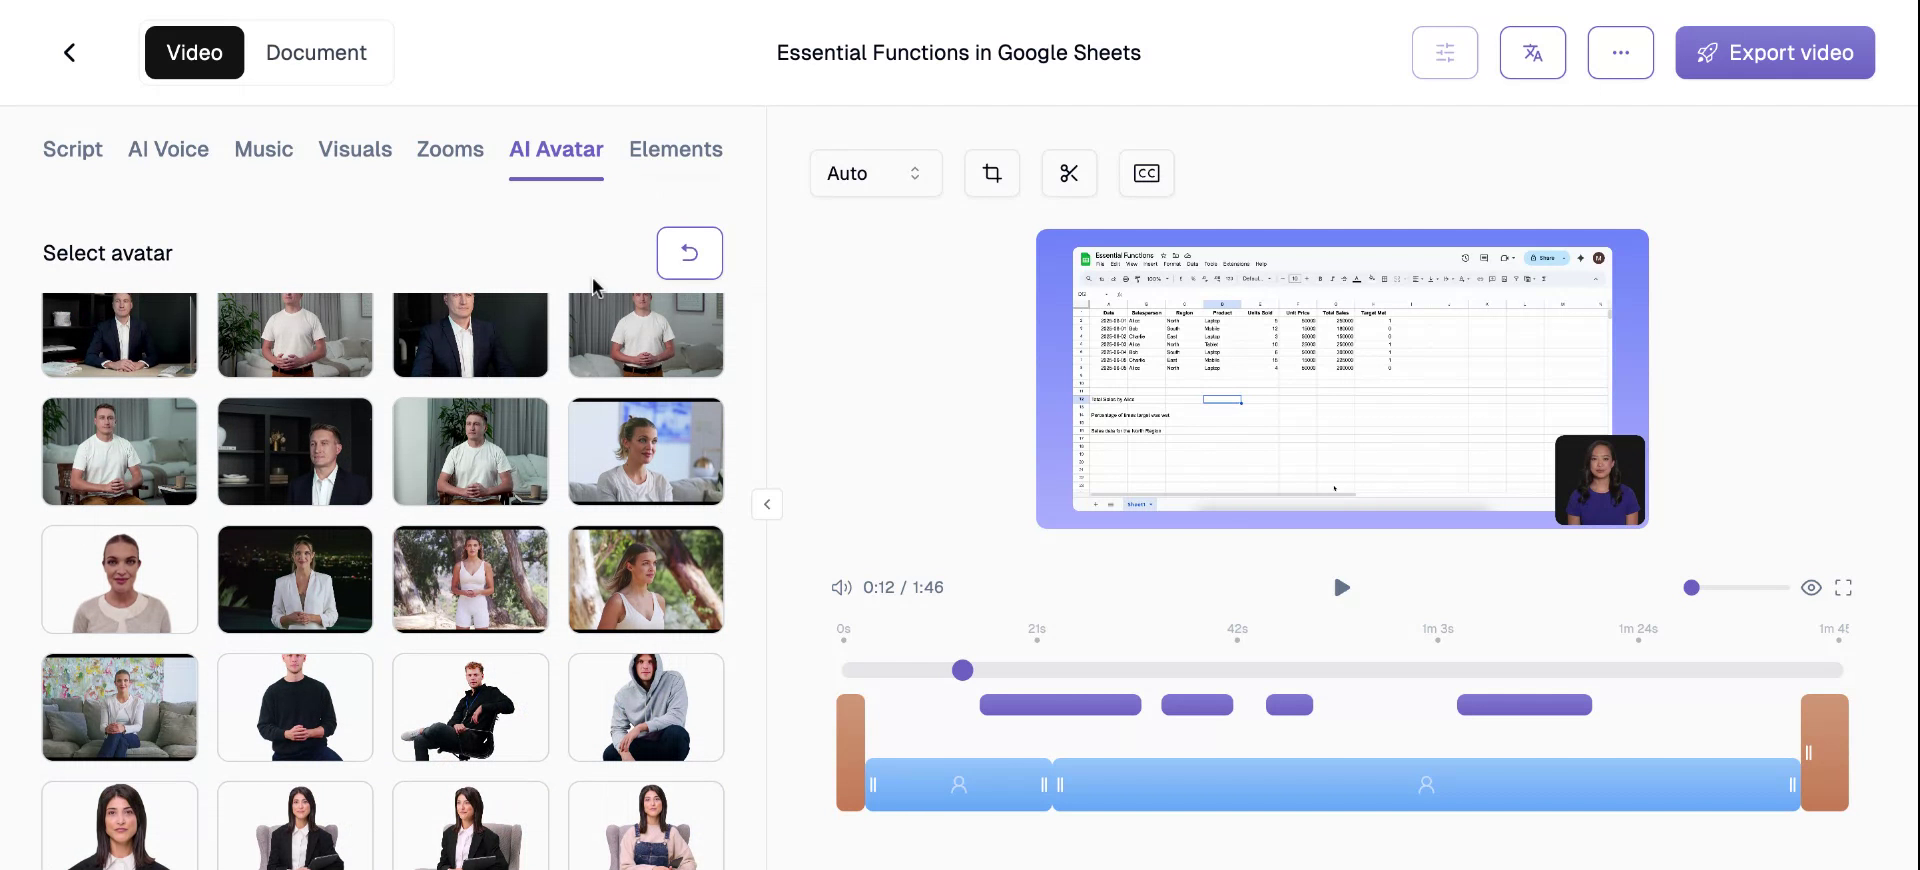
Step 4
Choose an avatar based on your content type—conversational, professional, or entertaining. Additionally, customise the avatar’s background colour by entering the desired hex code of the colour.
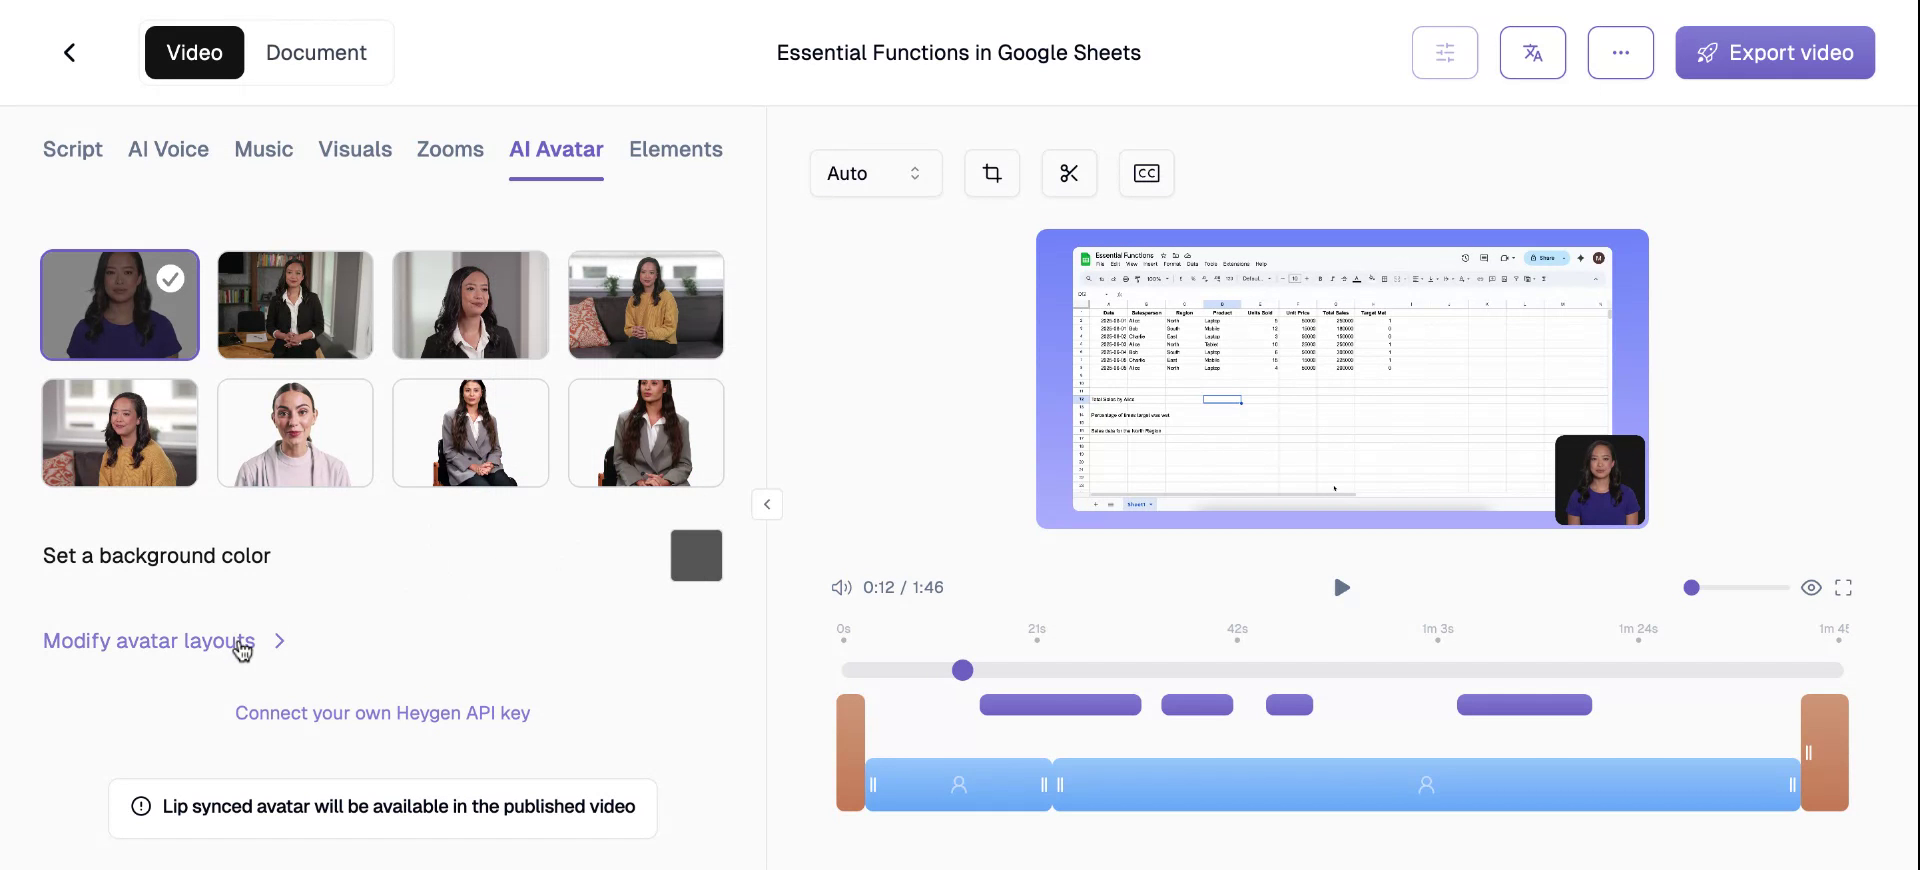
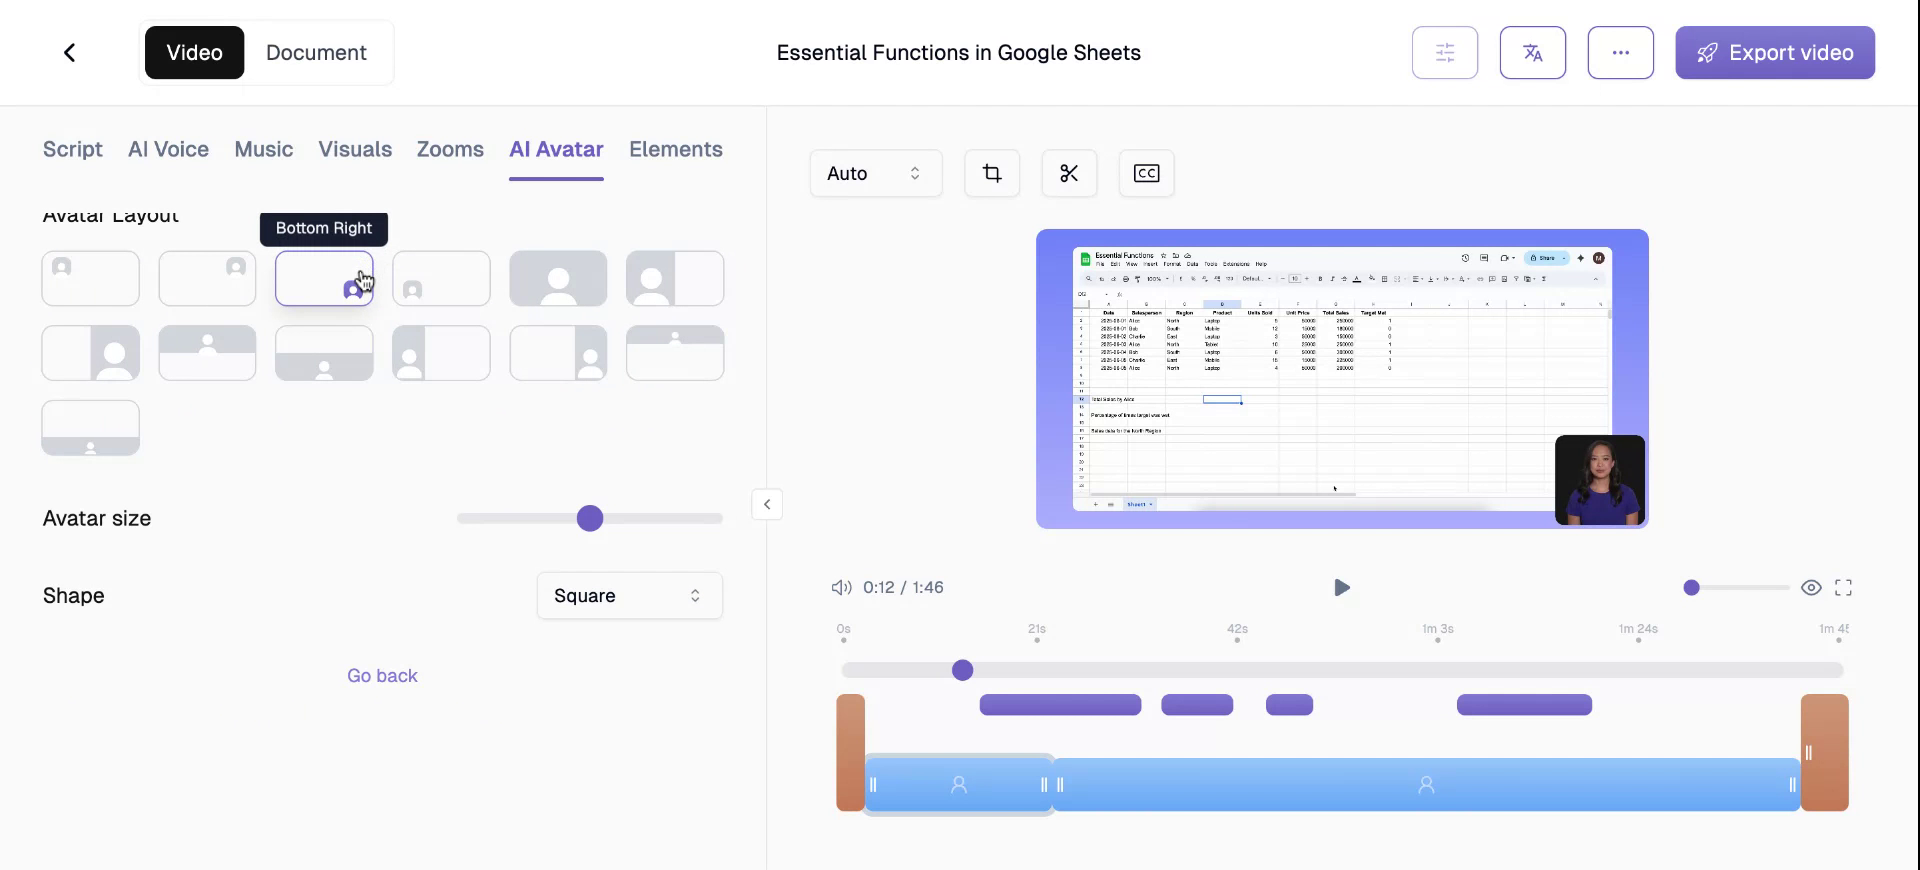
Step 5
Modify the avatar layouts as per your requirements.
Step 6
Select from various layout positions, such as right bottom, top right, or left bottom.
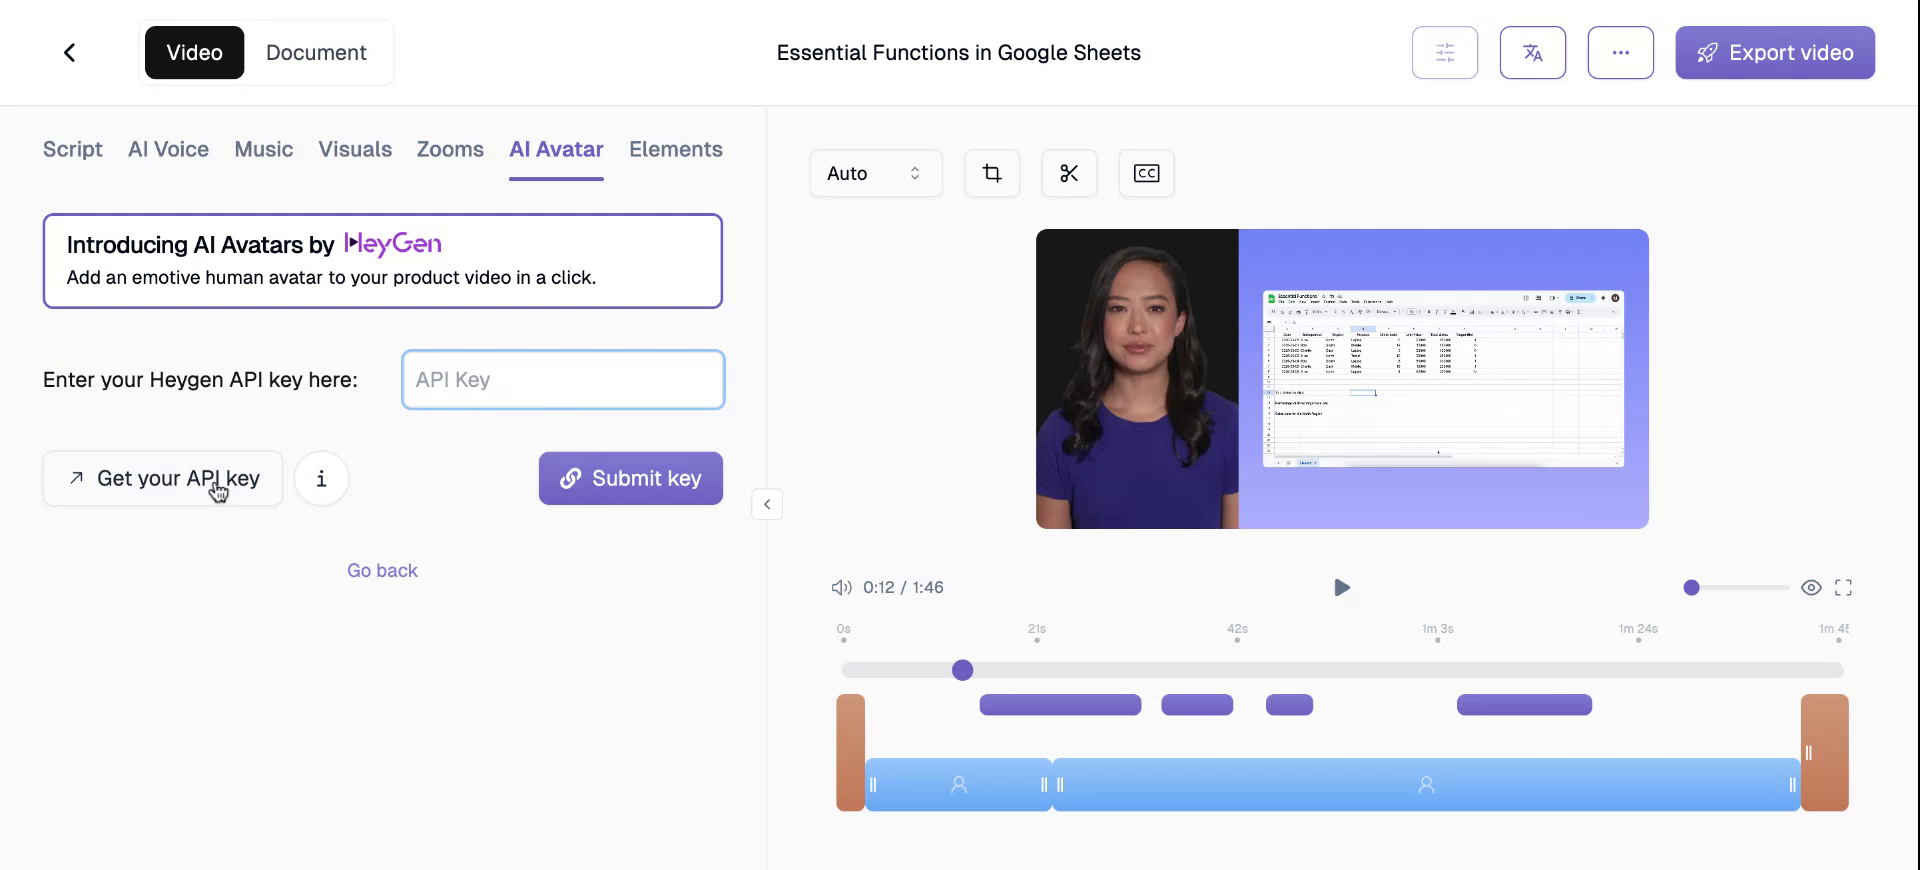
Step 7
For a custom avatar, go to the bottom of the screen in the ‘AI Avatar’ menu and you will see an option to connect your HeyGen API key. If you wish to have a personalized AI-cloned avatar, create a HeyGen account and enter your API key found under the Profile section of your Heygen Account. Or you can click on “Get Your HeyGen API Key” to navigate directly to the HeyGen website. Once submitted, your custom avatars will be displayed here.